


Be Inspired, Tutorials
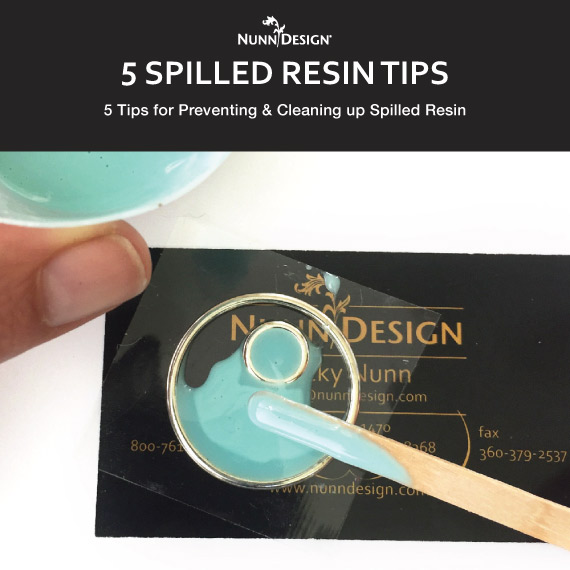
5 Tips to Prevent & Clean-Up Spilled Resin
You can approach working with resin in two different ways. The first approach is to dive right in and get started while receiving mixed results. The trial and error approach wears thin after awhile and it is easy to hit the place of being “done” with using resin. I often hear people say, “It just didn’t work for me.”
The other type of approach is to watch numerous videos, read tutorials and check out every book in the library before mixing and playing with resin. But even with as much information as you may have, it really requires that you “get in there and just do it!”
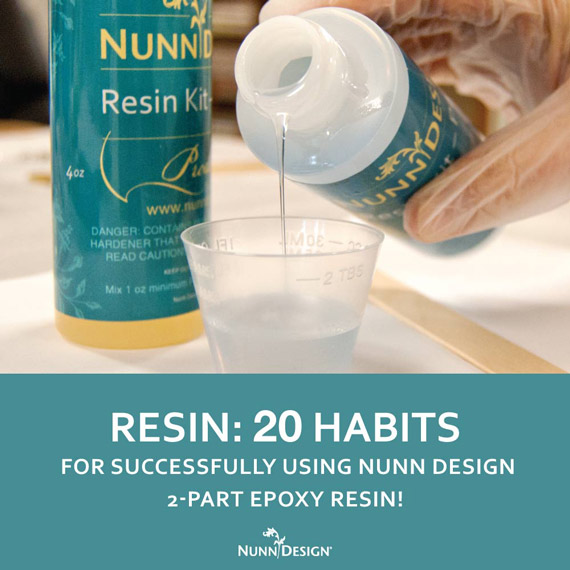
Regardless of which approach you follow, an earlier post from our blog might be very helpful to read; 20 Habits of Successful Using Nunn Design 2-Part Epoxy Resin. Within this post you will discover how to prepare your work area, how to prepare your findings and how to mix your resin.
For this blog post, let’s explore 5 tips to prevent spilled resin and clean up if you do spill. My hope is to take away some of the fears of “messing it up,” because honestly, spills do happen regardless of your skill level.
1. Give Them Space!
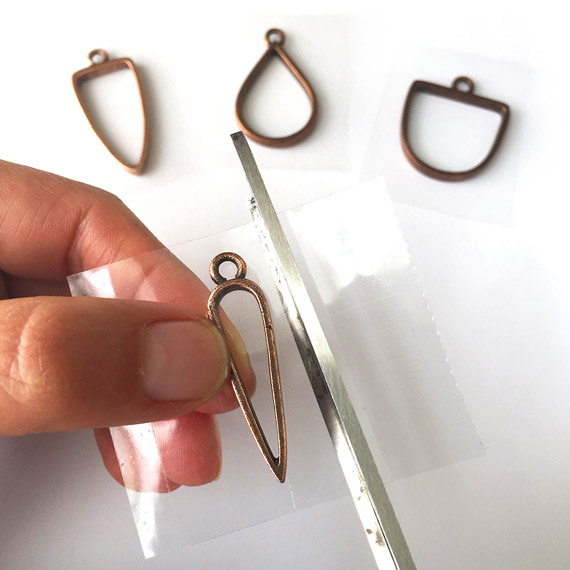
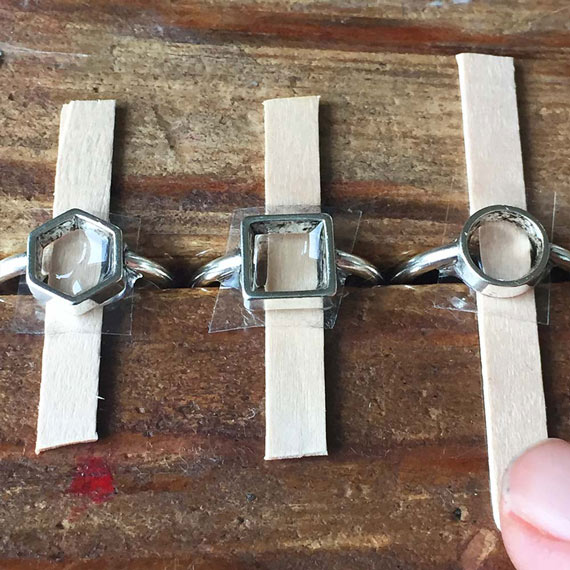
If open back bezels are closely lined up on a single piece of tape, it is easy to disturb the surrounding bezels if you are poking around dealing with an air bubble or whatnot. I like to give each of my bezels its own space by trimming the tape around it and placing each piece on its own individual card.
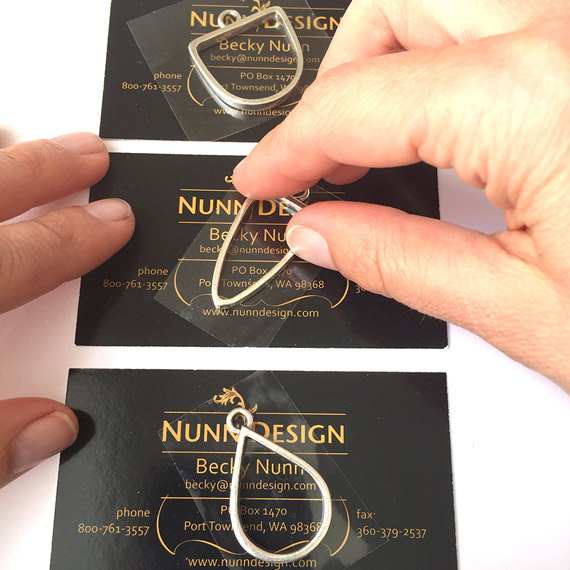
2. Place Bezels onto a Plastic Covered Surface or Glossy Card Stock
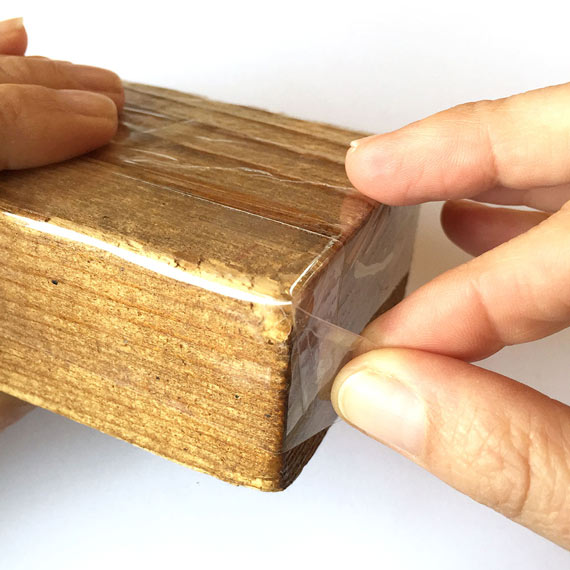
If you are working on rings, earring posts or anything that might not allow the bezel to lay flat, you will want to create a flat surface for your resin to cure. I like to work with pieces of wood that were cut from a 2 x 4 and then covered with tape. If the resin does over pour, it makes it really easy to just let it cure and peel away the resin later.
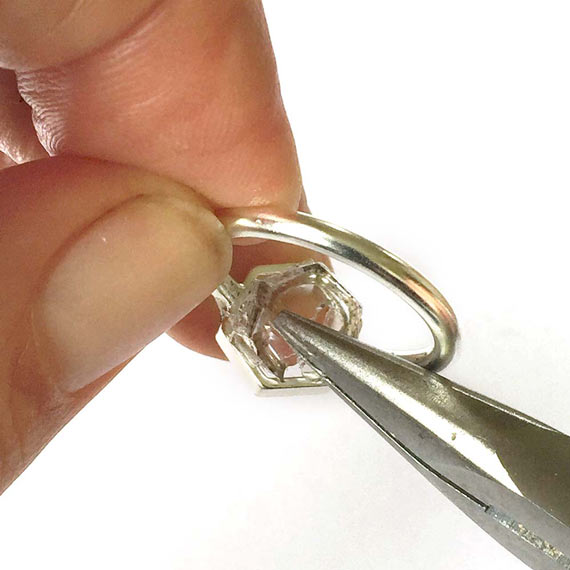
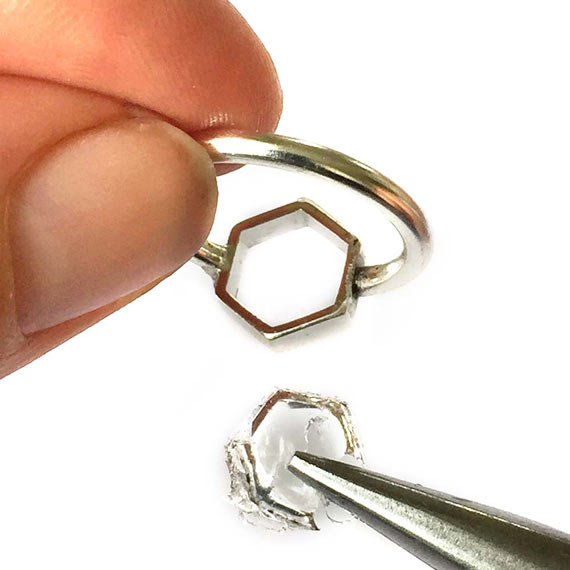
If you place curing resin onto a piece of paper, the paper can become stuck onto the backside of the resin or the bezel. It can be cleaned up with a pair of needle nose pliers, but the cleanup could be easier if it was placed onto a piece of tape or plastic, versus a piece of paper.
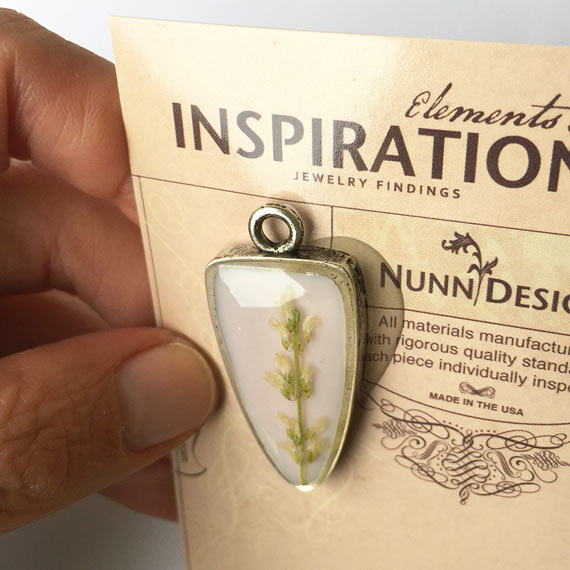
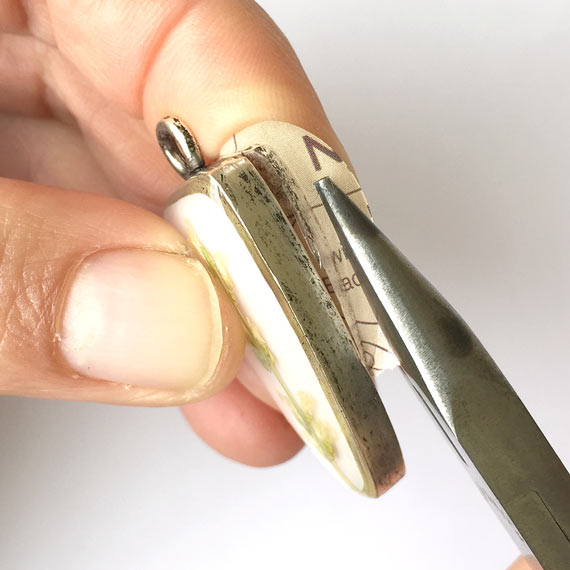
Here are some photos of me cleaning up resin that overflowed onto a glossy paper stock. It releases super easy with no cleanup necessary.
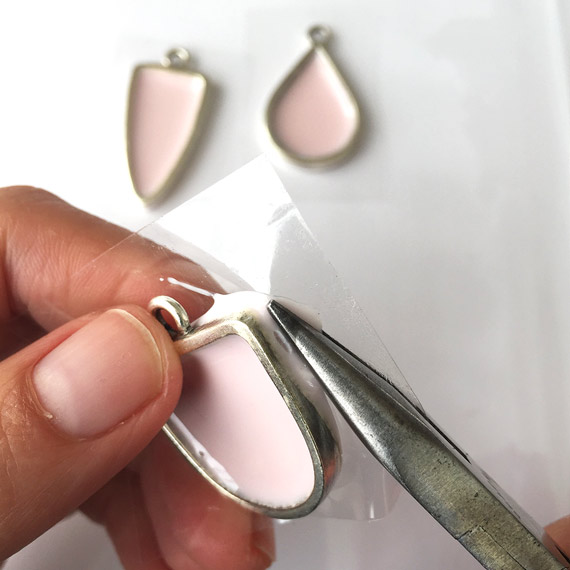
3. Make Sure You Have a Good Seal
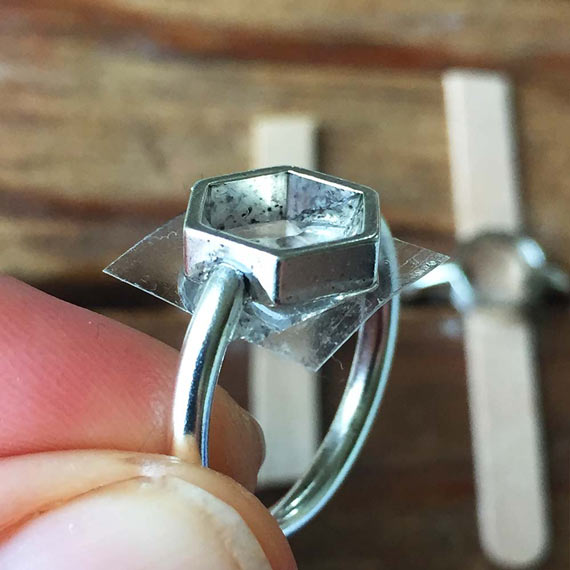
If the packing tape isn’t fully burnished to the backside of the open back bezel, it is easy for the resin to seep out of the bezel. To prevent this, make sure you have a good seal.
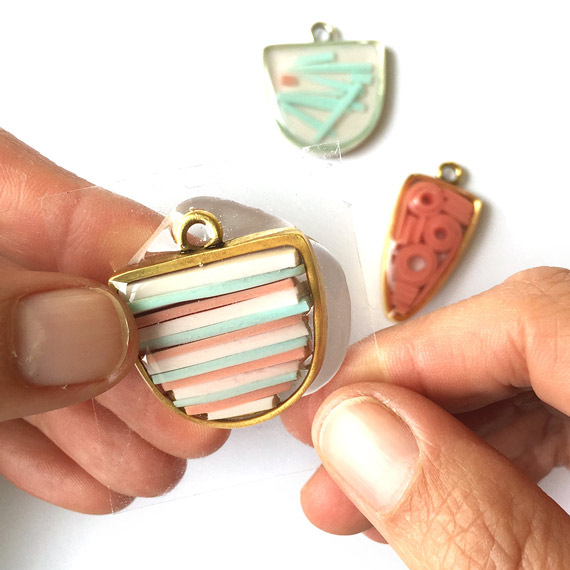
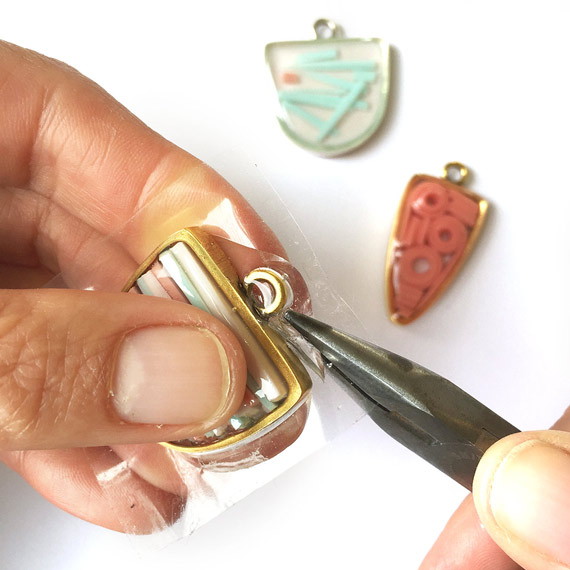
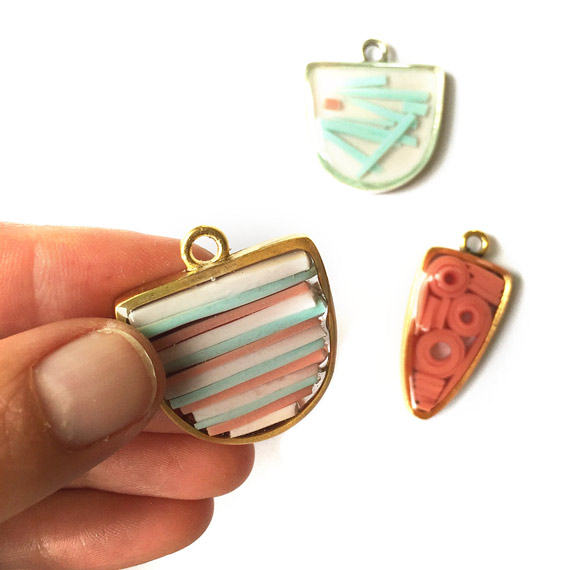
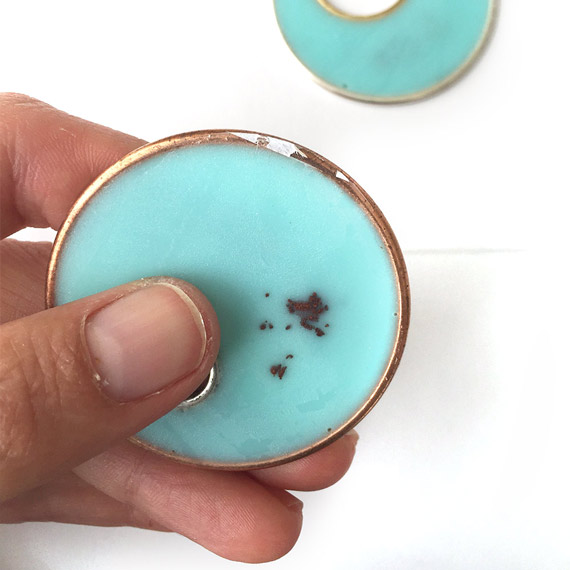
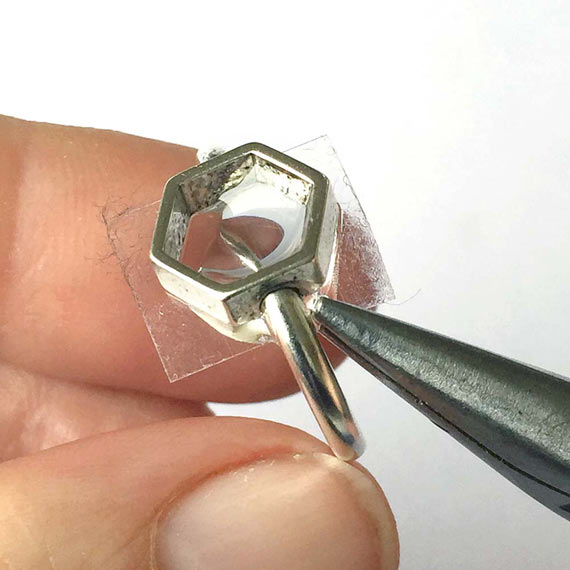
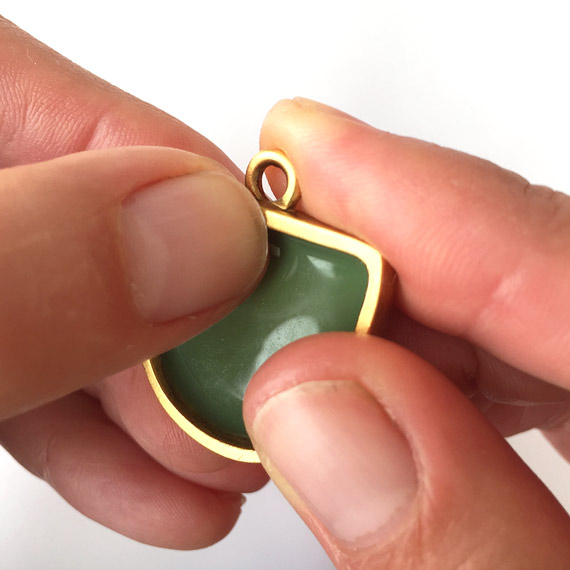
In this example, I had cut up pieces of cured resin and pre-set them into the bezel, prior to pouring the resin. The pieces weren’t level on the backside, so it was really hard to have a good seal. I poured anyway and just peeled away the resin once the pendant was cured.
4. Let Resin “Soft Cure” Before Cleaning-Up
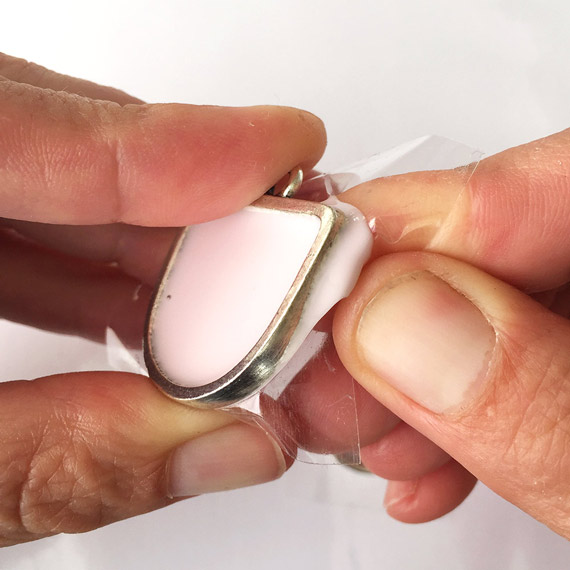
Resin continues to cure over a 72 hour period of time. When resin has cured for 6 hours, it is in a “soft cure” phase and is no longer super tacky, but it is very flexible. Just bending back the tape will remove spilled resin.

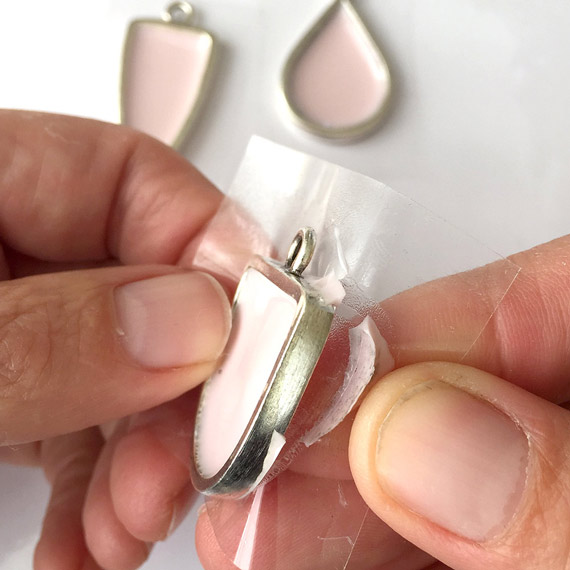
Take time to clean up little details like tiny spots of cured resin. It is really easy to do even with your fingernail when the resin is at the soft cure phase.
5. Go With The Flow
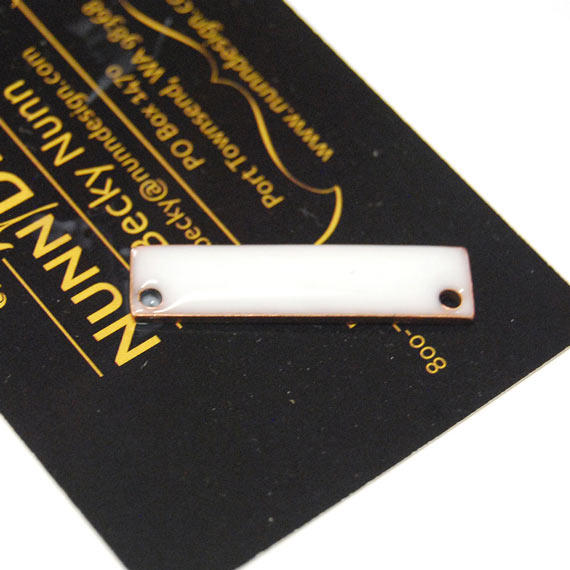
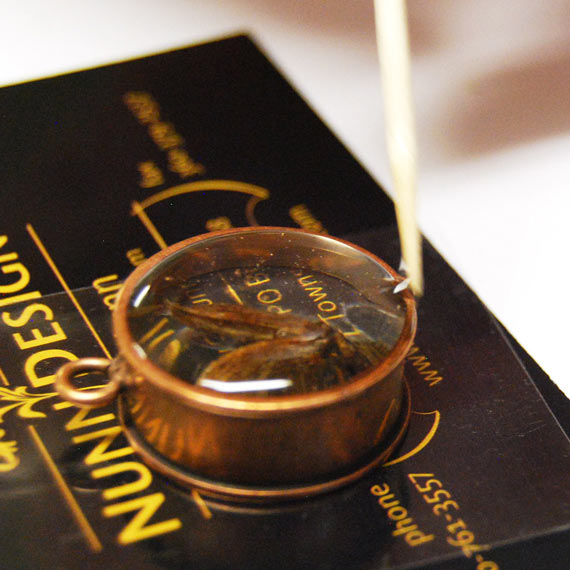
It isn’t unusual for resin to seep down into holes of flat tags, as in this photo. If this happens, use a couple toothpicks to gently move the flat tag to another area of your glossy card stock. Moving the flat tag will break the connection between the hole and the card, allowing the hole to open up.

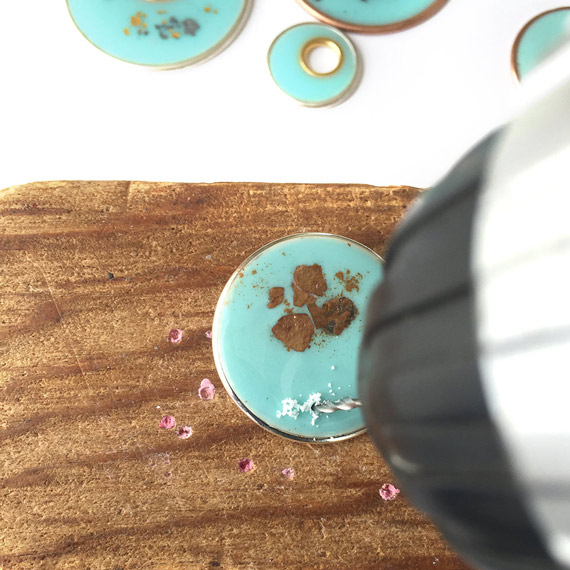
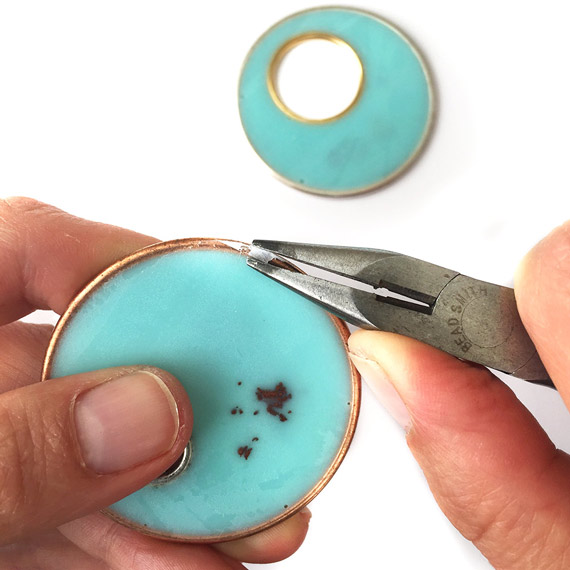
If you have a lot of resin fill an area you didn’t intend to have it, sometimes it is best to just fill it all the way and change your course of action. On these photos, I just filled the bezel full and drilled a hole into the resin, instead of spending the time trying to clean it up.
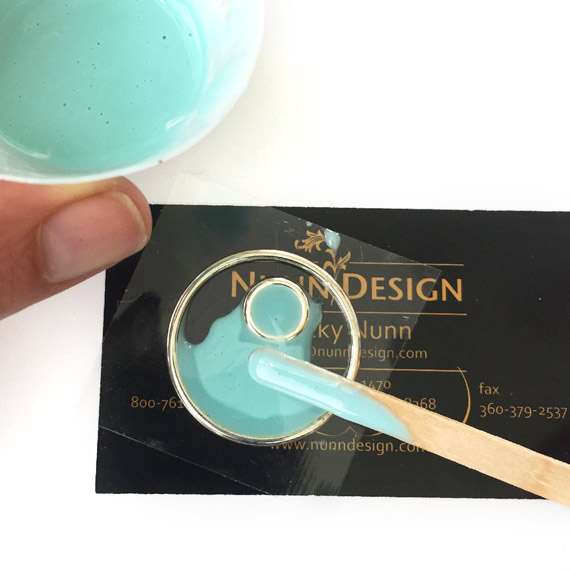
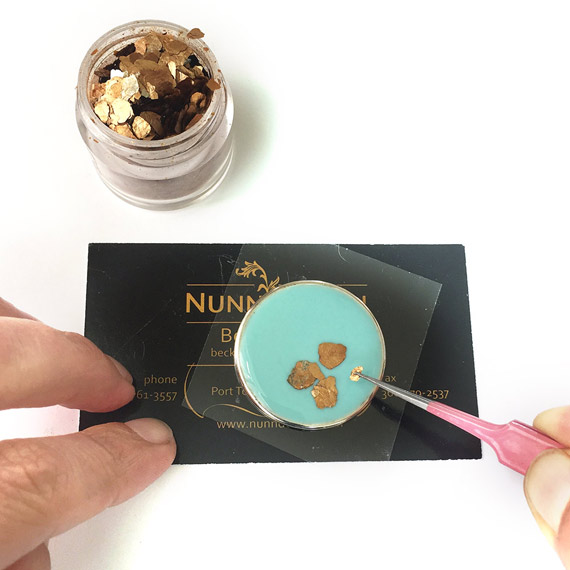
Nunn Design Resin is a self-doming resin. The resin wants to know where the edge is and will continue to dome very high with more drizzles of resin added. If your resin gets on the side edge of the bezel in one area, it is best to drag the resin over to the outside edge of the bezel all the way around. This will help the resin have a consistent edge and make it look more professional and clean.
Shop Nunn Design Resin Wholesale!
Resin Tips?
What tips do you have for working with resin? Leave a comment below!
Shop Nunn Design Wholesale
Nunn Design has been supplying jewelry artists with findings for over 20 years. Shop wholesale jewelry findings for creative jewelry makers.
Shop Nunn Design!How to Purchase Wholesale?
If you are interested in becoming one of the many designers who trust their jewelry to Nunn Design Findings, please join us by registering to become one of our wholesale customers!
Please visit our Where to Buy Page for a listing of online stores that sell Nunn Design Findings retail.

If you enjoyed reading this post, please subscribe to our blog. Here are 10 Reasons Why to Subscribe and a place to do so!
any idea how to remove paper from a resin painting. The glassine paper was used to post the painting
Thank you in advance
Heather
I wish I could help, but I’m not familiar with glassine paper. If I was going to make something up, I’d suggest trying Goo Be Gone. https://www.amazon.com/Goo-Gone-Original-Adhesive-Stickers/dp/B009M14C4S/ref=asc_df_B009M14C4S/?tag=hyprod-20&linkCode=df0&hvadid=242071853242&hvpos=1o4&hvnetw=g&hvrand=17572102979352031313&hvpone=&hvptwo=&hvqmt=&hvdev=c&hvdvcmdl=&hvlocint=&hvlocphy=9033515&hvtargid=pla-406530958981&psc=1
This stuff is amazing. Let me know if it works.
Becky