


Inside Nunn Design
Steps to Designing an Indoor Trade Show or Craft Fair Booth – Part 2
Designing an indoor trade show or craft fair booth can be overwhelming!
In Part 1 of this 4 part blog post series we covered the steps of designing and creating the booth’s sidewalls and addressed the signage. In Part 2, we will cover the designing and building of the trade show tables.
In this 4 part blog series, I am covering these 7 steps for designing an indoor trade show or craft fair booth.
Step 1: Trade Show Booth Side Walls
Step 2: Signage
Step 3: Lighting
Step 4: Tables
Step 5: Displays
Step 6: Floor
Step 7: Shipping
Here are links to the other parts in this series:
- PART 1: Steps to Designing an Indoor Trade Show or Craft Fair Booth
- PART 2: Steps to Designing an Indoor Trade Show or Craft Fair Booth
- PART 3: Steps to Designing an Indoor Trade Show or Craft Fair Booth
- PART 4: Steps to Designing an Indoor Trade Show or Craft Fair Booth
3. Trade Show Tables
My husband Brett was the mastermind behind the construction of the tables. He suggested trestle style legs for the base with a wood surface for the top. I wasn’t sure what a “trestle style leg” even was, so I did an Internet search.
From the Internet search I was able to visualize some great possibilities of what we could create.
Here is the list of questions I asked myself:
- Do I want wood trestle legs or metal?
- Can I buy ready-made trestle legs or will we need to construct them?
- How many legs/tables will we want to build for a 10 x 10 booth?
- What is the overall feel that I want the tables to have?
- How would we ship the tables?
- Are there weight/size limitations for shipping?
- What is the most cost effective solution for creating the tables?
- The tables need to be easy to assemble.
- There needs to be storage space under the tables for personal items.
Researching Trestle Legs
Questions 1 through 4 were solved together as I researched tutorials on how to make trestle legs and where to buy pre-made trestle legs. I found some legs at IKEA that I thought would work great for the tables. I took a screen shot of all the options that I thought looked promising and created a word doc that had all of the links of the tutorials I had found and where to buy the items.
The trestle legs from IKEA seemed like they had the most promise, but I wasn’t ready to purchase them until I had researched the lighting. I wanted to make sure that the metal “look” would be consistent and work well with the charcoal gray fabric walls (see Part 1). I also wasn’t clear yet on how the wood table surface would be constructed.
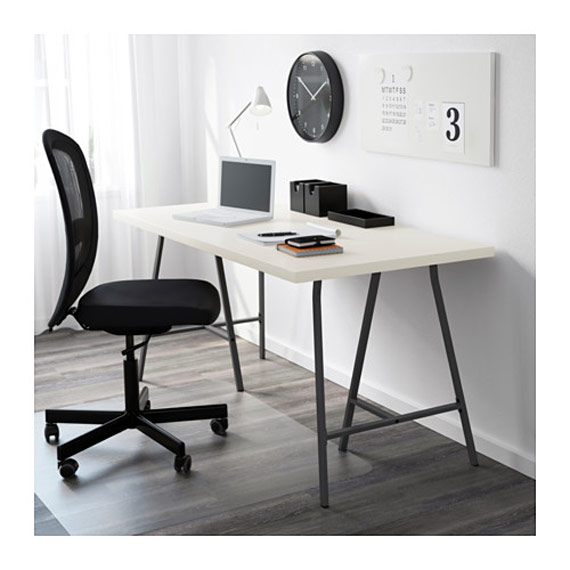
(image source: Ikea: Lerberg Trestle)
Here is another option I had taken a screen shot of, but ruled it out as I saw the booth’s “look” starting to come together: foldingtables.com.au/product/furniture-shop/kidstables/kids-trestle-legs/
Researching Shipping Requirements & Box Availability
Next, I had Heather research the UPS shipping requirements for weight and size. Heather also researched, from U-Line, the variety of boxes that we could purchase to ship the tables in. Finding boxes or making boxes isn’t an easy task so I wanted to work around what we could purchase. Heather emailed me: “We can get a heavy duty box from Uline that holds up to 80lbs and is 60 inches in length (5ft) and 12 inches wide x 12 inches high.” So, there was my table length. I needed to build it to be no longer than 60 inches in length.
Researching Wood Options
Brett and I headed to our local lumberyard to take a look at the wood options. After explaining to a salesperson what it was I wanted to create, and my requirements, he suggested a kiln dried tight knot cedar 1” x 6” x 10’. We purchased 3 boards so that we could build out the first table prototype. The 10’ boards would be cut in half making the tables 5’ long and 30” wide. I ordered one set of IKEA Trestle legs at this time.
Building of the Prototype of the Trestle Table
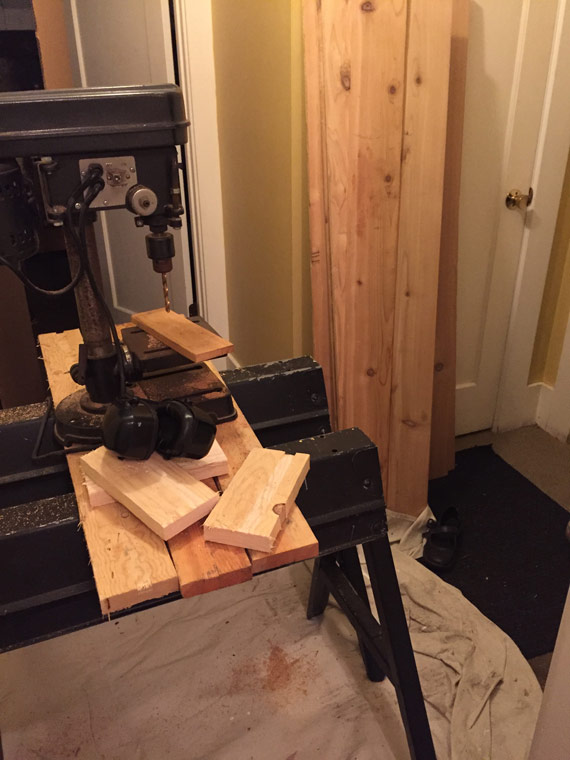
It was pouring rain here in Port Townsend, Washington so Brett had to set-up a make shift work area in our house were he cut and stained the wood.
Once the trestle legs arrived from IKEA, Brett laid the cut and stained cedar boards across the trestle legs to get an idea of the positioning of the trestle legs and where they would need to attach to the table’s surface boards.
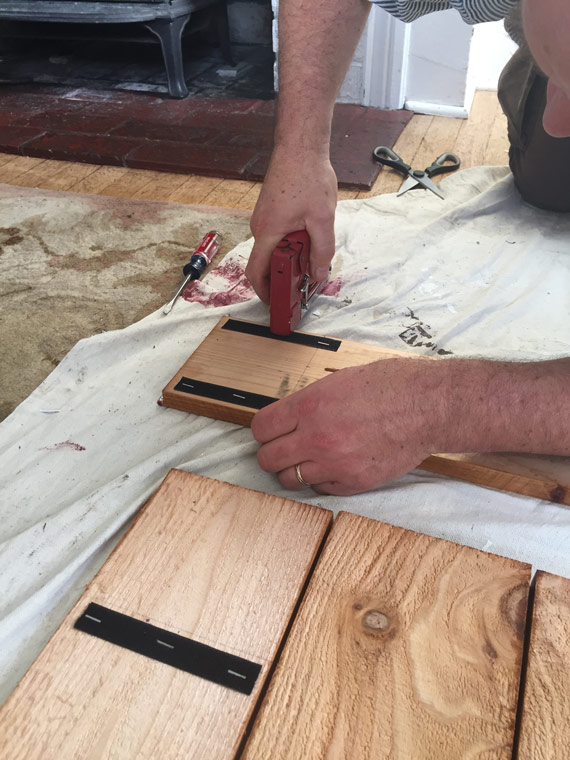
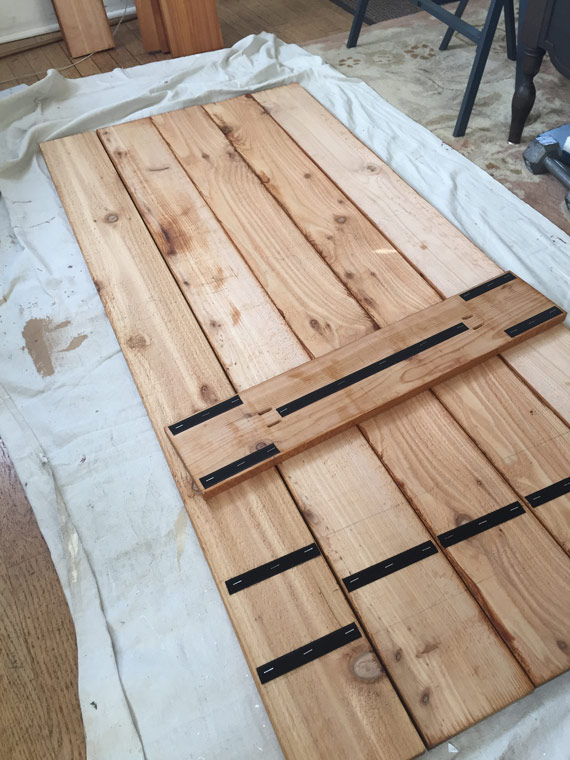
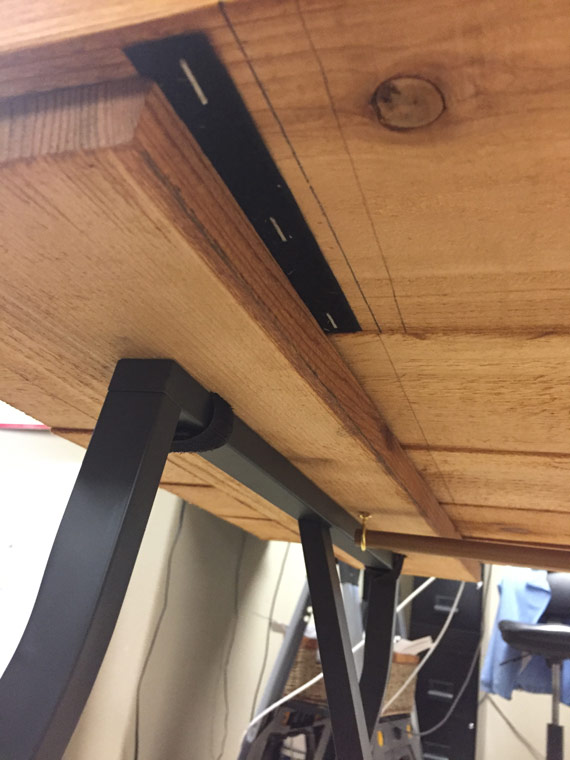
Since cedar is a very light weight wood (great for shipping!), Brett knew that over time the wood would split if we used screws to assemble it and disassemble it over and over again. He designed the table to be assembled with Velcro! Two boards were created to attach the IKEA trestle legs with a strip of Velcro. Velcro strips were stapled to the wood attached to the trestle legs. The 5’ table surface boards attached to the trestle leg support board with Velcro as well.
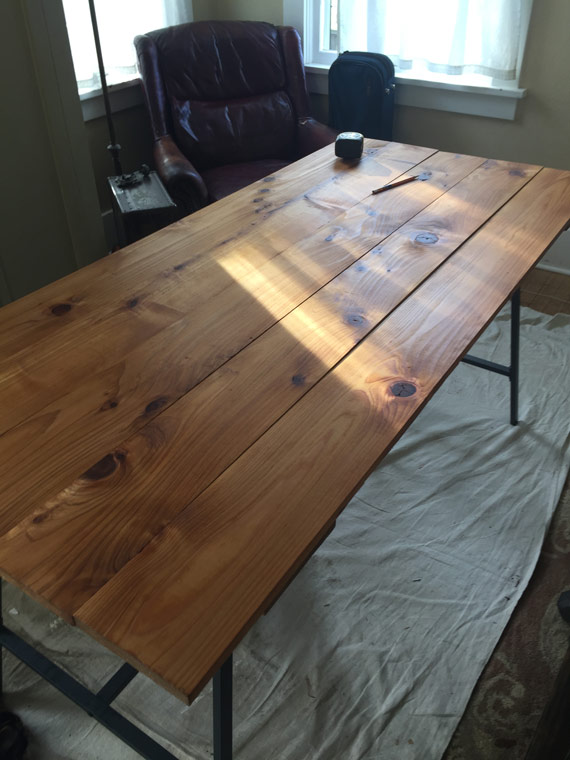
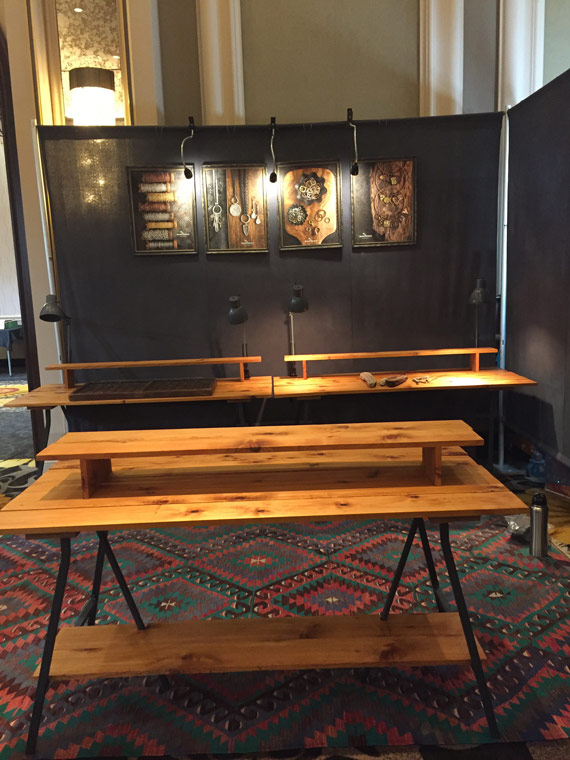
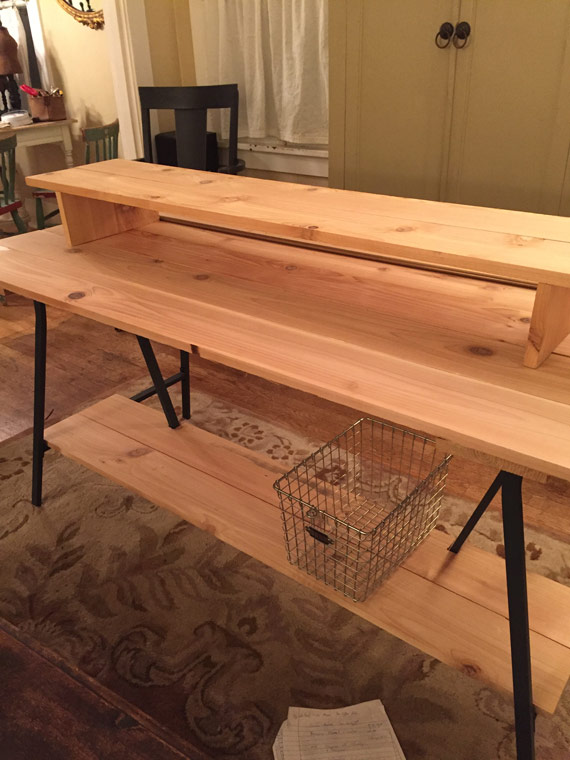
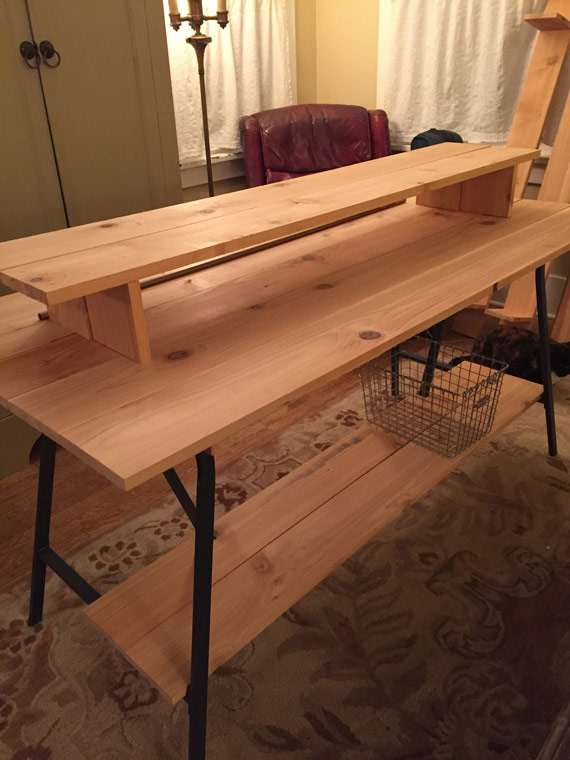
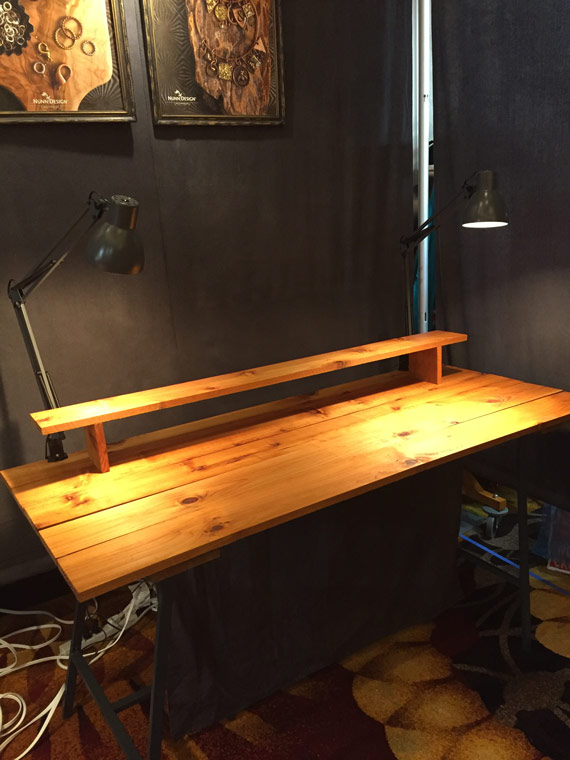
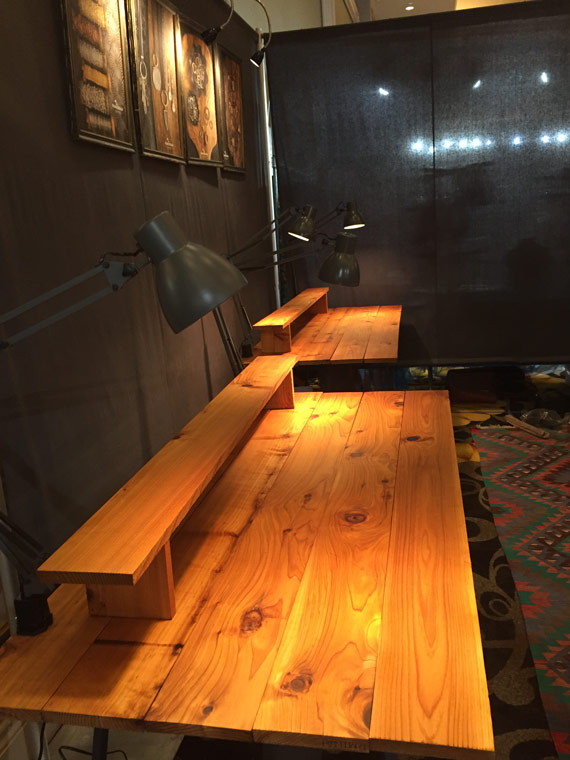
Brett made some risers for the tables using extra pieces of the cedar board. He did this by drilling holes into several boards and gluing some 5/16” dowel pins onto 4” high pieces of cedar that he cut. At this point, I knew I wanted 3 tables. 1 table would be the front focal and 2 tables would be positioned in the back. For the front table, Brett created a double riser and built a shelf on the bottom to provide additional structure and to hold some wire baskets I wanted to use for displaying samples.
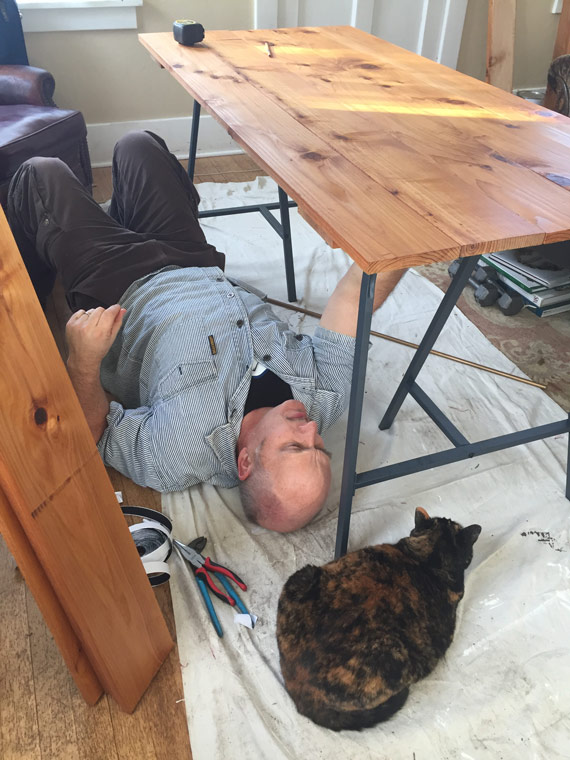
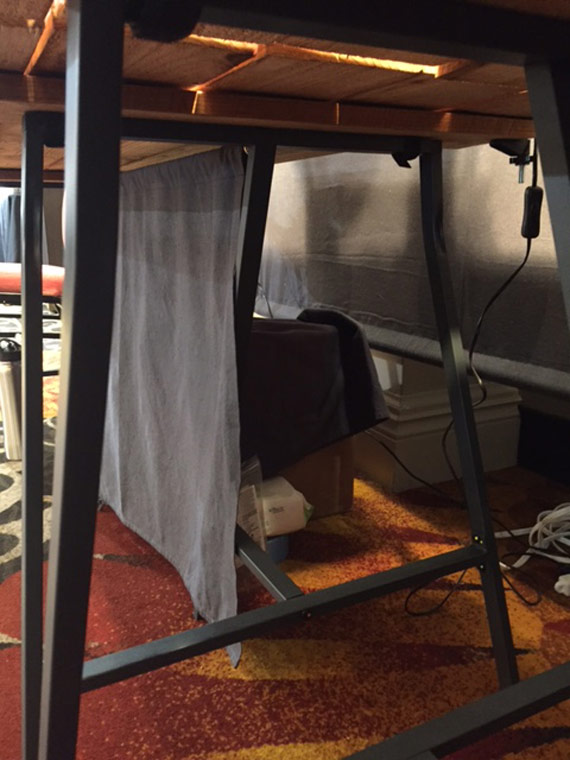
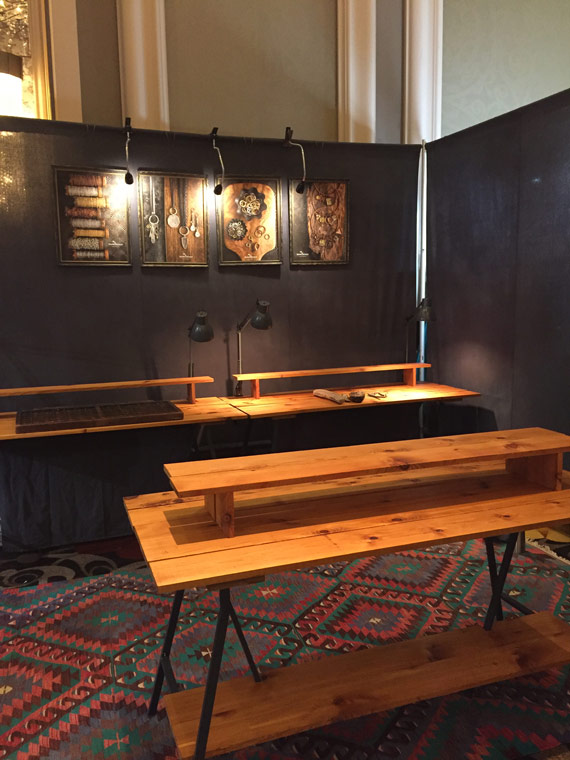
Storage Space for Personal Items
Nothing looks messier to me than having all your personal items piled up on the floor under your table. To keep the look clean, Brett attached some brass cup hooks to the underside of two of the tables. He then cut a metal rod that we could hang some fabric from. Viola! Purses and show supplies be gone!

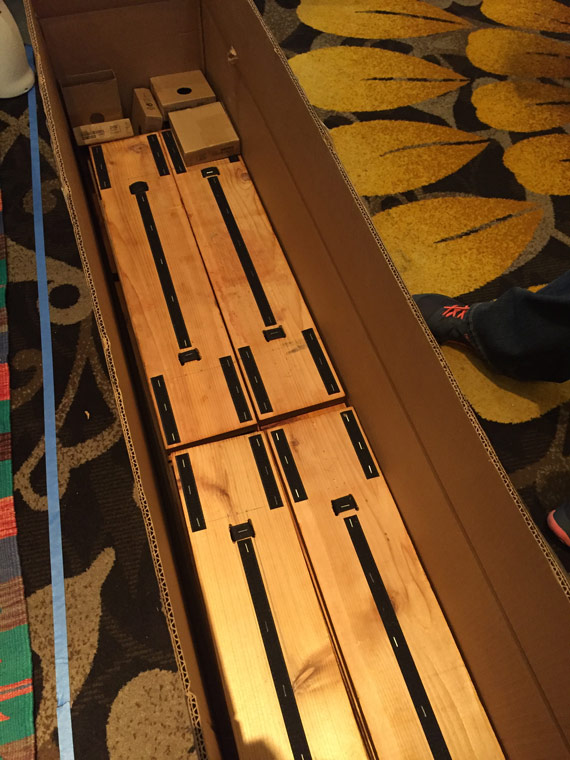
Shipping the Tables
This is how the tables shipped. Brett had all the boards labeled for Cheryl and I to assemble so that we would know which table was 1, 2 and 3 and the order of how the 5 boards that would make up the tables surface would be attached. The boxes that we used for shipping were Uline S-20417 60 x 12 x 12.
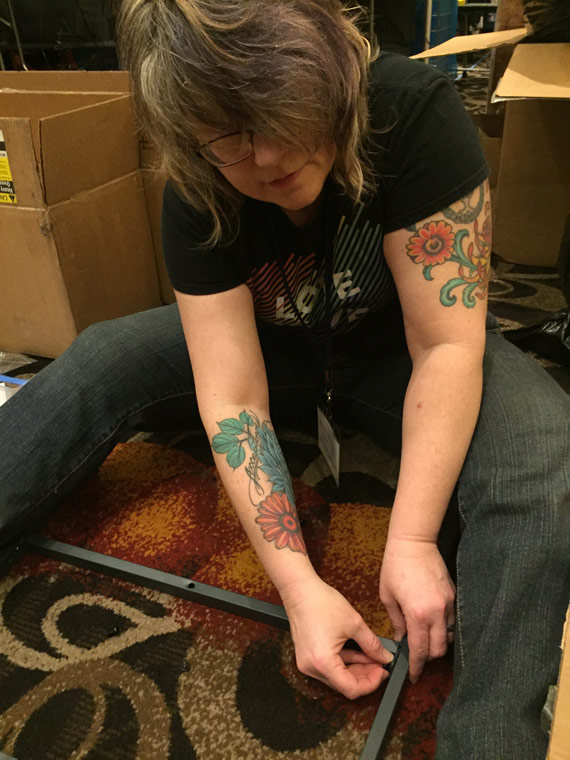
Assembling at the Trade Show
As easy as Brett tried to make the assemblage, the IKEA Trestle Legs took some time for Cheryl to assemble! She was a great sport! Once the trestle legs were assembled, it took us under 30 minutes to assemble all three tables and the risers.
What to Buy!
- IKEA Trestle Legs
- 10 kiln dried tight knot cedar boards 1” x 6” x 10’
- Velcro
- Wolfcraft 5/16” Dowel Pins
- 4 Brass Cup Hooks
- 2 Uline Boxes S-20417 60 x 12 x 12
Part 2 Down, 2 More To Go!
Part 2 down! See the other blog posts for more steps to designing an indoor trade show or craft fair booth.
- PART 1: Steps to Designing an Indoor Trade Show or Craft Fair Booth
- PART 3: Steps to Designing an Indoor Trade Show or Craft Fair Booth
- PART 4: Steps to Designing an Indoor Trade Show or Craft Fair Booth
Shop Nunn Design Wholesale
Nunn Design has been supplying jewelry artists with findings for over 20 years. Shop wholesale jewelry findings for creative jewelry makers.
Shop Nunn Design!How to Purchase Wholesale?
If you are interested in becoming one of the many designers who trust their jewelry to Nunn Design Findings, please join us by registering to become one of our wholesale customers!
Please visit our Where to Buy Page for a listing of online stores that sell Nunn Design Findings retail.

If you enjoyed reading this post, please subscribe to our blog. Here are 10 Reasons Why to Subscribe and a place to do so!