


Tutorials
Black Chaton Gold Ring & Earring Tutorials
![]()
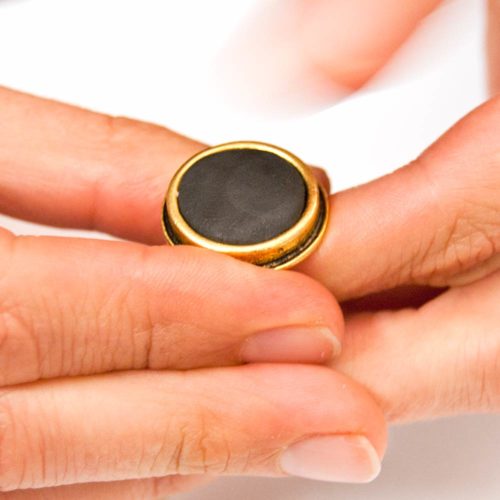
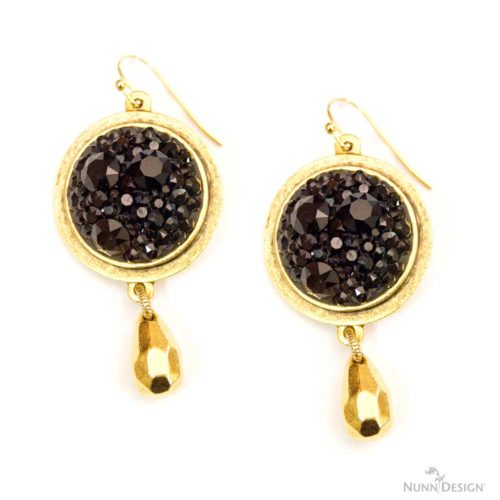
Black crystal chatons layered and embedded into Crystal Clay has a look of traditional elegance. Pair black crystals with one of the Nunn Design Traditional Bezel Findings to create a finished piece of jewelry that is sure to be noticed.
Learn How to Make a Black Chaton Gold Ring
Learn how to use Crystal Clay and black crystal chaton to create a layered look that is unique and elegant.
![]()
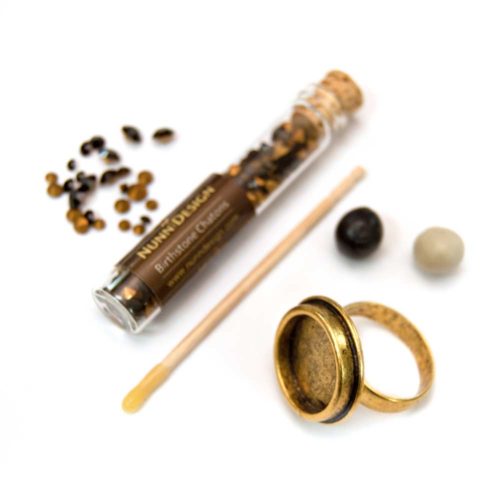
Supplies:
Crystal Clay-Black (cryclay-black)
Cha-blk Chaton Black (cha-blk)
1 Ring Adjustable Traditional Circle – Antique Gold Plated (ratc-gb)
Tools:
Beeswax Toothpick or Magic Pick Lite
2 pairs of needle nose pliers
Wet wipes
Toothpick or a headpin
To Assemble The Ring
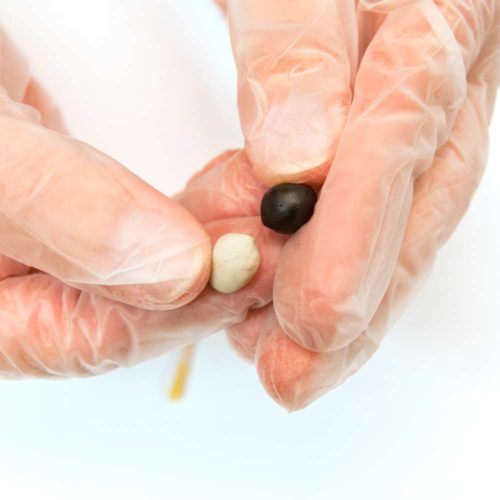
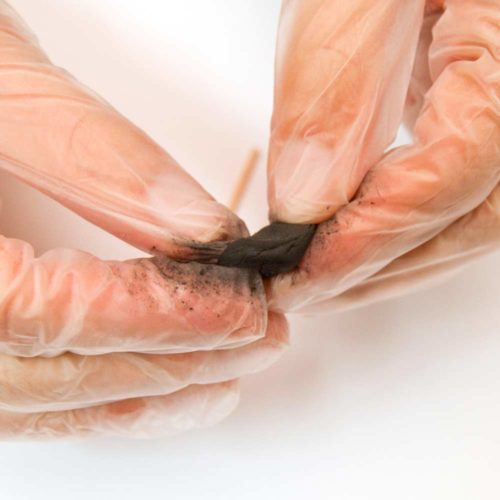
Step 1:
Pinch off two equal pea-sized balls, one of Part A (the color) and another of Part B (the hardener) of the Crystal Clay. Knead the two equal-sized balls fully together until the clay is a consistent color and not marbled.
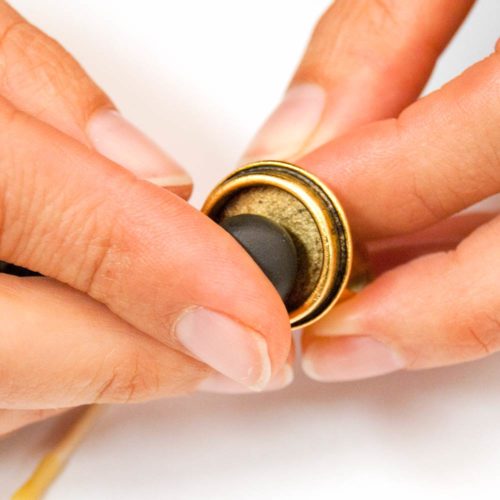
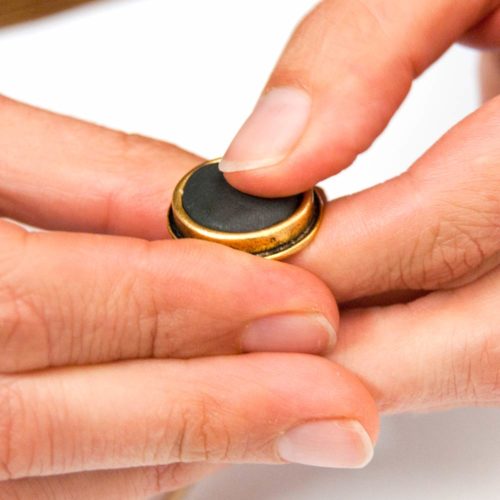
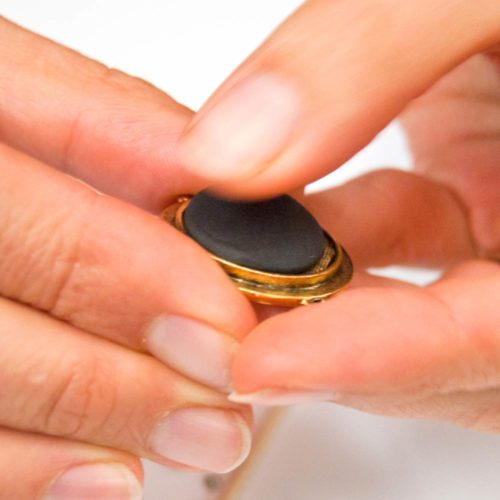
Step 2:
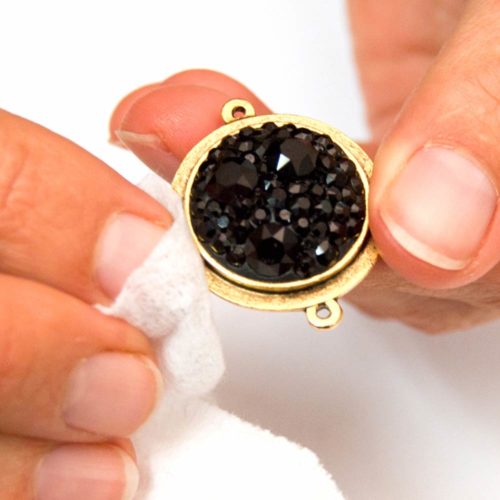
Roll the Crystal Clay into a ball and press it into the base of the Ring Adjustable Traditional Circle – Gold. Pat the clay gently until it is nicely domed and fully flush to the edges. If you have too much Crystal Clay, you can pinch off the excess and keep patting it down to make the surface smooth. Make sure to use your wet wipe and wipe away any excess Crystal Clay that could be on the sides of the metal or on your fingers. The Crystal Clay will dry rock hard and is super hard to remove, so get in the practice of always keeping your work surface clean and tidy.
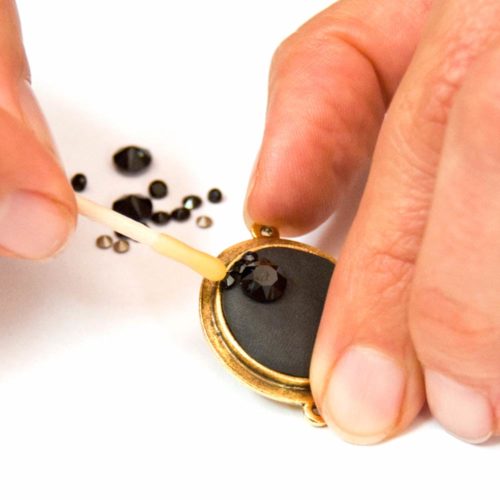
Step 3:
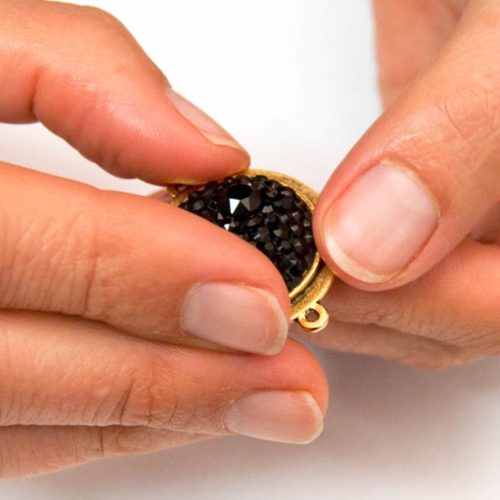
Using a beeswax toothpick or a Magic Pick Lite, pick-up the individual Black Chatons and gently press each into the Crystal Clay. Continue to press Chatons in until complete. You have approximately 2 hours to work with the Crystal Clay, so take your time and enjoy.
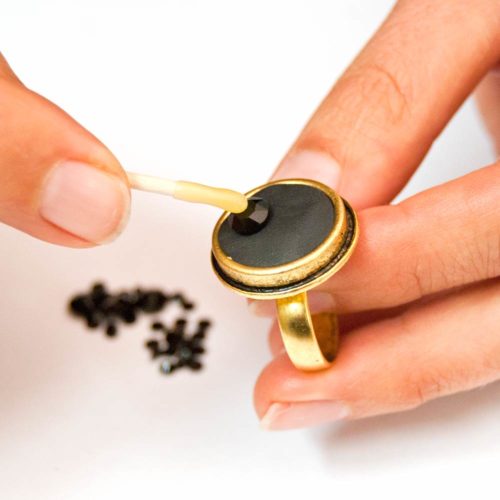
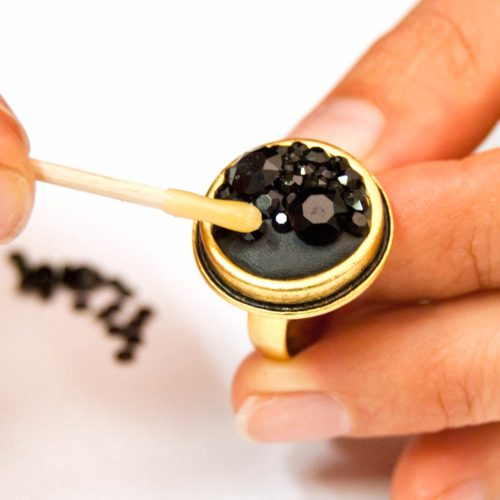
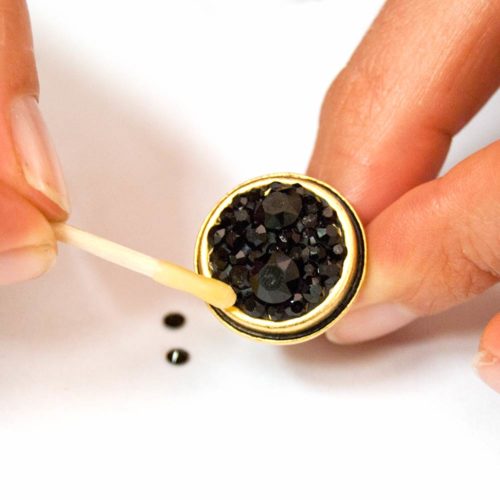
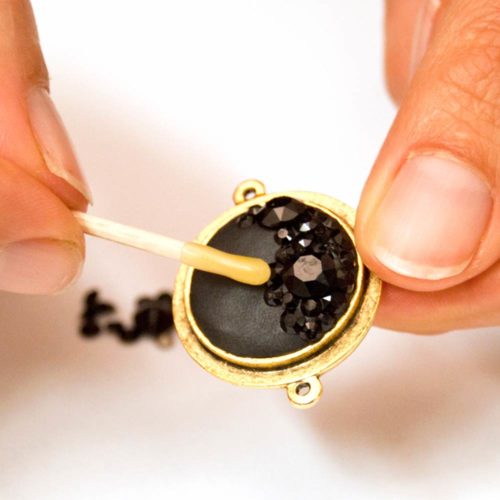
Note: To create the stair step look of layering the Chatons, pinch off a small ball of clay and press it gently into the gaps between the various sizes of the Chatons using a headpin. This allows for a bit of clay to be built up so the additional Chatons have plenty of clay to be pressed into. Wipe away the excess Crystal Clay if it spreads onto the surrounding Chatons.
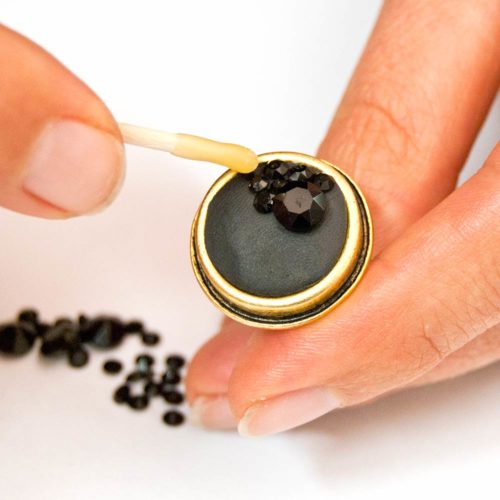
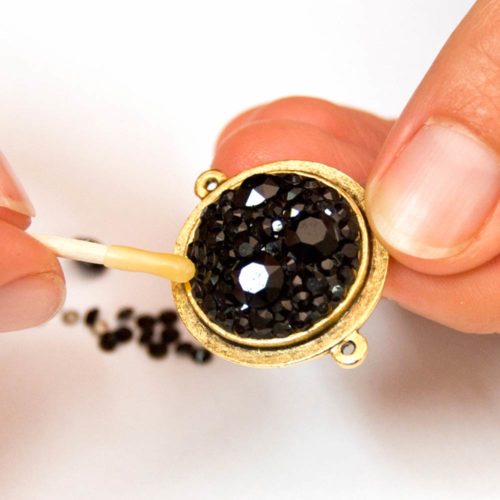
Step 4:
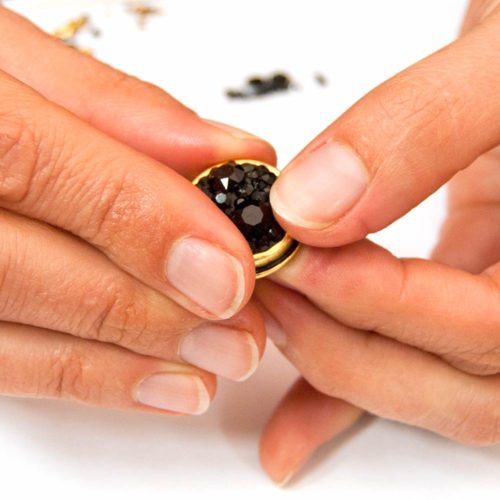
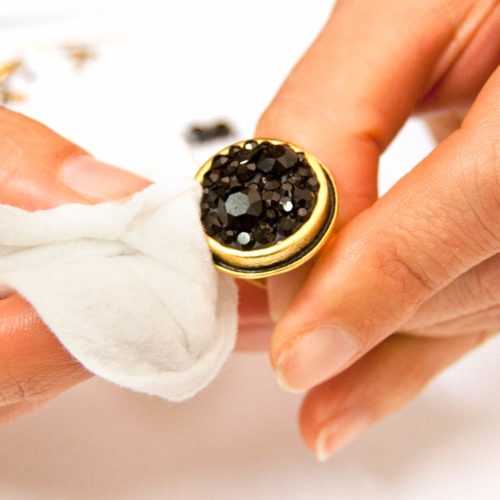
Use your fingers to gently press the Chatons into the clay and sculpt your dome in the ring. Make sure that all of the Chaton points are secure and embedded fully into the clay. Wipe away any excess Epoxy Clay. It will dry rock hard and is super hard to remove.
![]()
The Crystal Clay will harden within 2 hours and fully cure within 24.
Shop Supplies:
- Crystal Clay-Black (cryclay-black)
- Cha-blk Chaton Black (cha-blk)
- 1 Ring Adjustable Traditional Circle – Antique Gold Plated (ratc-gb)
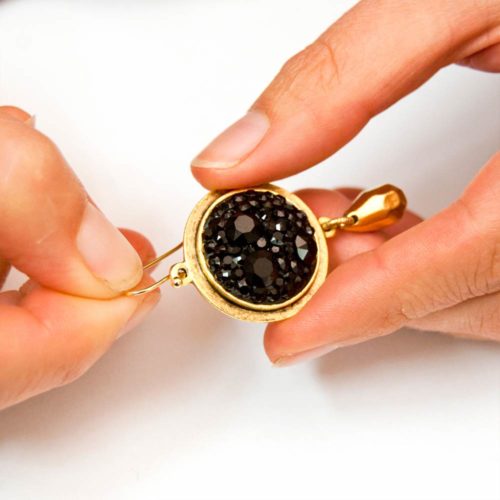
Learn How to Make These Black Chaton Gold Earrings
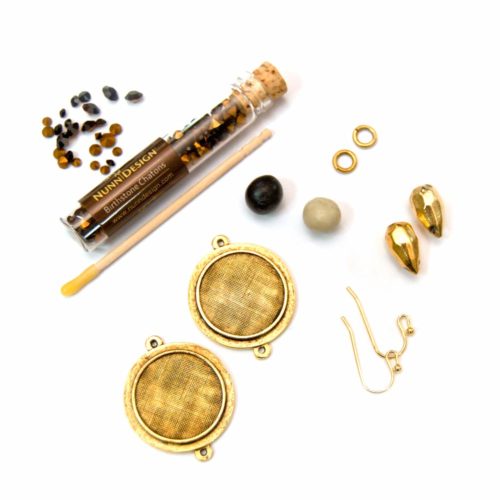
Supplies:
Crystal Clay-Black (cryclay-black)
Cha-blk Chaton Black (cha-blk)
2 Raised Pendant Small Circle Double Loop – Antique Gold Plated (rpsc-gb)
2 Ear Wires – Antique Gold Plated (ewg-b)
2 Jump Ring 6mm Textured Circle – Antique Gold Plated (jr6tc-gb)
2 Metal Bead Faceted Drop – Antique Gold Plated (mbfd-gb)
Tools:
Beeswax Toothpick or Magic Pick Lite
2 pairs of needle nose pliers
Wet wipes
Toothpick or a headpin
To Assemble the Bezels
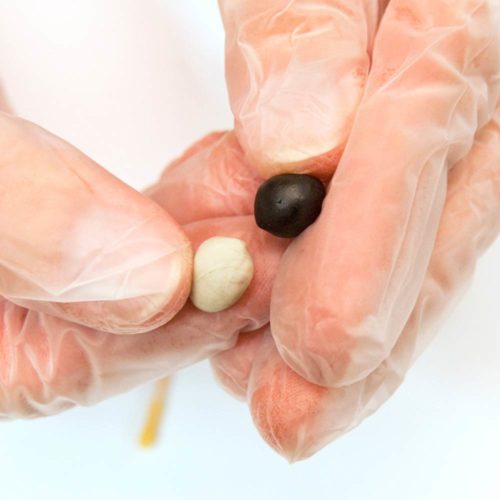
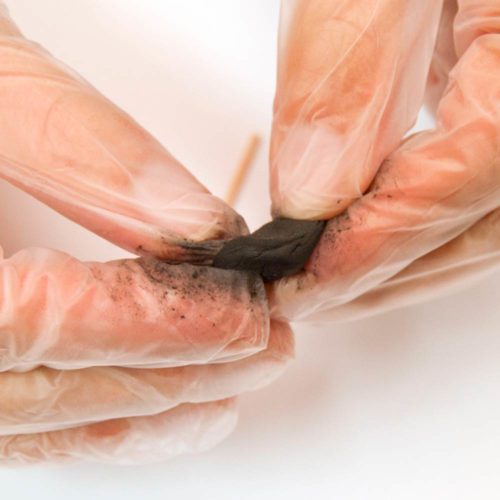
Step 1:
Pinch off two equal pea-sized balls, one of Part A (the color) and another of Part B (the hardener) of the Crystal Clay. Knead the two equal-sized balls fully together until the clay is a consistent color and not marbled.
Step 2:
Split the mixed Crystal Clay in half and roll one half into a ball and press it into the base of the Raised Pendant Small Circle Double Loop – Antique Gold Plated. Pat the clay gently until it is flat and fully flush to the edge. If you have too much Crystal Clay, you can pinch off the excess and keep patting it down to make the surface smooth. Repeat with the other half of clay in the other Raised Pendant. Make sure to use your wet wipe and clean up any excess Crystal Clay that could be on the sides of the metal or on your fingers. The Crystal Clay will dry rock hard and is super hard to remove, so get in the practice of always keeping your work surface clean and tidy.
Step 3:
Using a beeswax toothpick or a Magic Pick Lite, pick-up the individual Black Chatons and gently press each into the Crystal Clay. Continue to press Chatons in until complete. You have approximately 2 hours to work with the Crystal Clay, so take your time and enjoy.
NOTE: To create the stair step look of layering the Chatons, pinch off a very small ball of clay and press it gently into the gaps between the various sizes of the Chatons using a headpin. This allows for a bit of clay to be built up so the additional Chatons have plenty of clay to be pressed into. Wipe away the excess Crystal Clay if it spread out onto the surrounding Chatons.
Step 4:
Use your fingers to gently press the Chatons into the clay, making sure that all of the Chaton points are secure and embedded fully into the clay. Wipe away any excess Black Crystal Clay. It will dry rock hard and is super hard to remove. The Crystal Clay will harden within 2 hours and fully cure within 24.
Step 5:
Allow pendant to cure at least 6-8 hours.
To Assemble Earrings
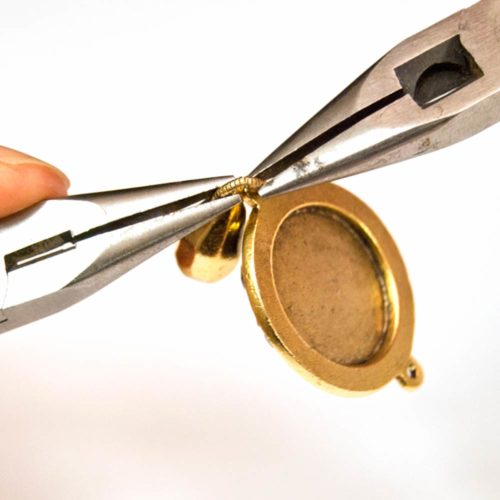
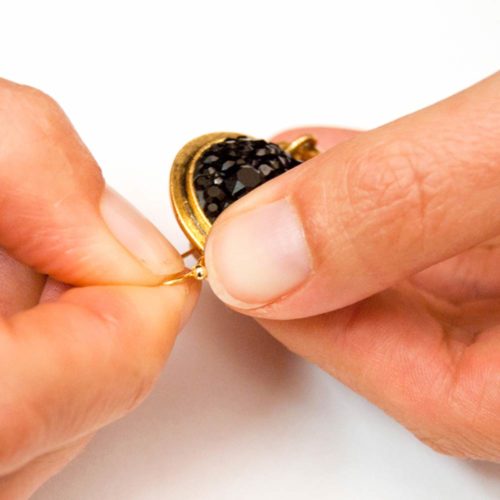
Step 6:
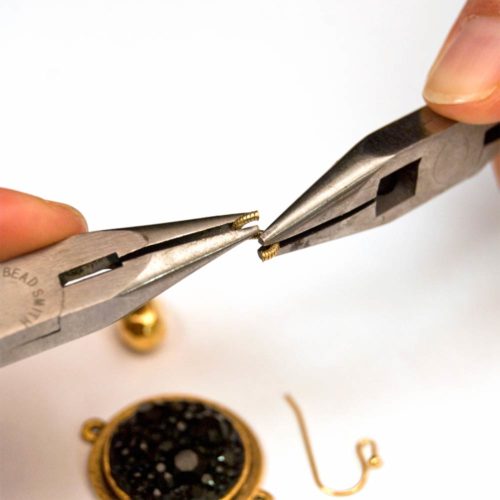
Using two pairs of needle nose pliers, open the 6mm Textured Jump Ring. Thread through the Raised Pendant Small Circle Double Loop – Antique Gold Plated and the Metal Bead Faceted Drop – Antique Gold Plated. Close jump ring. Repeat for other earring.
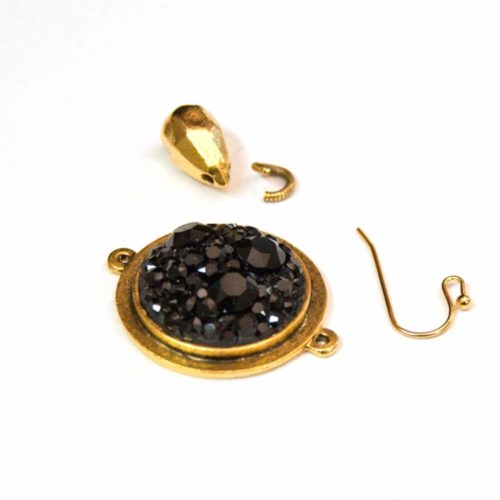
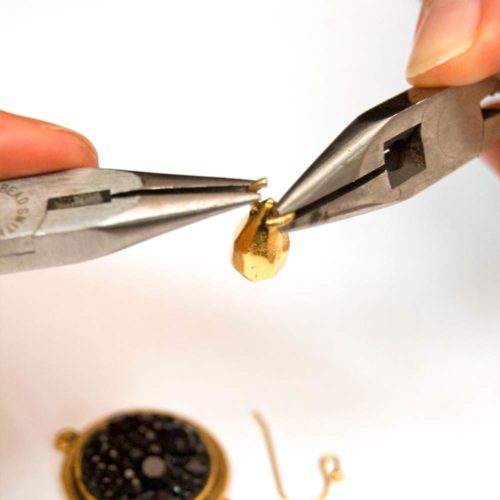

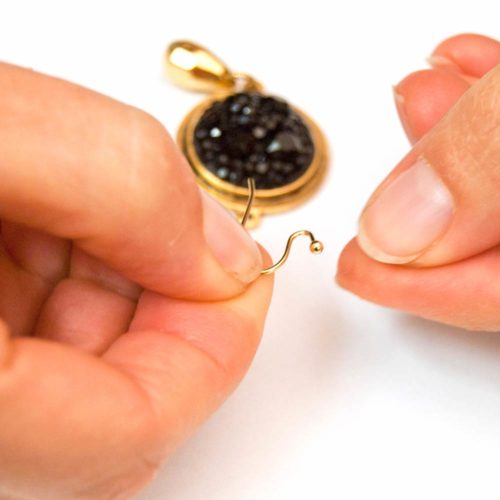
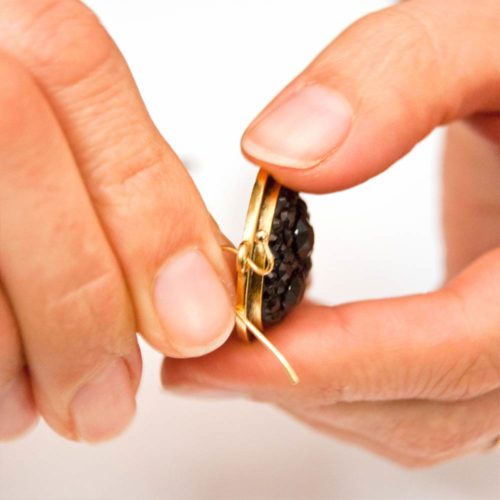
Step 7:
Open the Ear Wire and thread through the Raised Pendant Small Circle other loop. Squeeze closed. Repeat for other earring.
Ahhh! Time to take out the mirror and admire your new creations!
Shop Nunn Design Wholesale
Nunn Design has been supplying jewelry artists with findings for over 20 years. Shop wholesale jewelry findings for creative jewelry makers.
Shop Nunn Design!How to Purchase Wholesale?
If you are interested in becoming one of the many designers who trust their jewelry to Nunn Design Findings, please join us by registering to become one of our wholesale customers!
Please visit our Where to Buy Page for a listing of online stores that sell Nunn Design Findings retail.

If you enjoyed reading this post, please subscribe to our blog. Here are 10 Reasons Why to Subscribe and a place to do so!
I’ve seen a lot of examples of using crystal clay from Nunn Design and found them interesting. However, this is the first example I REALLY like. I think it’s because the black chatons blend in with the black clay, making the clay setting less apparent. Very pretty. Will be looking into ordering some black clay and chatons. TFS!
Thank you Michelle. It is a very diverse medium. I’m still coming up with ways to use it.