


Tutorials
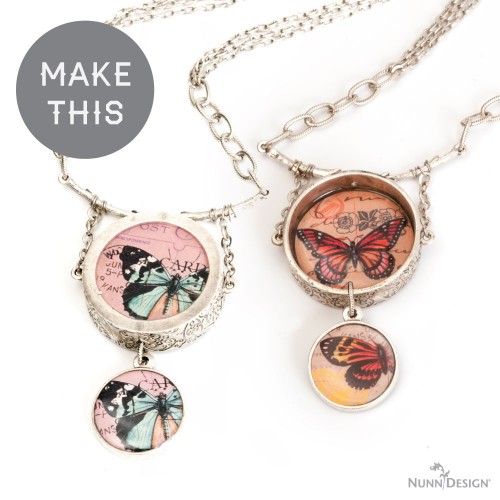
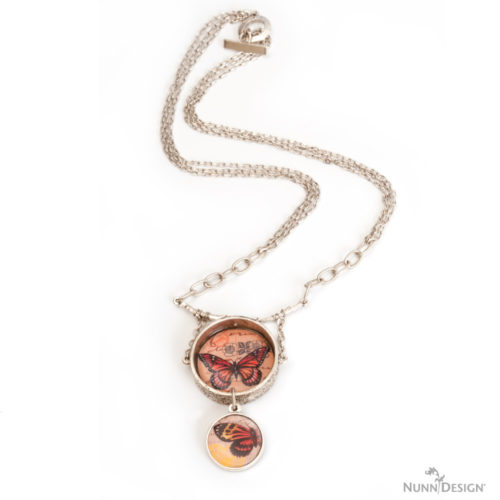
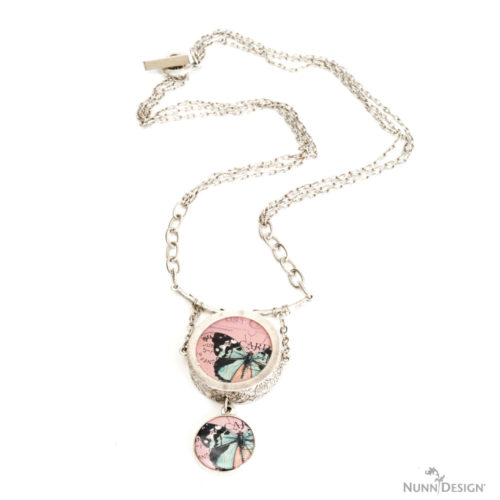
Double Sided Resin Butterfly Pendant Tutorial
Over the next couple of weeks, we will be posting tutorials from our archives of coolness. Even if you have seen these projects floating around our gallery and on Pinterest, these posts on our blog include even more handy tips and photos!
Notes on UV Resin:
In this tutorial I cover the use of UV resin. UV resin is a single part resin, versus a two-part resin. Here are the pros and cons of working with UV resin.
Pros:
- Curing speed. It cures in 20 minutes when exposed to UV light such as the sun or a UV lamp whereas 2 part resins can take upwards of 72 hours to cure.
- UV resin requires no mixing. You can use drops of it and have no waste.
- No risk of not getting the 1 to 1 ration correct – which is one of the causes of 2 part resin not curing properly.
- No mixing, so stirring, no cups, no stir sticks. So, again, no waste.
Cons:
- UV resin is a lot more expensive than a 2-part resin.
- All parts of the UV resin must be exposed to UV light in order to cure. What this means is you cannot embed found objects unless you know that the UV resin won’t seep underneath. There are ways to get around this, such a fully gluing the embedded object, or curing a thin layer in first and then embedding. This allows for the light to come from underneath. Anyway, more on that with other tutorials.
- Not as readily available as 2-part resin.
- Just like 2-part resin, there are sometimes where I just scratch my head and think…what the heck. I have oddball things happen that I’ve never seen before. I just can’t seem to perfect my results. I really think that this is the nature of resin in general…but I sure would like to have more control (yikes-is that a sign of something?).
To be clear, I use and like both UV resin (we are a distributor of Gel du Soleil) and 2-part resin (Nunn Design Resin). Both have their strengths and depending on what I am doing and how fast I need it done, I will use one or the other. I have even used both on the same piece! At the end of the tutorial, you will find links to all of the products used in this tutorial as well as more in depth instructions.
Supplies:
Supplies Needed:
- Grande Pendant Circle Open (gpco-sb)
- Double Sided Pendant Circle (dpc-sb)
- 2 Flat Tag Grande Circles (ftgcs-sb)
- Twig Connector Bar (tcb-sb)
- 1/2 Collage Sheet Butterflies (csbf)
- Nunn Design Glue 2oz (glue 2oz)
- Gel du Soleil 4 oz (gel 4oz)
- Large Textured Cable Chain (ltcc-sb)
- Small Hammered Cable Chain (shfc-sb)
- Small Fine Cable Chain (sfcc-sb)
- Ring Toggle (rt-sb)
- Simple Toggle Bar (stb-sb)
- Bond 527 Cement
- 22 gauge silver wire
Tools:
- 2 Pairs of Needle Nose Pliers
- Hole Punch Pliers 1.8mm (plhp18)
- Paint brush and water to rinse
- Q Tip
Optional:
- Punch Large Circle – 1.25 inch punch
- Punch Small Sided Circle – 13/16”
- UV lamp
Instructions for Double Sided Resin Butterfly Necklace
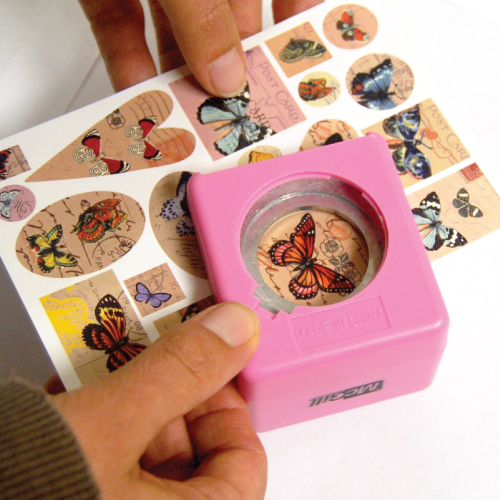
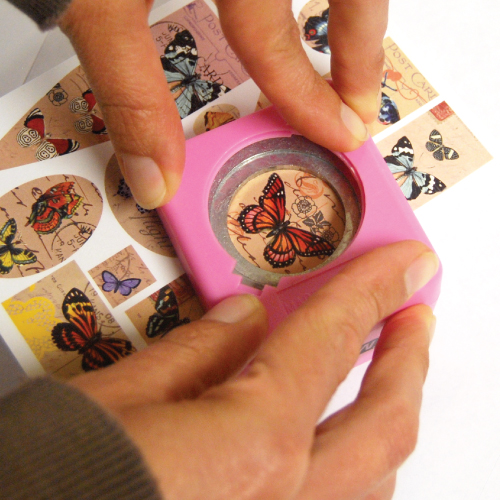
Step 1:
Punch out two images from the collage sheet using the 1 ¼” circle punch.
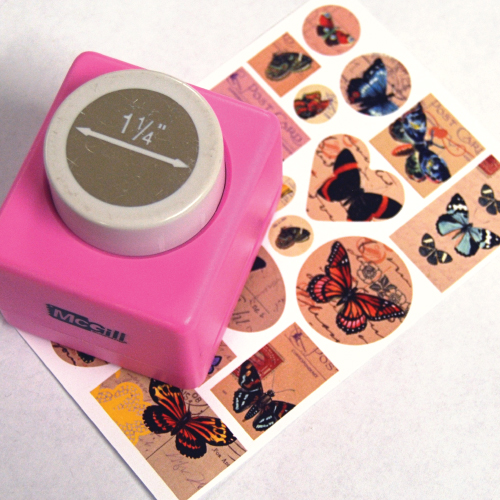
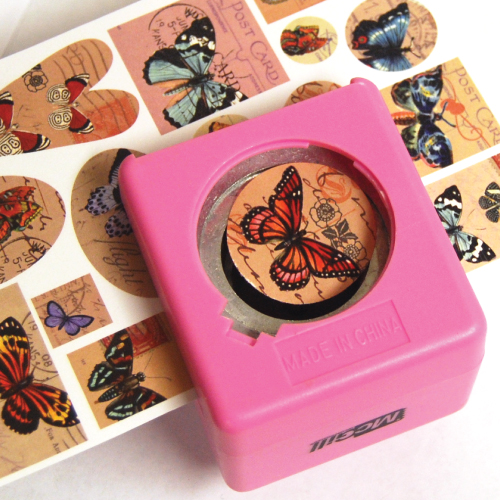
Tip: If you are having a ragged edge on your paper, don’t feel all is lost. Once you burnish it down the edges will add character. If you want to sharpen your punch, try punching a piece of tin foil a couple times to sharpen the edges, allowing for you to have a cleaner edge.
Step 2:
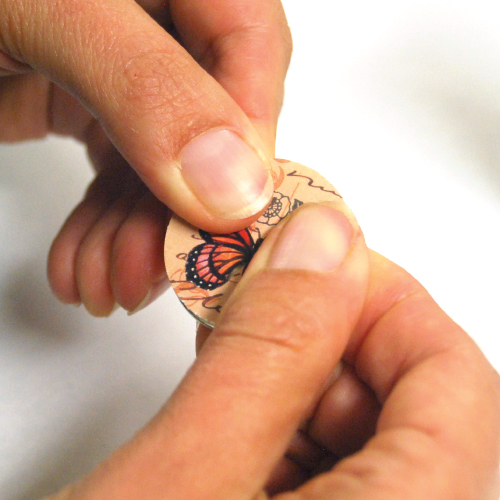
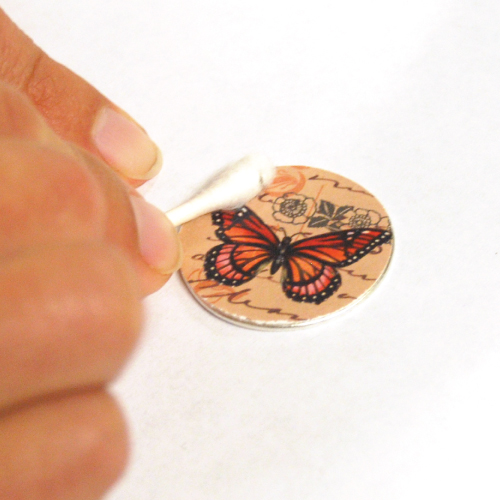
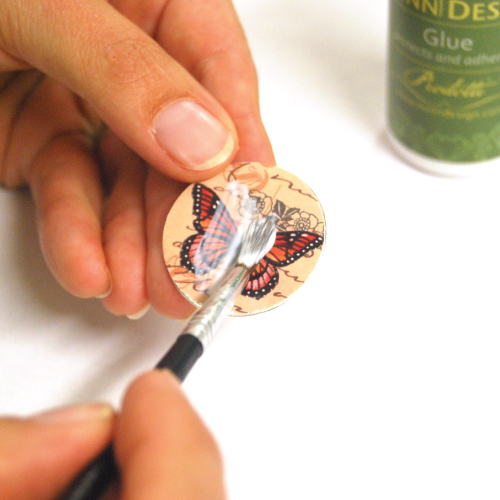
Paint a thin coat of Nunn Design Glue onto one side of the Flat Tag Grande Circle. Apply one of the collage images from Step 1 onto the wet glue and align the image up with the edges of the Flat Tag. Using your Q Tip, press down firmly in the center and in a circular motion starting small and getting larger, start to burnish down the paper to the Flat Tag.
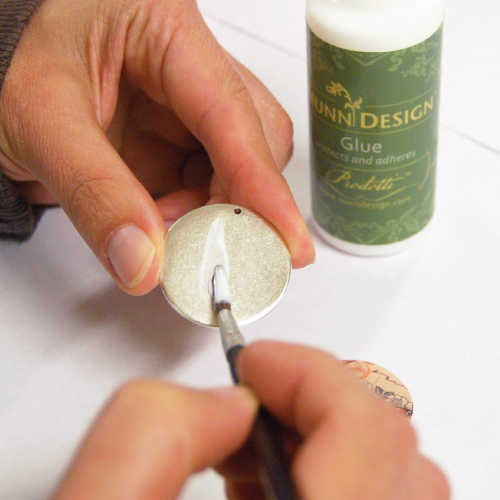
Not all glues are created equal. The Nunn Design Glue is a silicon-based glue, not water based. Why this is important is that it doesn’t put additional moisture into the paper. UV resin, as well as 2-part resin, does not like moisture and will cause the resin to form bubbles. Your paintbrush will rinse off in water, but make sure you thoroughly dry your paintbrush after use.
Step 3:
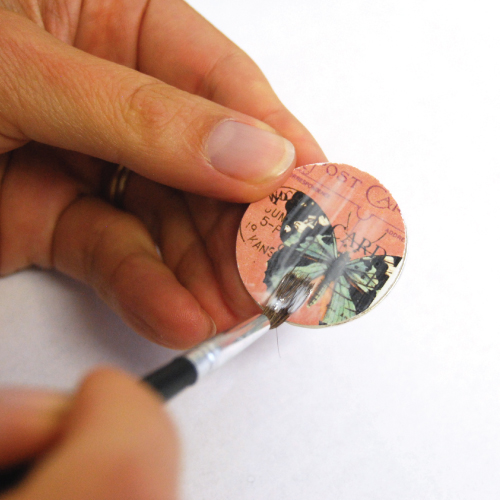
Paint a thin coat of glue over the top of the image and let it dry for thirty minutes. (Thirty minutes is a good dry time for this project. The recommended dry time for projects using deeper bezels is 8 – 12 hours or overnight.) This seals the image so the Gel du Soleil resin does not absorb into the paper, running the inks or darkening the image. Rinse and thoroughly dry your paintbrush.

Step 4:
Repeat steps 2-3 on the second blank Flat Tag.
Step 5:
Using the 1.8mm hole punch, punch a hole into the center of the Grande Pendant Circle Open Back. If there are any burrs, sand down lightly with an emery board to remove the rough edge.
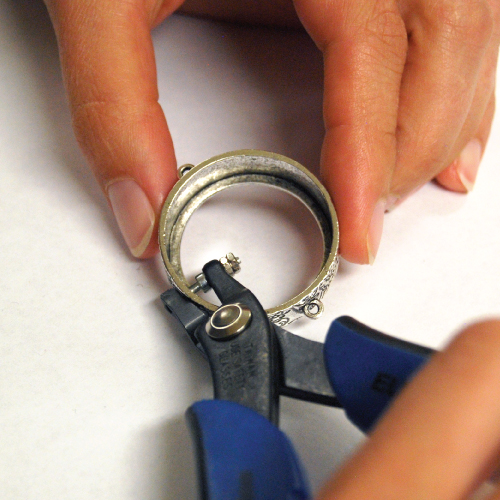
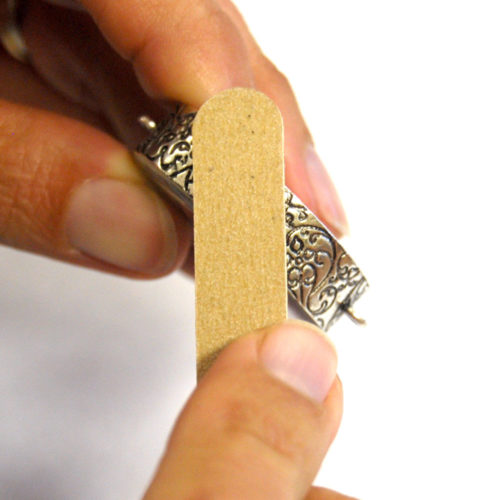
If you haven’t used a metal-hole punch, try it first on another surface prior to punching. You can also use a drill to create the hole.
Tip: Don’t place your hole too far down. Try to aim for the center of the base and top lip of the Open Back Bezel.
Step 6:
Using the 527 Bond Cement, apply a thin coat along the inside bottom edge of the Grande Pendant Circle Open Back and insert the Flat Tag Grande Circle.
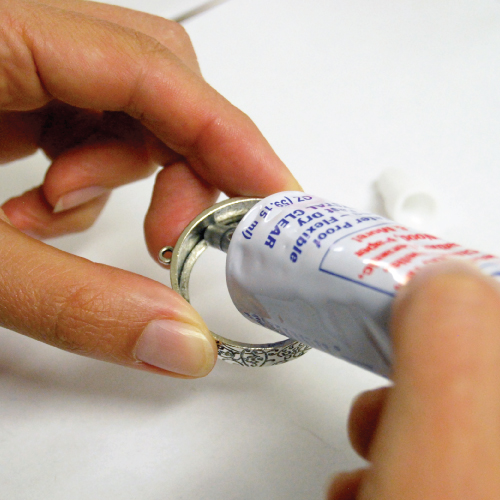
I’m a fan of this stinky Bond 527 Glue, but remember to open a window for some ventilation.
Step 7:
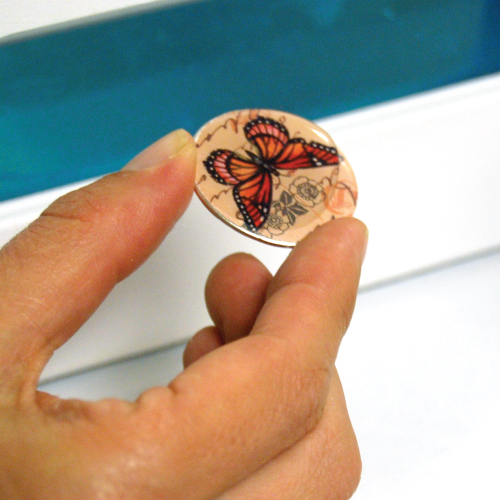
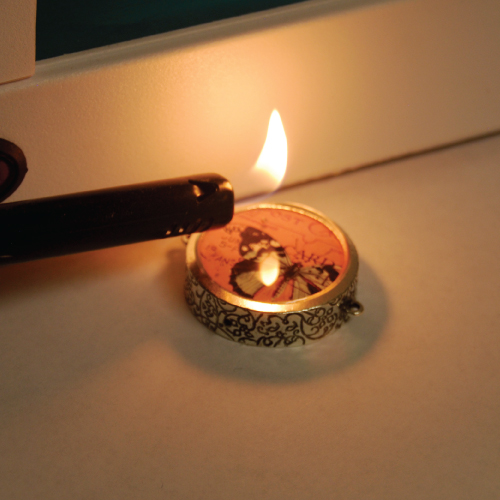
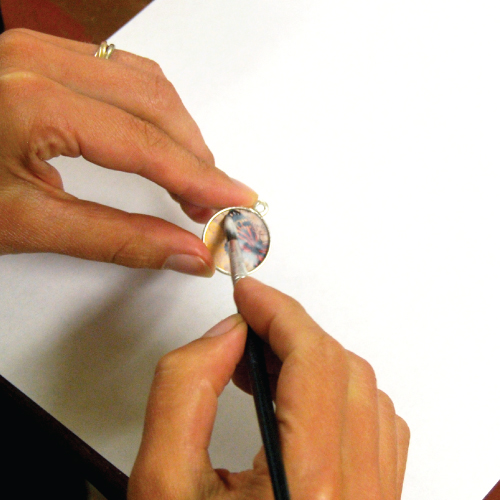
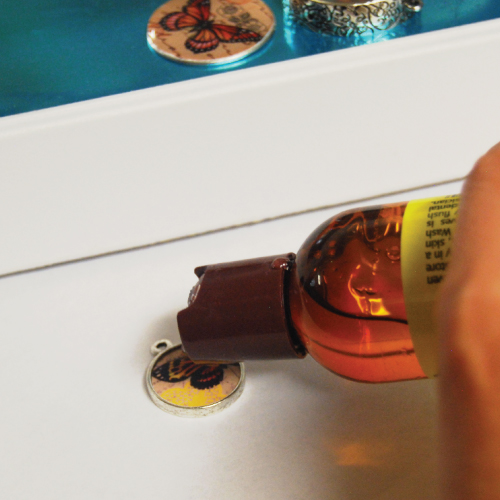
Drop a few drops of the Gel du Soleil into the center of the both the Flat Tag Grande Circle (from Step 2) and the Grande Pendant Circle Open Back. Tilt and roll the pendant around allowing the Gel du Soleil to flow to the edges. If you have bubbles, place an open flame slightly above the resin. The heat will make the air expand and pop.
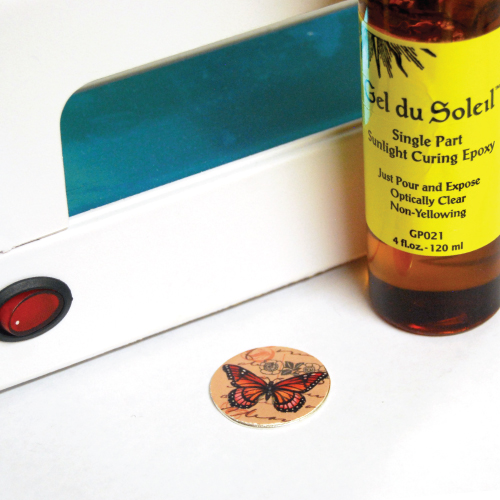
This is the larger bottle of the Gel du Soleil UV resin. The Gel du Soleil also is available in a smaller size for those wanting to try it. If you don’t have a UV lamp, you can use the direct sun. Between the hours of 10-2pm is when the UV light of the sun is the strongest. It cannot be overcast; only beaming rays penetrating from the sky will cure it. Place your piece on your windowsill and cover with a glass dish, which prevents dust from entering. It should take between 20-30 minutes for the piece to cure.
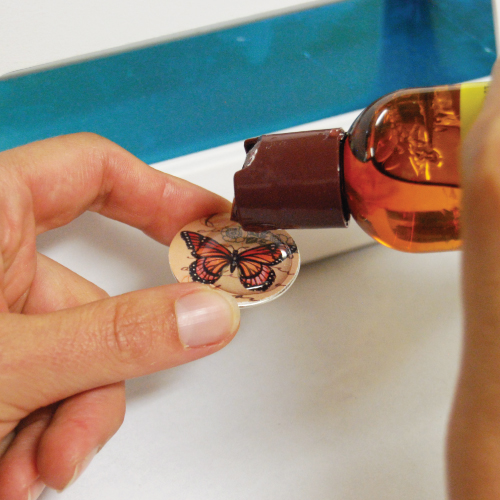
I tend to under-pour the resin. It is thick like syrup and will pretty much stay put. It will wick back up into a dome and pool in the center. You can slightly tip the tag allowing the resin to flow over to the sides, but if that is too scary, you can also use a headpin to drag the resin over to the edge. It will continue to pull away from the edges and wick into the center, but by applying more resin, the weight will push it to the edges and start to dome. Does that make sense?
Step 8:
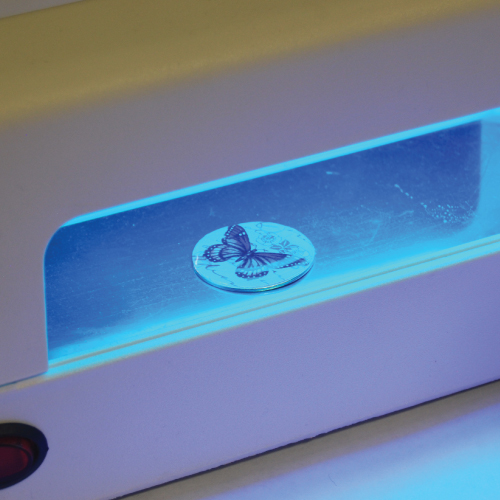
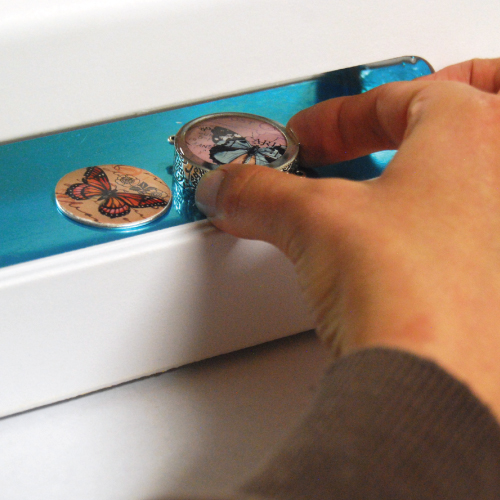
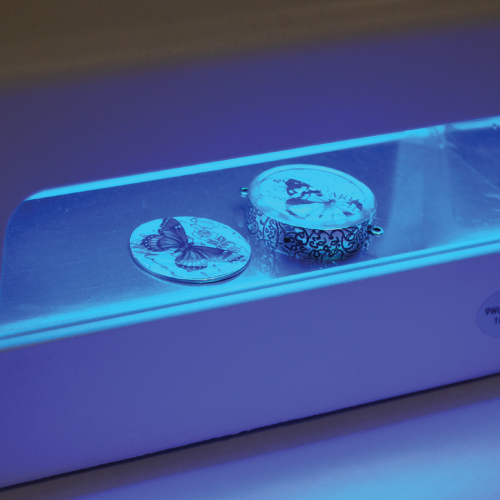
If you have a UV lamp available, place the pendant under the light for 20 minutes to fully cure. If you live outside of the constantly cloudy Pacific Northwest, place the pendant on your windowsill in the direct sunlight for 20-30 minutes to cure naturally with the UV rays from the sun. I suggest placing a glass dish over the piece to prevent dust for getting into the resin.
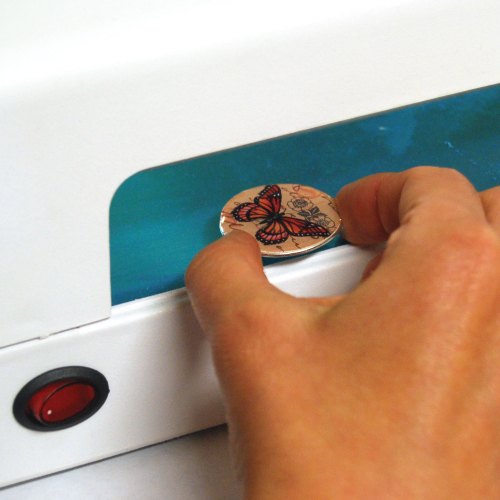
Turn on the UV lamp prior to putting it in. This could prevent jarring it. In other words, don’t do what I’m showing you here. I messed up.

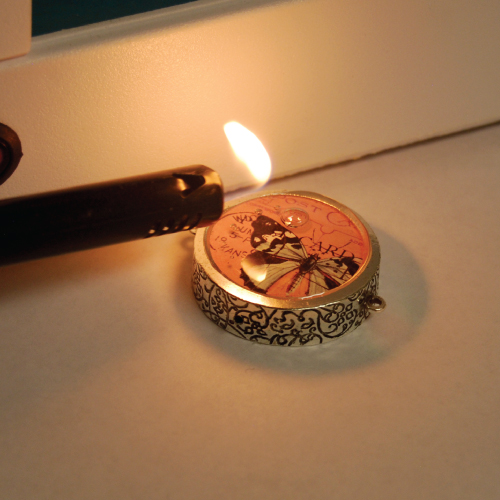
If you have a bubble (I of course staged this so I could show you…NOT), take an open flame and place over, but not touching the resin. It will cause the air in the bubble to expand and pop. Nifty, eh?
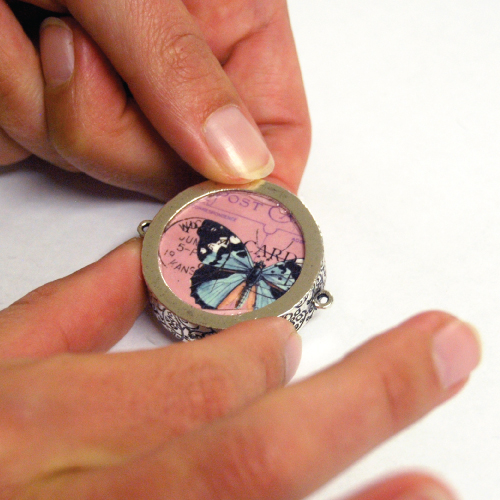
Step 9:
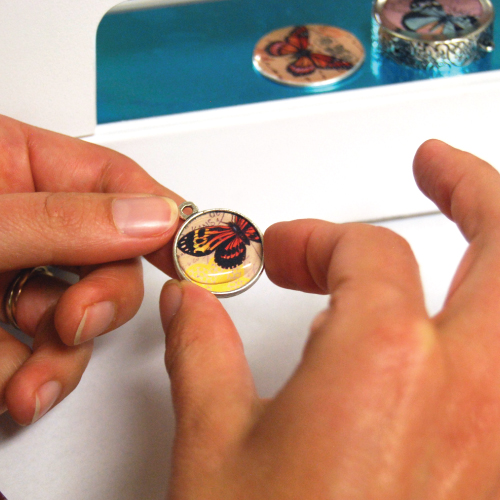
Once both of the Flat Tags are cured, glue the tags back to back inside of the pendant, making the piece double sided.
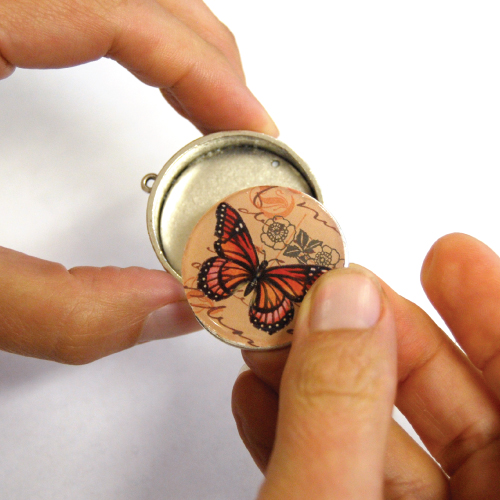
Tip: If you have dust on the surface, you can sand your piece with the finest grit of sandpaper you have. It will make the resin frosty, like beach glass, but once you place another hit of the UV resin over the top, it will be clear. Cool isn’t it!
Step 10:
Punch out two images from the collage sheet using the 13/16” circle punch.
Step 11:
Paint a thin coat of Nunn Design Glue into the base the Double Sided Circle Pendant. Apply one of the collage images from Step 10 into the wet glue. Using your Q Tip, press down firmly in the center and in a circular motion starting small and getting larger, start to burnish down the collage image into the Double Sided Pendant Circle.
Make sure that your collage sheet is not off-center or slightly higher on one side thana nother. I like to use a headpin and go along the edge of where the collage sheet and the sidewall come into contact making sure that I have a 90-degree angle where they meet. This prevents any of the Gel du Soleil from seeping underneath the image, causing the Gel not to cure.
Step 12:
Once your collage image is burnished down into your Double Sided Pendant Circle,paint a thin coat of the Nunn Design Glue over the top of the image.
Step 13:
Repeat steps 10-12 on the reverse side of the Double Sided Pendant Circle. Let both sides dry for 30 minutes. (Thirty minutes is a good dry time for this project. The recommended dry time for projects using deeper bezels is 8 – 12 hours or overnight.)
Step 14:
Drop a few drops of the Gel du Soleil into the center of side one the Double Sided Pendant Circle. Tilt and roll the pendant around allowing the Gel du Soleil to flow to the edges. NOTE: Only apply a very small amount keeping the resin under the lip of the side (do not dome). This will prevent the cured resin from potentially being damaged when we turn it over and do the reverse side.

Step 15:
Place under the UV lamp or in the direct sun for 20-30 minutes to cure.
Step 16:
Once side 1 is cured, turn the pendant over and repeat Steps 14 and 15.
Step 17:
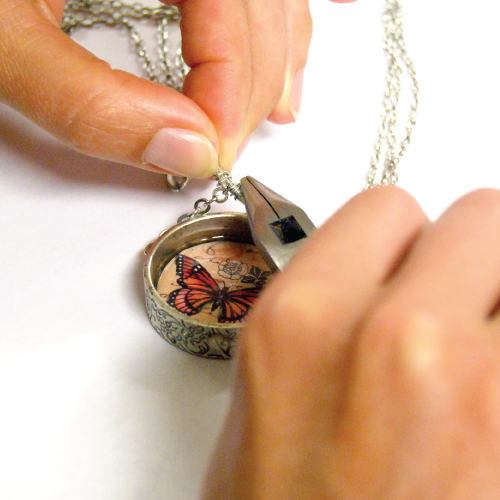
Measure two 1” fragments of the Small Hammered Cable Chain to attach the Pendant to the Twig Connector Bar. Attach the 1” fragments of chain to both sides of the Grande Pendant Circle Open.
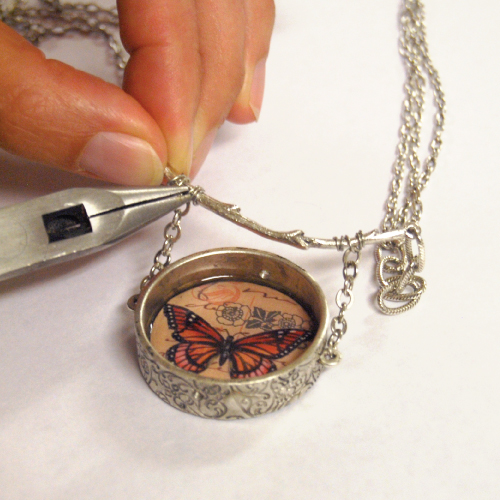
Step 18:
Using a 22-gauge wire, wrap the other end of the 1” fragments to the Twig Connector Bar.
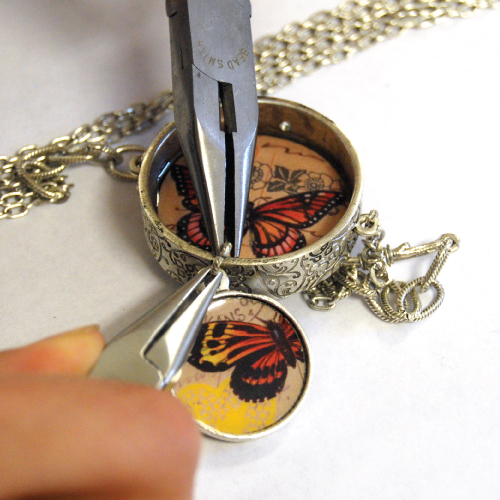
Step 19:
Attach together the top and bottom pendants using a large jump ring.
Step 20:
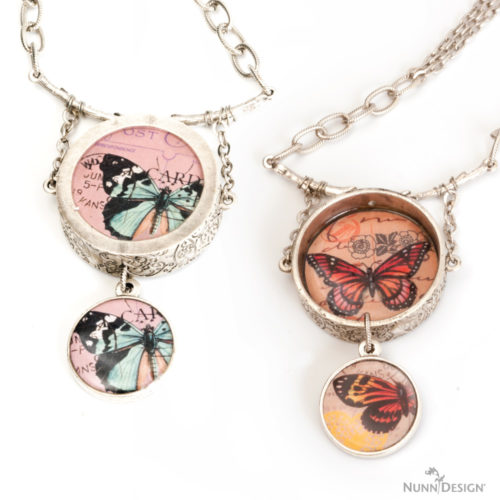
Assemble chain as desired.
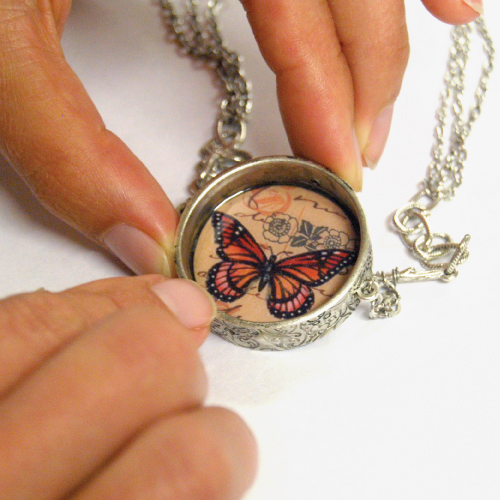
I was all fancy here with various types of chains and all sorts of nonsense. I made my necklace fairly complicated; so don’t panic if you don’t want to go through all the fuss. A simple chain will look great. When I attached mine to the branch, I made it so it didn’t have a chance to flip over, so you’ll want to keep that in mind when attaching the chain.
Rock your awesome necklace!
Shop Supplies Wholesale:
For Bezels:
- Grande Pendant Circle Open (gpco-sb)
- Flat Tag Grande Circles (ftgcs-sb)
- Double Sided Pendant Circle (dpc-sb)
- Collage Sheet Butterflies (csbf)
Glues/Resins:
For Necklace:
- Twig Connector Bar (tcb-sb)
- Ring Toggle (rt-sb)
- Simple Toggle Bar (stb-sb)
- Large Textured Cable Chain (ltcc-sb)
- Small Hammered Cable Chain (shfc-sb)
- Small Fine Cable Chain (sfcc-sb)

If you enjoyed reading this post,
please subscribe to our blog.
Here are 10 Reasons Why to Subscribe
and a place to do so!
Shop Nunn Design Wholesale
Nunn Design has been supplying jewelry artists with findings for over 20 years. Shop wholesale jewelry findings for creative jewelry makers.
Shop Nunn Design!How to Purchase Wholesale?
If you are interested in becoming one of the many designers who trust their jewelry to Nunn Design Findings, please join us by registering to become one of our wholesale customers!
Please visit our Where to Buy Page for a listing of online stores that sell Nunn Design Findings retail.
If you enjoyed reading this post, please subscribe to our blog. Here are 10 Reasons Why to Subscribe and a place to do so!
Neat project! Thansk for tips on UV resin!