


Tutorials
Make This Ring with More Bling – Tutorial
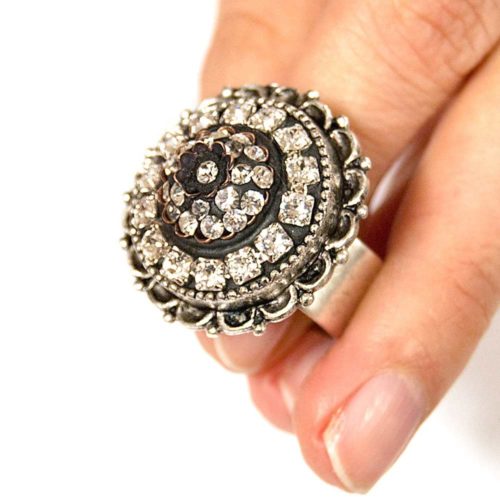
Statement Rings are still making a statement. This bling ring will be an exceptional addition to any collection of bold rings! If you aren’t familiar with working with Crystal Clay, this bling ring will be a nice easy introduction.
Learn How!
Supplies Needed:
Ring Adjustable Ornate Large Circle – Antique Silver (raolc-sb)
Crystal Clay Black (cryclay-black)
Beadcap 6mm Petal – Antique Copper (bc6p-cb)
Beadcap 12mm Petal – Antique Copper (bc12p-cb)
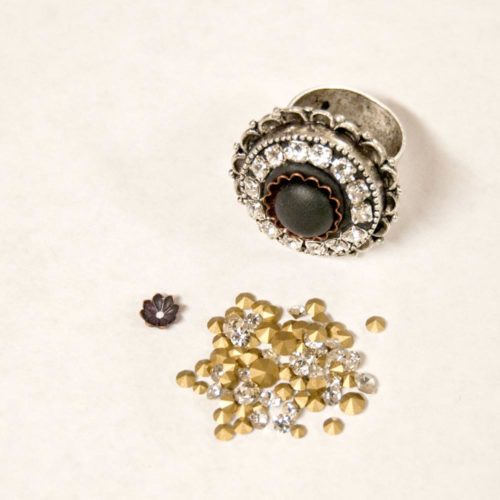
Crystal Chaton 18pp (cha-cry18pp-b)
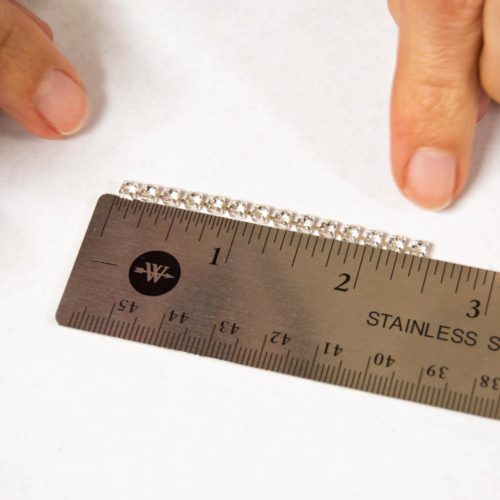
Rhinestone Chain 24pp – Antique Silver (rc24-sb)
Tools Needed:
Beeswax Toothpick
(Included in the Crystal Clay Package)
Wetwipes
Headpin
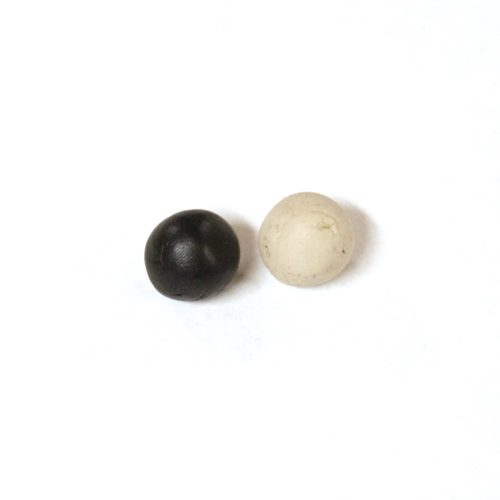
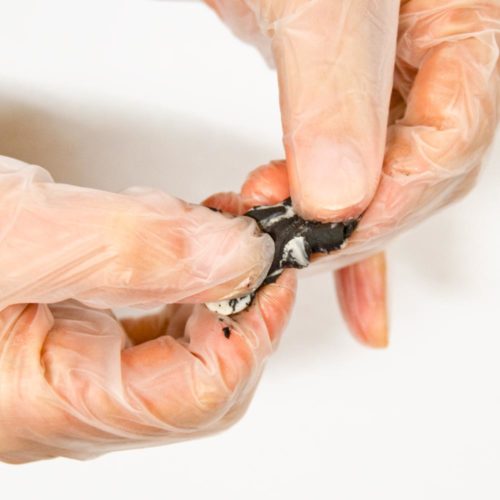
Step 1:
Pinch off two equal blueberry-sized balls of Part A (the color) and Part B (the hardener). Knead the two equal size balls fully together until the clay is a consistent color and not marbled.
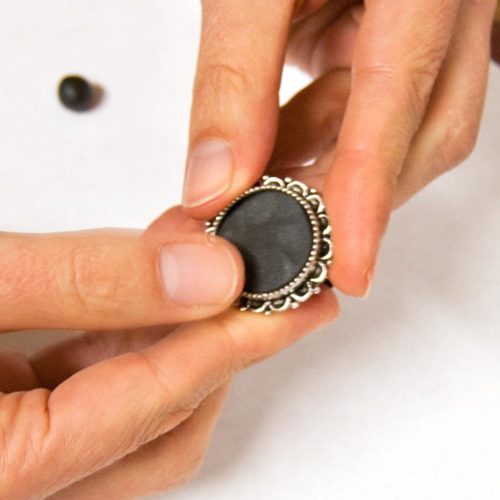
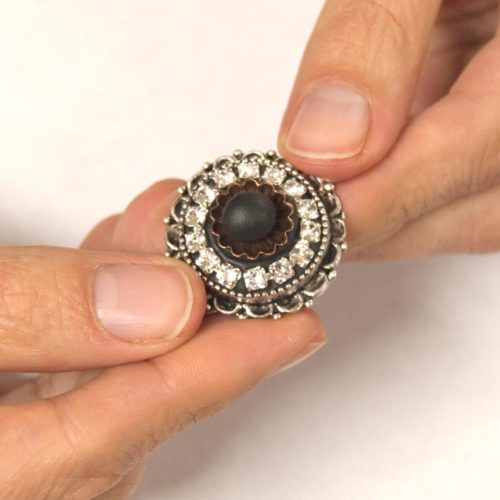
Step 2:
Roll the Crystal Clay into a round ball. Pinch off two pea-sized balls of the clay and save for Step 4, one lentil-sized ball and one very tiny ball for Step 7. Pat the remaining clay gently into the Ornate Large Circle Ring (raolc-sb) until it is flat and fully flush to the edges. The clay should be just along the base of the ring bezel.

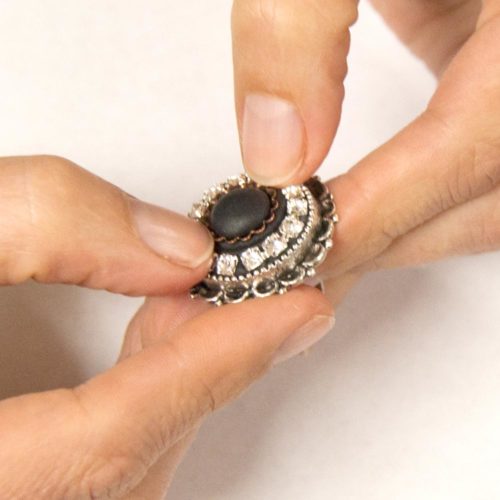
Step 3:
Cut a 2 ½” piece of the Rhinestone Chain 24pp – Sterling Silver. Place the rhinestone chain around the inside edge of the Ornate Large Circle Ring (raolc-sb). Tap down slightly, pressing the chain into the clay. You can use your fingernails to evenly space the links of the Rhinestone Chain 24pp – Sterling Silver.
Step 4:
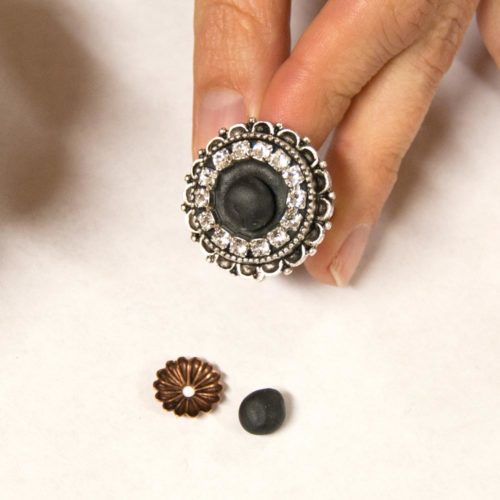
Using one of the pea-sized balls of the Crystal Clay set aside from Step 2, press it into the center of the ring. Press the larger Petal Bead Cap (bc12p-cb) into the ball. Press the bead cap firmly into the clay.
Step 5:
Set the other pea-sized ball in the center of the larger petal bead cap (bc12p-cb).
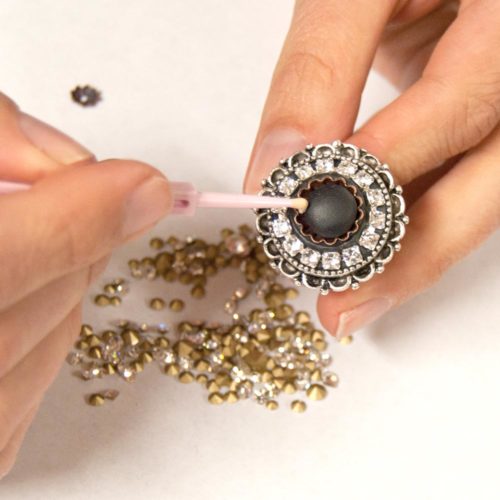
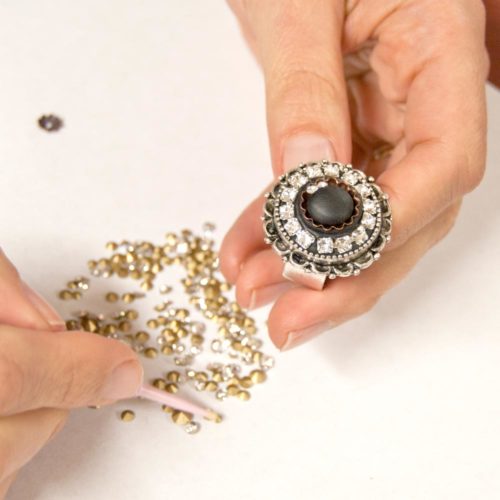
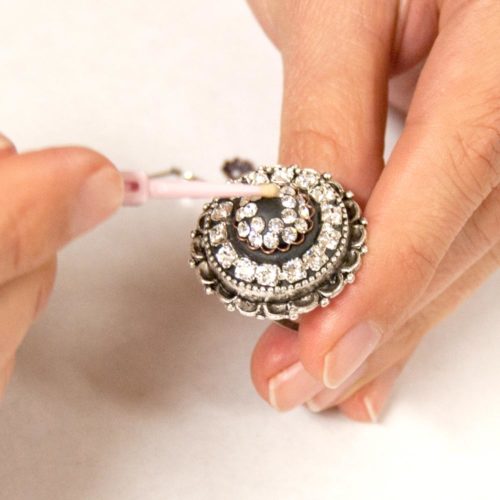
Step 6:
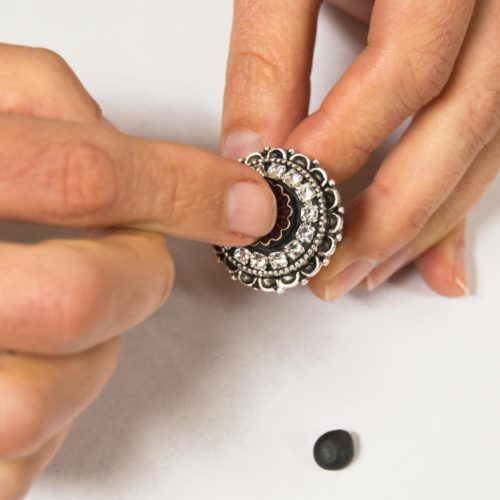
Using a beeswax toothpick, pick-up the individual Crystal Chatons and gently press each into the Crystal Clay starting around the outside edge of the larger Petal Bead Cap (bc12p-cb). Continue to press Crystal Chatons in until you have two rows inside the larger Petal Bead Cap. You have approximately 2 hours to work with the Crystal Clay, so take your time and enjoy.
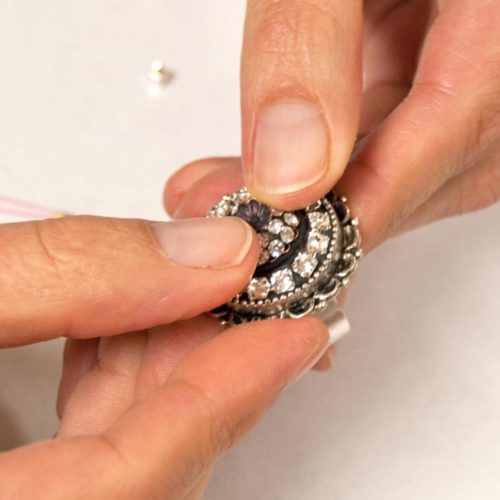
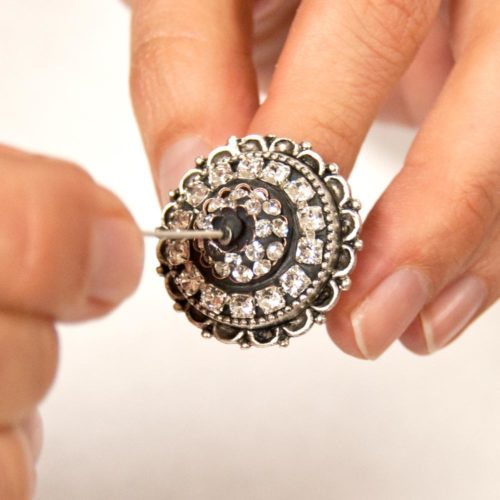
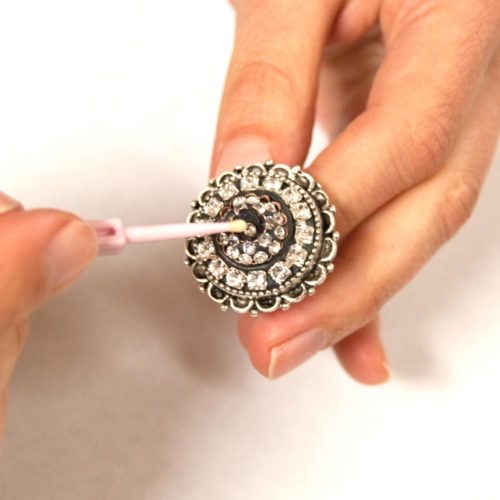
Step 7:
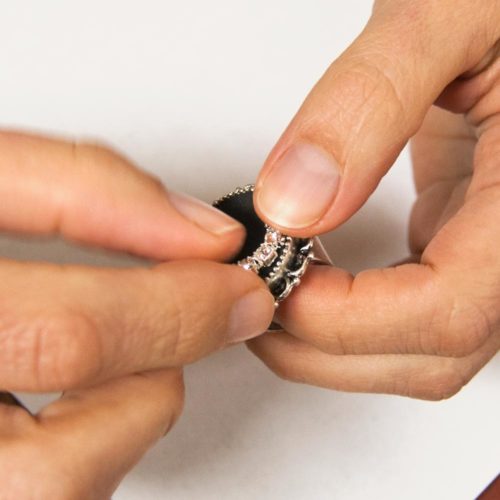
Place the small lentil-sized round ball of the Crystal Clay from Step 2 into the center of the larger Petal Bead Cap (bc12p-cb). Place the smaller Petal Bead Cap (bc6p-cb) into the lentil-sized ball of Crystal Clay allowing a small amount to squeeze up through the open center hole. Using your very tiny ball of Crystal Clay, roll a tiny headpin sized ball and press it into the center of the smaller Petal Bead Cap (bc6p-cb). Press it down into the bead cap with a headpin making a small bed for the finishing touch, a single Crystal Chaton.
Step 8:
Use your fingers to gently press the Crystal Chaton into the clay, making sure that all of the Chaton points are secure and embedded fully into the clay. You can also use your fingers to gently sculpt the Chatons/Crystal Clay to be evenly domed. The Crystal Clay will harden within 2 hours and fully cure within 24.
Shop Wholesale Nunn Design Findings
Shop Nunn Design Wholesale
Nunn Design has been supplying jewelry artists with findings for over 20 years. Shop wholesale jewelry findings for creative jewelry makers.
Shop Nunn Design!How to Purchase Wholesale?
If you are interested in becoming one of the many designers who trust their jewelry to Nunn Design Findings, please join us by registering to become one of our wholesale customers!
Please visit our Where to Buy Page for a listing of online stores that sell Nunn Design Findings retail.

If you enjoyed reading this post, please subscribe to our blog. Here are 10 Reasons Why to Subscribe and a place to do so!