


Tutorials
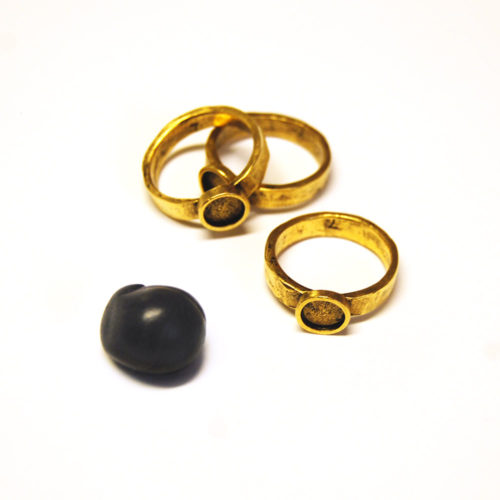
Sculpted Epoxy Clay with Mica Powders Stacking Rings Tutorial
This technique of Sculpting Epoxy Clay with Mica Powders is very forgiving. If you aren’t happy with the outcome of the impression or the way your piece looks altogether, you can remove the clay and start again. Having the ability to course correct and try something again and again until it is just right, cuts down on my stress level a great deal when creating. After all, isn’t creating suppose to be fun! I think you will find this technique to be just that, fun.
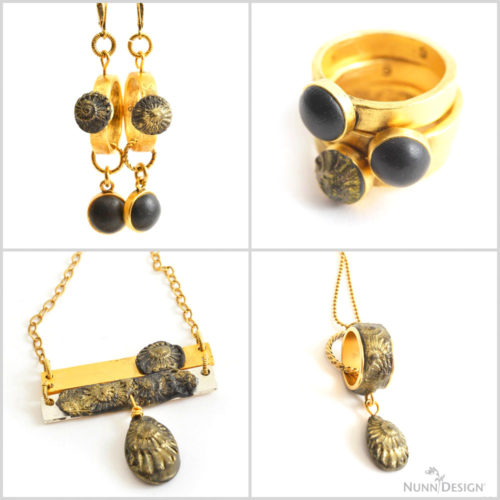
Be Inspired!
Learn How!
For this tutorial, I’m going to focus on creating a set of Nunn Design Itsy Stacking Rings using the Sculpted Epoxy Clay with Mica Powders technique.
Materials needed:
- Ring Hammered Itsy Circle (size 6, 7 or 8)
- Epoxy Clay-Black
- Easy Mold Silicone Putty
- Brass Stamping (mema-bb used in tutorial)
- PearlEx Mica Powder
Other:
- Q-tip
- Wetwipes
Step 1:
To make the Silicone Mold, pinch off two equal sized balls of Part A and B of the Silicone Putty. Be sure that the balls are large enough and will allow you to make an impression to fit your Brass Stamping of choice.
Step 2:
The Easy Mold Silicone Putty has a 3-minute working time before it begins to harden and not take the impression. Knead both part A and part B together until the putty is blended completely and has a uniform color. Tip: Getting the knack for mixing just the right amount will take some practice. You might mix too much or too little putty the first time.
Step 3:
Roll the fully mixed Silicone Putty into a round ball and flatten slightly. Make sure the putty is smooth and not wrinkled. Press your Brass Stamping into the silicone putty, but not so far into the putty that you hit the bottom. Tip: To prevent your mold from sticking onto your work surface, use a glossy business card or a Ziploc bag.
Step 4:
The Silicone Molding Putty takes 25 minutes to cure. Once the putty is hard to the touch, bend back the sides to release and remove the Brass Stamping. Now you are ready to create your impressions with the mold.
Step 5:
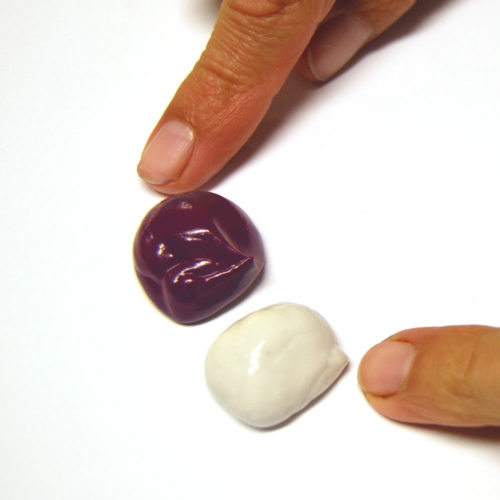
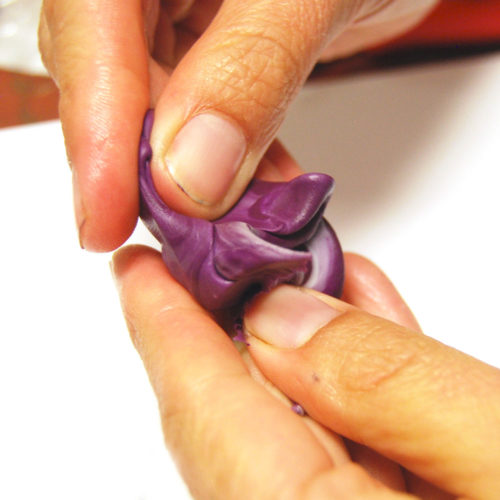
Follow the manufacturer’s instructions for the handling and mixing of the Epoxy Clay. While wearing gloves, pinch off two equal sized balls of Part A and Part B and blend together fully until the clay is no longer marbled and uniform in color. You have approximately 90-120 minutes of working time before the clay starts to harden, so take your time. Once the clay is thoroughly mixed, remove your gloves to make it easier to work with the clay.
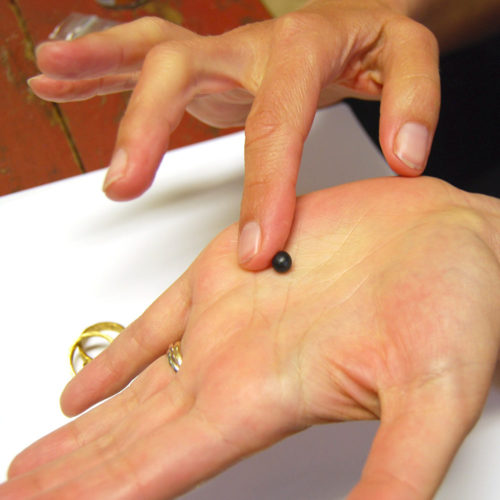
Step 6:
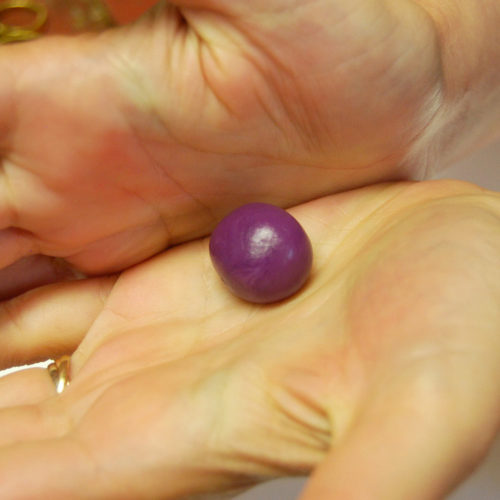
Pinch off a small lentil sized ball of the Epoxy Clay and roll it in the palm of your hands until it is smooth. Place it into the Hammered Ring Itsy Circle and pat it down into the bezel. You will want a small slightly domed ball like shown here. If you have too much, remove the clay, pinch off a wee bit, roll and pat into the bezel.
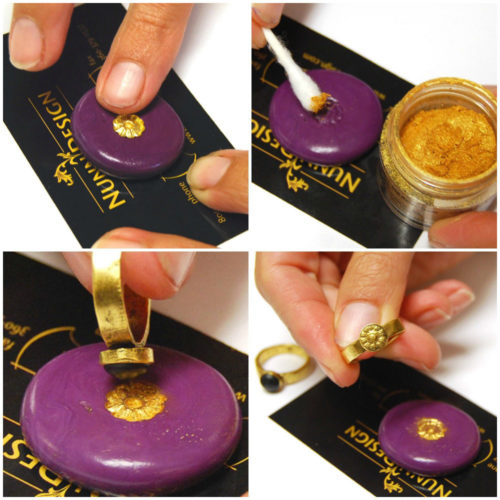
Step 7:
Once the Epoxy Clay is set in the Hammered Ring Itsy, it is time to create the impressions with the silicone mold. Use a Q-Tip to rub some PearlEx Mica Powder into the crevices of the silicone mold. Tap any excess PearlEx Mica Powder back into the container and use a wet-wipe to remove any of the PearlEx Mica Powder from the mold.

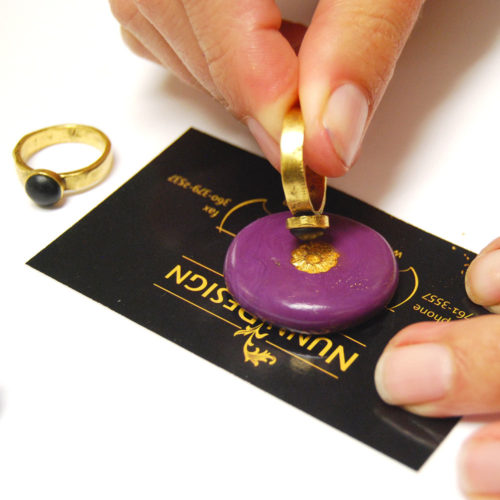
Step 8:
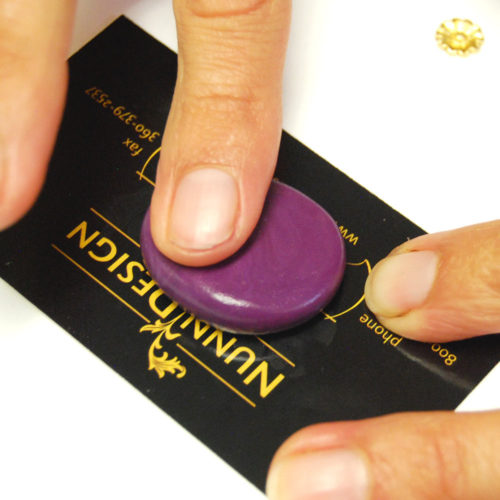
This is the trickiest part of this tutorial. You just never know just how things are going to turn out. If you have too much clay it might squish out the sides. If you don’t have enough, your impression won’t show up well. The beauty is, you can redo the process until you get the look that you like. So, knowing that, take a deep breath and press your Epoxy Clay filled Itsy Ring into the mold. I often like to pick- up my mold to make sure I am apply pressure evenly.
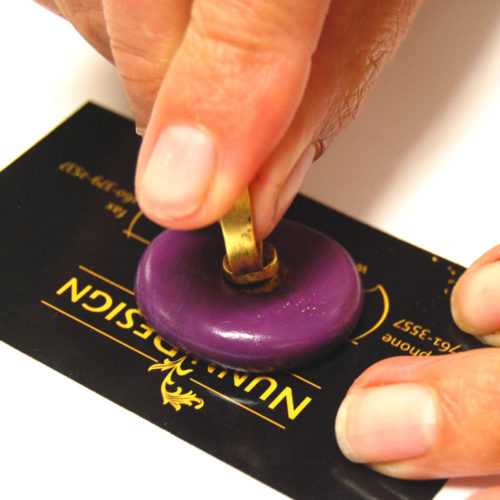
Step 9:
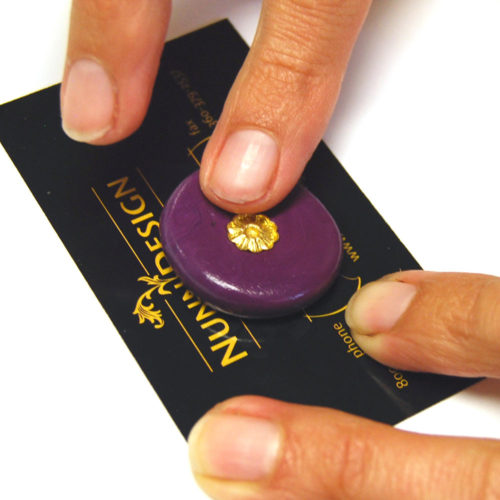
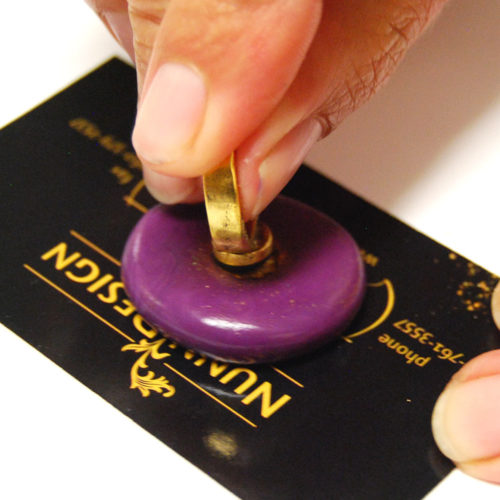
In this sample, the dome on my bezel was fairly high, so I rolled the clay around in the mold to make sure I was getting an impression on all sides of my domed clay.
Step 10:
To redo your impression, pinch off the Epoxy Clay from the Hammered Ring Itsy Circle. If you have a lot of Mica Powder in the clay, you will want to start with a fresh wee batch of clay. Roll the clay into a ball and pat down into the bezel. Create a nice even dome and try to make yet another impression.
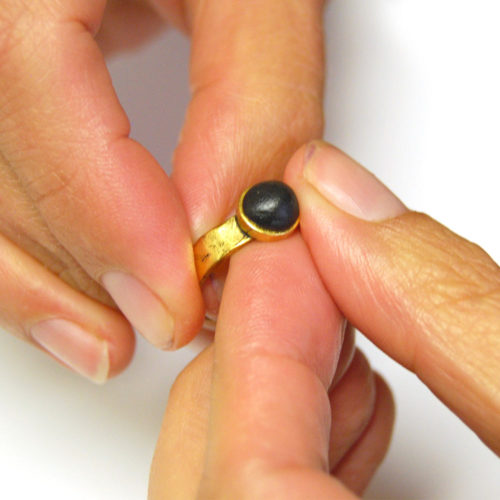
Step 11:
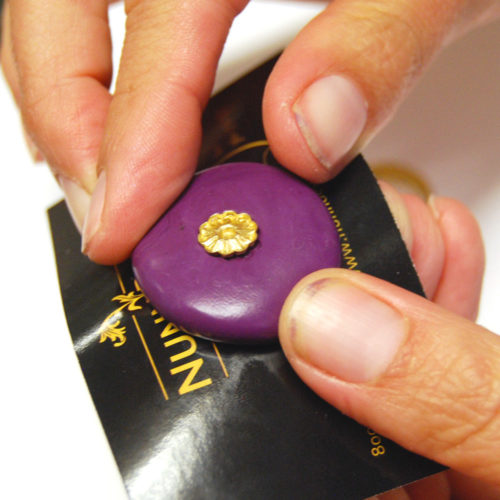
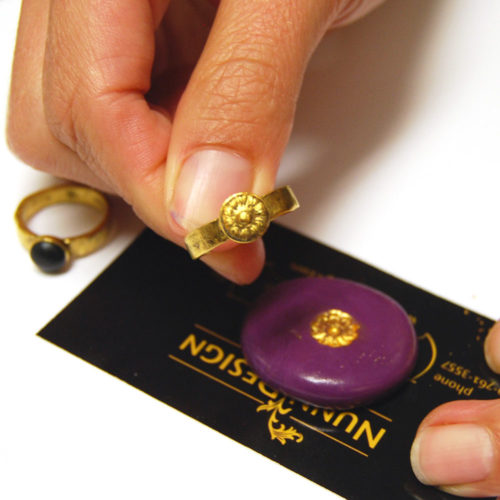
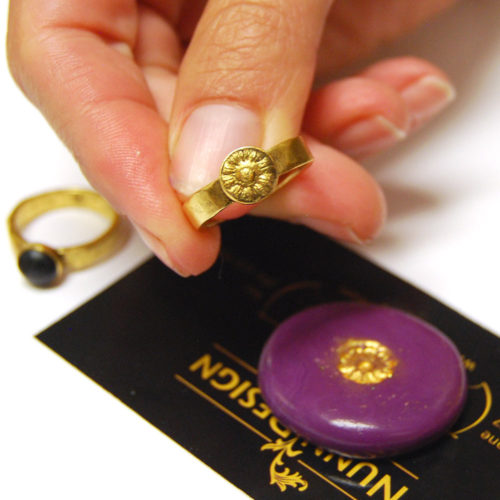
Once you have an impression that you like, use a wet-wipe to clean up any Epoxy Clay that might have gotten on the ring bezel. The clay hardens like cement, so cleaning it up now and being tidy as you go makes the process easier and the results so much nicer.
Step 12:
Allow the Epoxy Clay to cure for at least 12 hours. How fun was that!
![]()
Bonus Material!
For this pair of earrings, I used the Hammered Ring Itsy Circle and punched a hole with a 1.25mm Punch Pliers. Great use of the ring as a connector, don’t you think?
![]()
Shop the Supplies:
- Ring Hammered Itsy Circle (size 6, 7 or 8)
- Epoxy Clay-Black
- Easy Mold Silicone Putty
- Brass Stamping (mema-bb used in tutorial)
- PearlEx Mica Powder
Shop Nunn Design Wholesale
Nunn Design has been supplying jewelry artists with findings for over 20 years. Shop wholesale jewelry findings for creative jewelry makers.
Shop Nunn Design!How to Purchase Wholesale?
If you are interested in becoming one of the many designers who trust their jewelry to Nunn Design Findings, please join us by registering to become one of our wholesale customers!
Please visit our Where to Buy Page for a listing of online stores that sell Nunn Design Findings retail.

If you enjoyed reading this post, please subscribe to our blog. Here are 10 Reasons Why to Subscribe and a place to do so!
Hi! Lovely tutorial. The clay will dry in the ring and stay put without the aid of any glue?
Correct. Crystal Clay is a two part epoxy that air drys and is like cement when cured (12 hours). The PearlEx Powders when applied onto the wet clay adhere, but recently I had a customer say that hers PearlEx Powder was rubbing off. If that is the case, you can put a coat of Nunn Design Sealant over the powder once the Crystal Clay is cured.
This is an amazing tutoral !!! WOW Kemp doing what you’re doing, I will keep watching your boards. – patP
Thanks! Glad you like it.