


Be Inspired, Tutorials
12 Creative Ways to Add Color to Epoxy Clay
Epoxy Clay is a 2-part epoxy clay that has a working time of 90-120 minutes and cures in 12 hours without baking or heating. It is an amazing medium for creating handmade, one of a kind jewelry.
Here are 12 Creative Ways that you can add color to Epoxy Clay by incorporating other mediums. The possibilities are stunning and the creativity endless.
1. Jaquard PearlEx Powders
Jaquard PearlEx Powders are mica powders that you can apply to uncured Epoxy Clay to add interesting highlights and color.
Learn How: Make These with Epoxy Clay, PearlEx Powders & Colorized Resin Tutorial
Learn How: How to Create a Texturized Epoxy Clay Pendant with Ribbon Ends Tutorial + Video

Learn How: How to Create 2 Styles of Epoxy Clay Drop Accent Charms
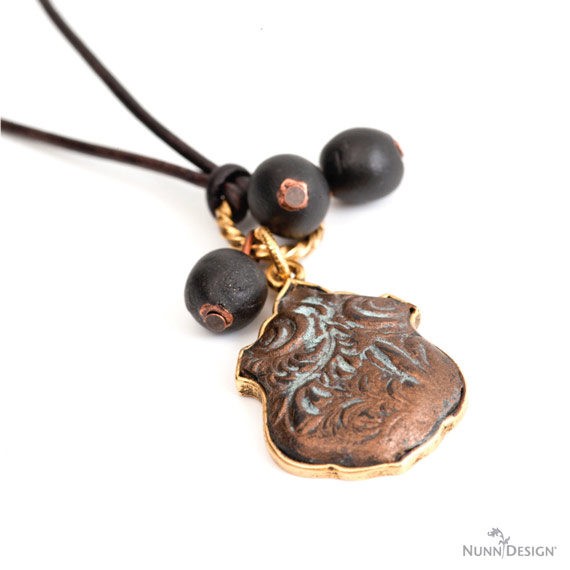
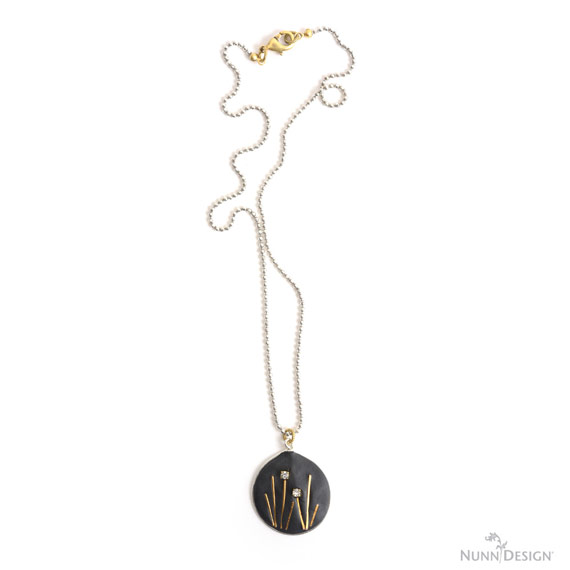
2. Gilding Flakes
This past year I’ve begun to explore the world of using gilding flakes with Epoxy Clay. I love the results of these two mediums together! Gilding flakes are applied to uncured Epoxy Clay. You can choose the option of applying Nunn Design 2-Part Resin over the surface of the Epoxy Clay or to leave the jewelry pieces uncoated, resulting in a more natural look.
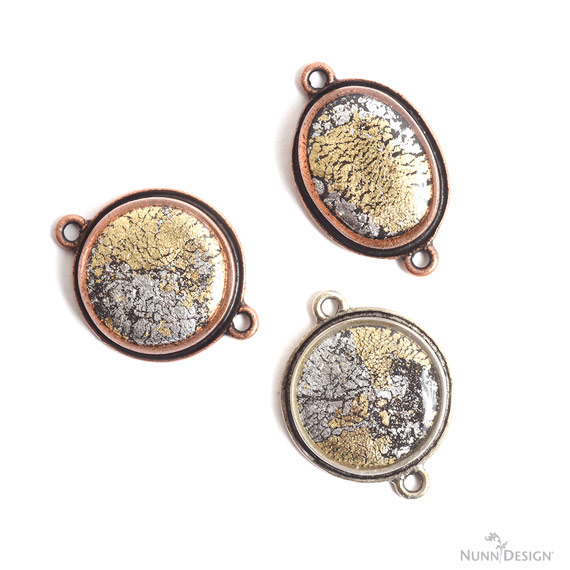
Learn How: Epoxy Clay, Crackled Gilding Flakes and Nunn Design Resin
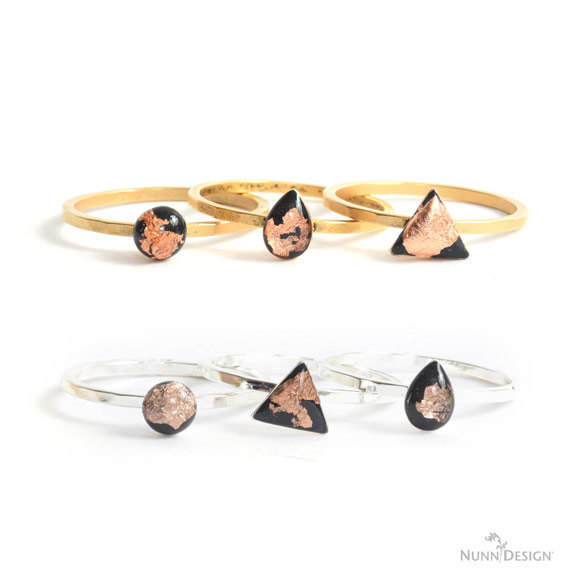
Learn How: Make These Hammered Bitsy Rings with Epoxy Clay and Gilding Flakes-Tutorial!
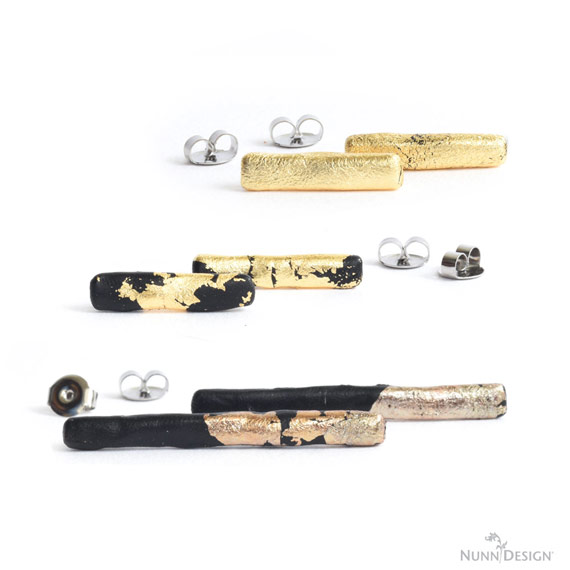
Learn How: Make These Earring Post Bar Earrings with Epoxy Clay and Gilding Flakes-Tutorial!
3. Gilding Paste
Gilding Paste is a wax that can be applied to cured Epoxy Clay. I am just beginning to play with this product line, so more projects will be highlighted as we create more with this medium.
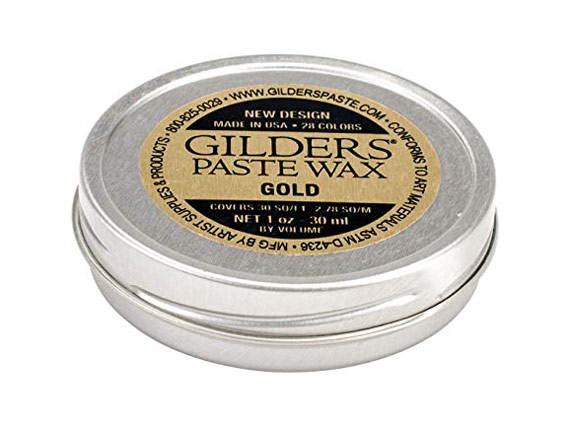
Learn How: Video – How to Apply Gilders Paste without a Paint Brush
4. Rubber Stamps with StazOn Ink
Besides offering interesting imagery, rubber stamps and colorized StazOn Inks can offer color accents to Epoxy Clay. Rubber stamp onto the clay while the clay is uncured with StazOn Ink and let cure.
Learn How: Rubber Stamps Faux Porcelain Tutorial – Epoxy Clay, Rubber Stamps and Gel du Soleil
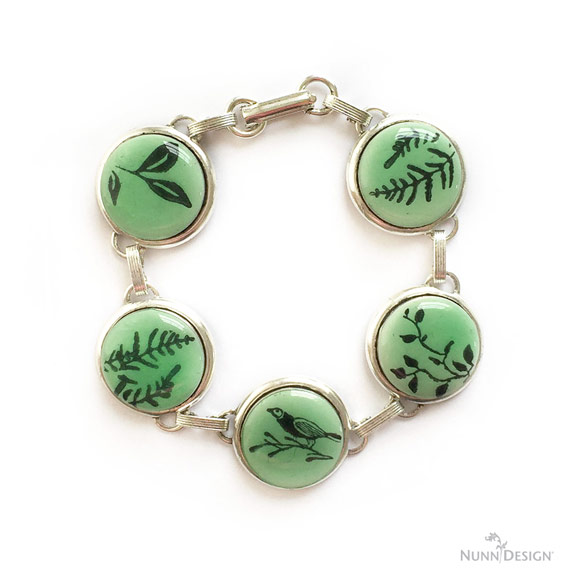
Learn How: Rubber Stamping on Epoxy Clay with Colorized Resin Tutorial + Video
5. Swellegants Metal Coatings
Christi Friesen is the mastermind behind incorporating these metal coatings onto polymer clay, but they can also be used on Epoxy Clay.

Learn How: Texturizing and Coloring Epoxy Clay
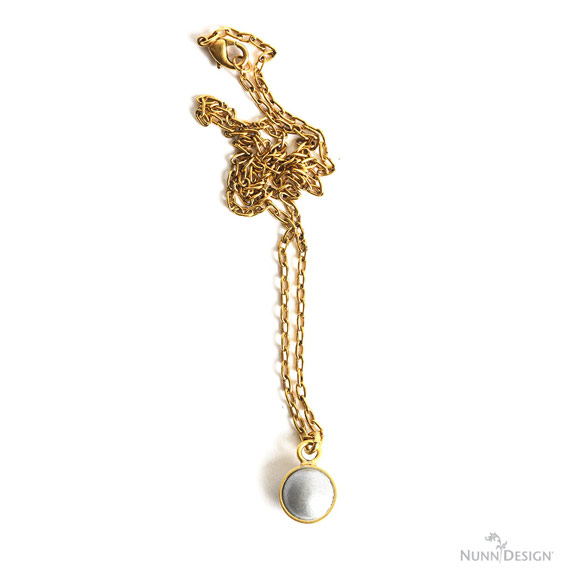
6. Embedding Chain & Seed beads
Seed beads that are sold on a string are ideal for embedding in Epoxy Clay to add splashes of color!
![]()
![]()
Learn How: How to Embed Seed Beads into Epoxy Clay using ND Bezels
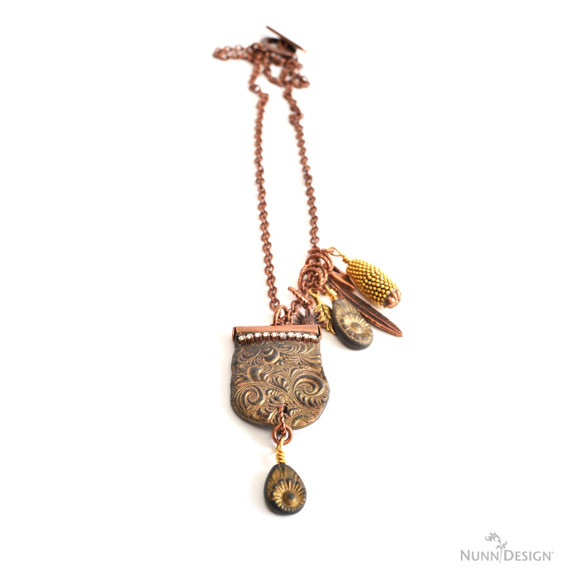
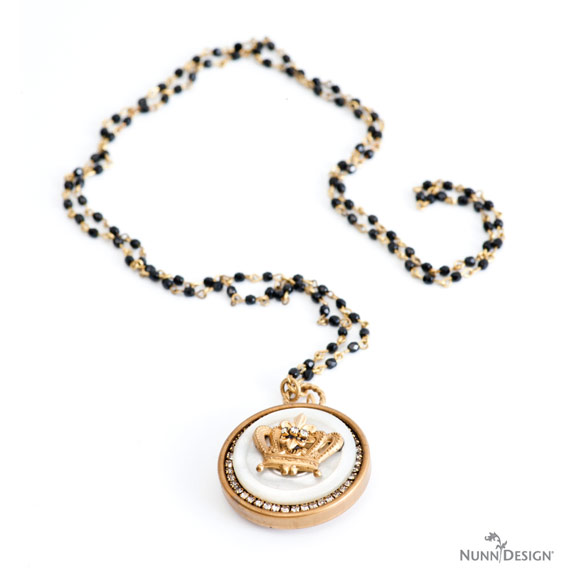
7. Embedding Found Objects
Since Epoxy Clay is an epoxy, you can embed into it and know that it is going to “stay put”. It hardens like cement! You can embed all sorts of items, like found objects, vintage buttons and so much more!
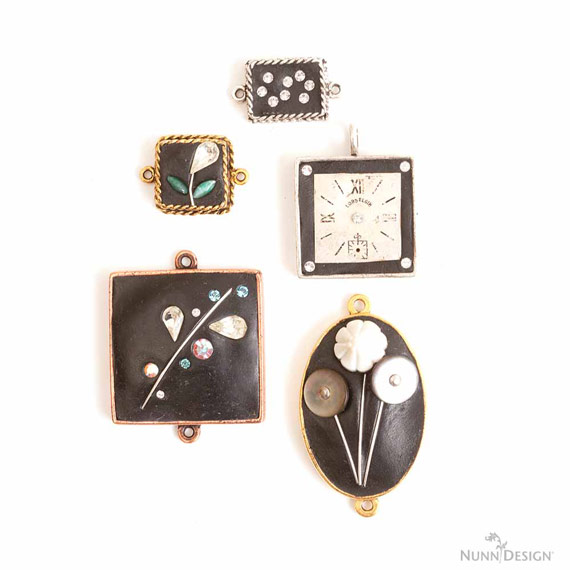
8. Embedding Wire & Crystal Chatons
Another way to add color and texture to Epoxy Clay is by incorporating wire and crystal chatons.
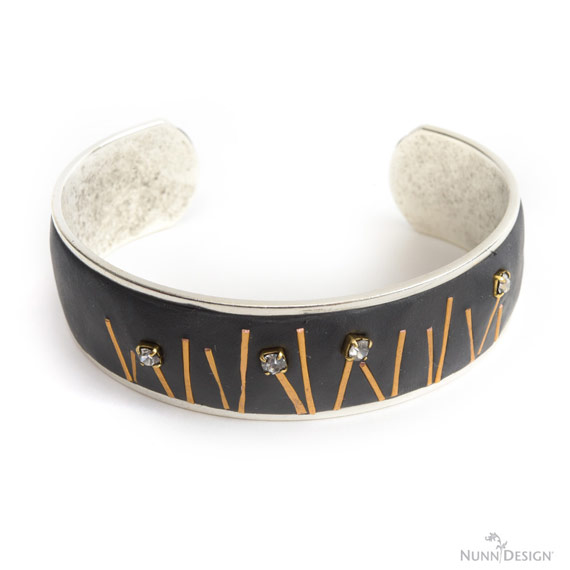
Learn How: Epoxy Clay Cuff Tutorial + Video
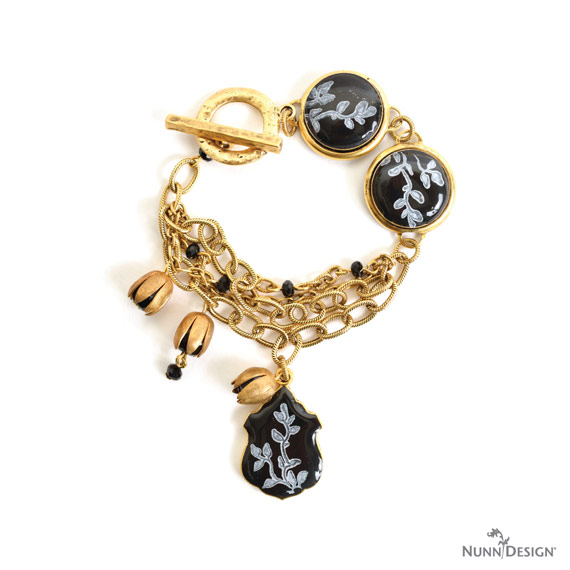
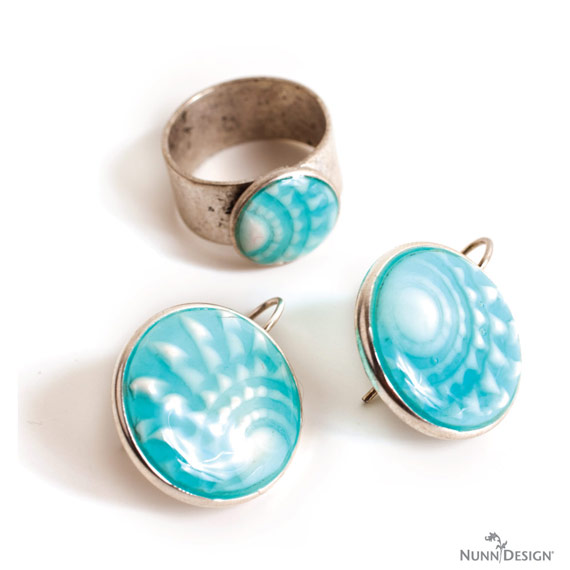
9. Colorized Resin
This is by far one of our most popular techniques when it comes to colorizing Epoxy Clay! The end results look porcelain-like, yet there is no need for firing up the kiln! In this tutorial, the Nunn Design 2-Part Resin is colorized and applied like a glaze over the Epoxy Clay. You could also colorize the Epoxy Clay using the Castin’ Craft Opaque Pigments.
![]()
Learn How: Sculpted Epoxy Clay with Colorized Resin
10. Organics
Adding organics, such as pressed flowers, into Epoxy Clay will definitely provide a pop of color to your jewelry making!
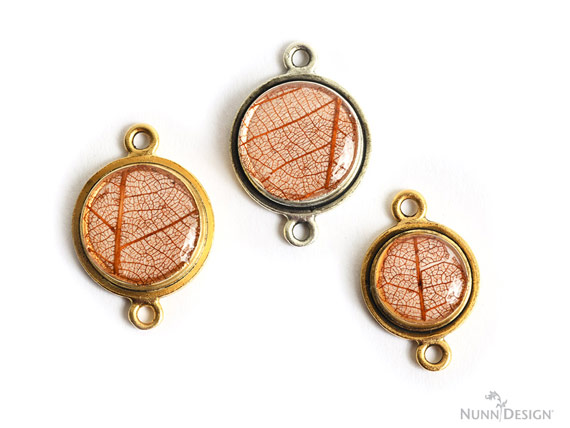
Learn How: Make These with Epoxy Clay, Skeleton Leaves and Nunn Design Resin
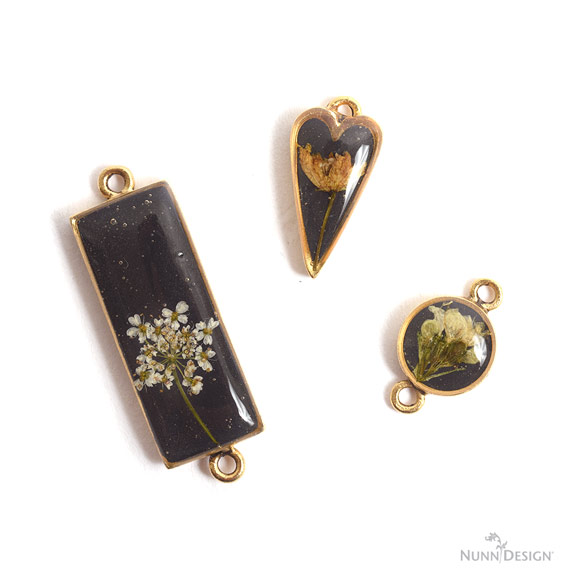
Learn How: How to Use Epoxy Clay, Organics and Nunn Design Resin
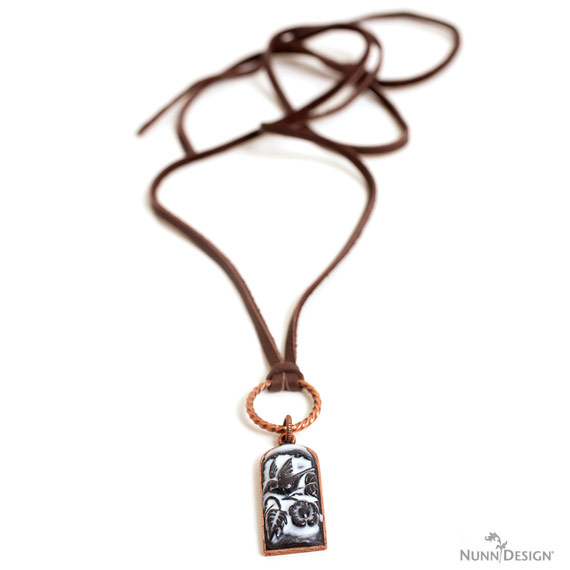
11. Transfer Sheets
Transfer Sheets are images printed on a film called LazerTran. The film has a paper backing and separates when submerged into water and can be applied onto the surface of Epoxy Clay. It is ideal for adding imagery and color.
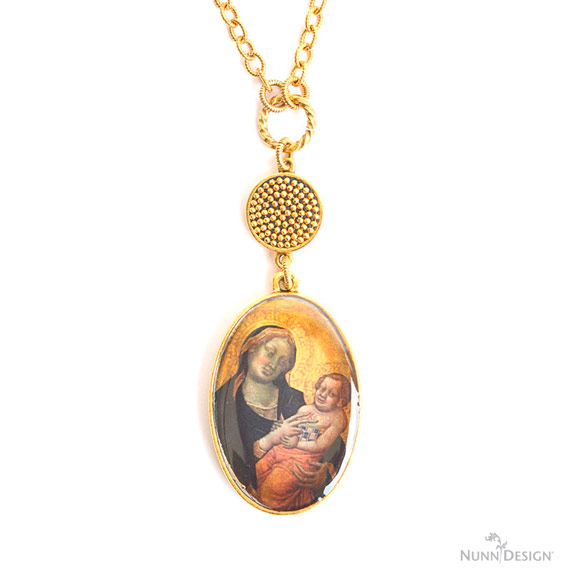
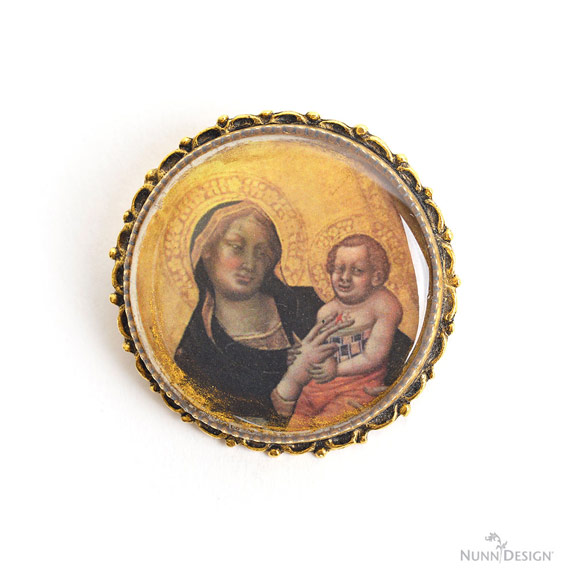
Learn How: Transfer Sheet Faux Porcelain Tutorial – Epoxy Clay, Transfer Sheets, and Gel du Soleil
12. Crystal Points
Well, this one was a stretch, but I love showing how to incorporate Crystal Points and Epoxy Clay to make really cool jewelry. Crystal points themselves come in so many colors, so I’m not totally cheating!
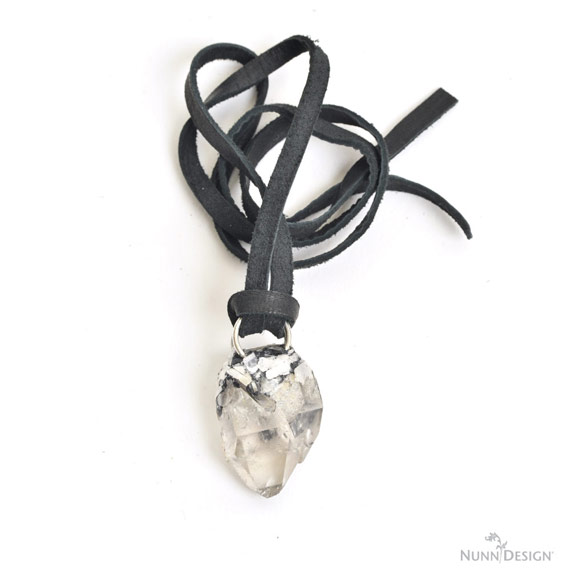
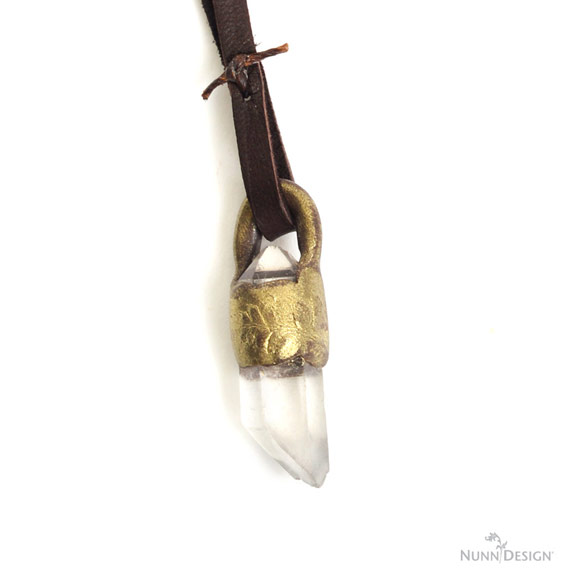
Learn How: How to use Epoxy Clay on Crystal Points to Create Unique Pendants Tutorial + Video

Learn How: Haylee’s Crystal Point Necklace & Ring Tutorial
Do you have a favorite way you like to add color to Epoxy Clay? Leave a comment below…please. It is fun to learn new things!
Shop Nunn Design Wholesale
Nunn Design has been supplying jewelry artists with findings for over 20 years. Shop wholesale jewelry findings for creative jewelry makers.
Shop Nunn Design!How to Purchase Wholesale?
If you are interested in becoming one of the many designers who trust their jewelry to Nunn Design Findings, please join us by registering to become one of our wholesale customers!
Please visit our Where to Buy Page for a listing of online stores that sell Nunn Design Findings retail.

If you enjoyed reading this post, please subscribe to our blog. Here are 10 Reasons Why to Subscribe and a place to do so!
Well this may sound crazy but I have tried metallic paints and have never had good results. Recently I have been experimenting with metallic perminent markers by Sharpie. The polishing the surface to a smooth sheen… So far I have only used silver… It comes out much darker but very shiny