[everest_gallery alias=”tutorial_post-bar-earrings-colorized-resin”]
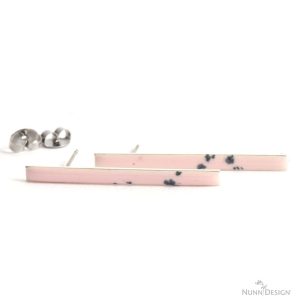
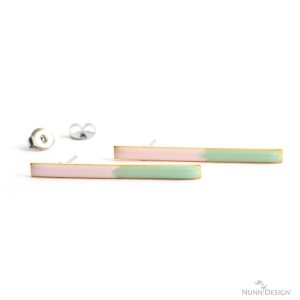
Post Bar Earrings with Colorized Resin
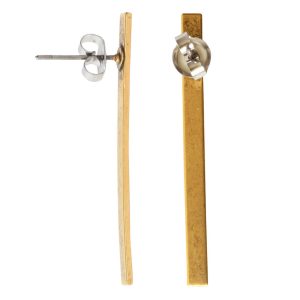
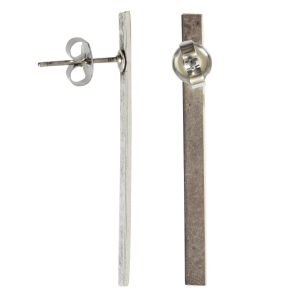
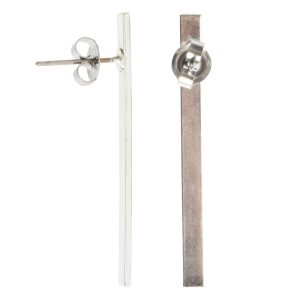
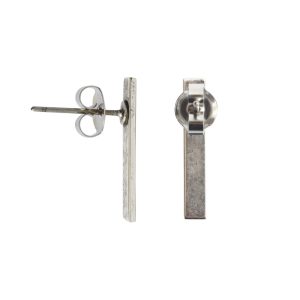
Although the Nunn Design Bar Earrings are a great contemporary stand-alone pair of post earring, adding colorized Nunn Design Resin to the surface can really jazz them up.
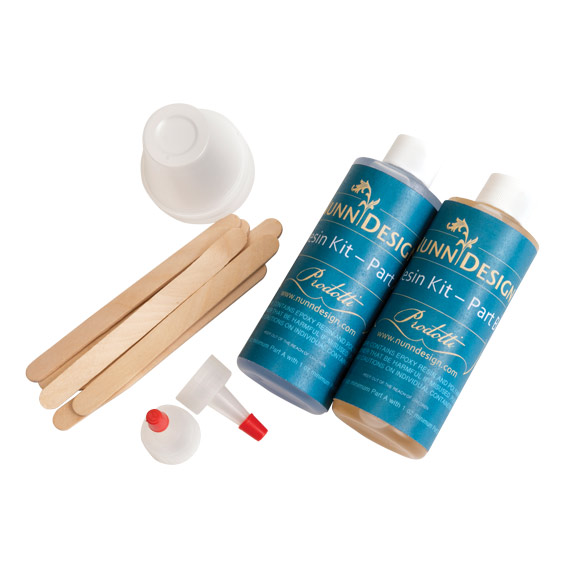
Get Supplies Read Instructions Be InspiredInstructions
Other Supplies:
Wet-wipes
Toothpicks
Timer
Stir Sticks
Mixing Cups
Business Cards or glossy card stock
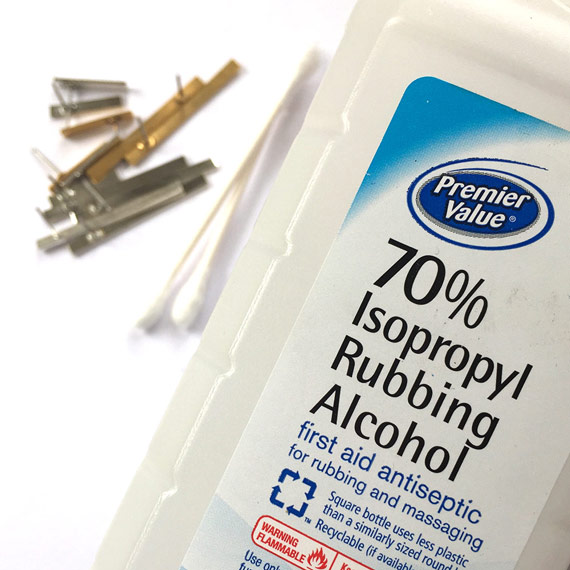
Rubbing Alcohol
Plastic Bags
Q-Tips
Tools:
Needle Nose Pliers
Read the full instructions.
Learn How!
Step 1:
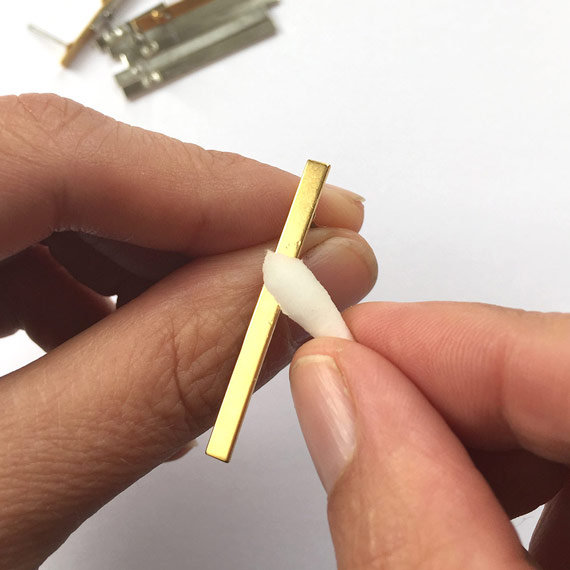
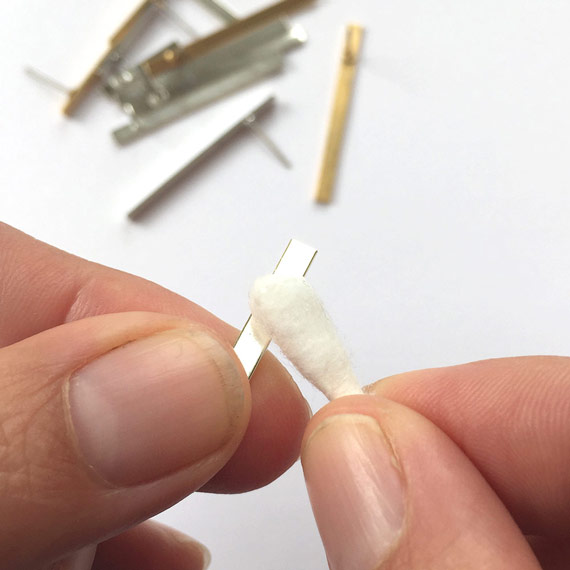
The Nunn Design Findings are oxidized to provide the aged look to the precious metal plating. The oxidation, when it comes into contact with the resin, could change the color of the resin. To avoid this, clean the findings thoroughly prior to application of the resin. Get the tip of a Q-Tip wet with rubbing alcohol and clean away any of the blackened oxidation.
Step 2:
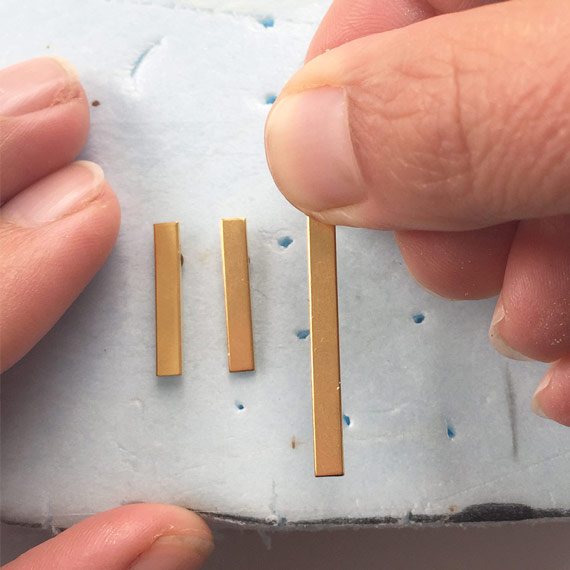
Create a flat surface where the posts of the earrings can poke through and be level. I used a piece of packaging to create this surface.
Step 3:
Read the resin instructions for safety concerns regarding the Nunn Design Resin.
When I work with resin, I always:
- Place a large plastic bag over my work surface and tape it down.
- I make sure I have ventilation in my workroom.
- I wear gloves.
- I wear glasses (readers because I can’t see anymore. Plus it protects my eyes!).
- I have a pile of wet wipes handy.
- This is a great blog post that covers 20 Habits for Successfully Using Nunn Design 2-Part Epoxy Resin. Even if you are a seasoned resin mixer, this might be worth a read.
Step 4:
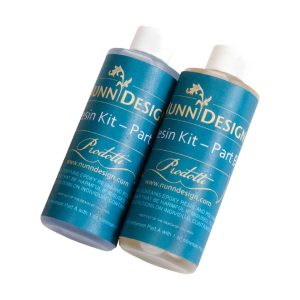
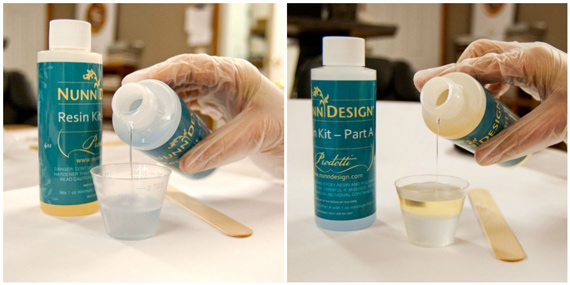
Place one cup (included in the Nunn Design Resin Kit) onto your table.
For curing purposes, it is very important that the resin be an exact 1 to 1 ratio of Part A and Part B. I suggest getting your eyes level with the resin so you can see the lines on the measuring cup.
Pour Part A of your resin kit up to the ½ fluid ounce mark on your measuring cup.
Pour Part B of your resin kit into the same cup until it is filled to the 1 fluid ounce mark. It is important to pour Part A first and then Part B. It is some chemical thing about the part A being heavier or something.
Step 5:
Set your timer for 2 minutes. Using the stir stick from your kit (a popsicle stick or coffee stir stick will work great too), slowly and carefully stir your resin scraping the sides as you stir. Stir for a minimum of 2 minutes. If your resin is still cloudy continue to mix until clear.
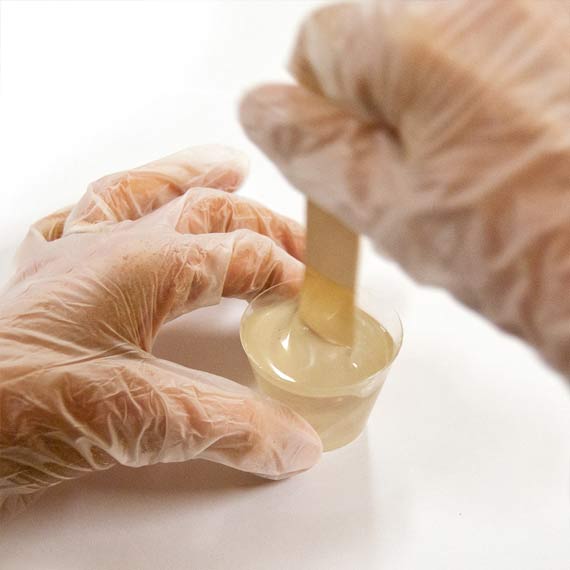
After mixing is complete and your resin is clear, scrape both sides of your stir stick on the edge of your resin filled cup.
Step 6:
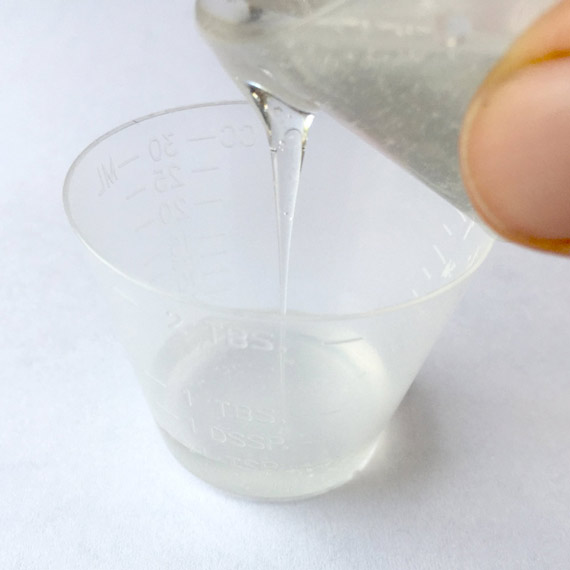
To colorize the resin, pour the clear mixed resin into a separate mixing cup up to the 1 tsp. mark line.
Step 7:
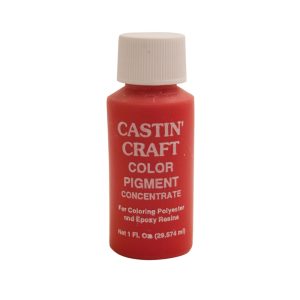
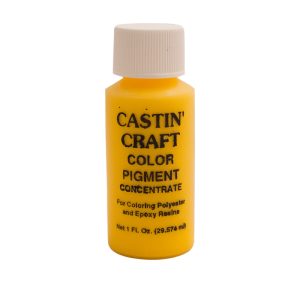
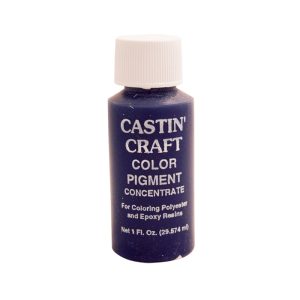
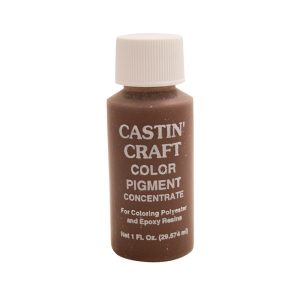
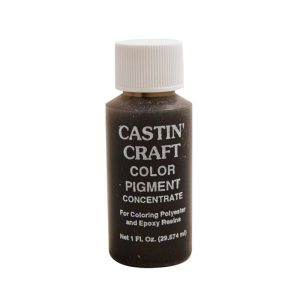
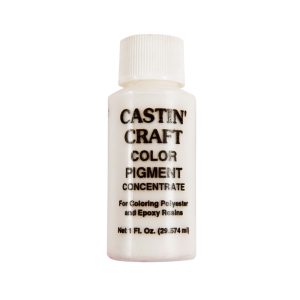
Squeeze a little of the Castin’ Crafts Opaque Pigments onto a plastic bag. To prevent your Castin’ Crafts Opaque Pigments from being contaminated with mixed resin, you will want to use a fresh toothpick with each “toothpick tip” worth. I cut my toothpicks in half so I could easily use both ends.
Step 8:
We’ve made the creative process easier with color formulas for mixing Nunn Design Resin with Castin’ Craft Opaque Pigments.
- You may benefit from a color formula cheat sheet here: 20 Formulas for Colorizing Nunn Design Resin.
- To learn even more, you could watch this video on How to Colorize Nunn Design Resin with Pigments.
- TIP: The Castin’ Craft Opaque Pigments are very potent. When adding Castin’ Crafts Opaque Pigments to Nunn Design Resin, the pigment color amount cannot be greater than 10% of the resin. If it is, it will affect the resin’s ability to cure properly.
For this tutorial, I used these two color formulas:
Pantone 13-1404 TPX Formula:
- 1 tsp Nunn Design Resin
- 1 tiny toothpick tip Red
- 8 toothpicks tips White
- 5 toothpicks tips Brown
Pantone 14-5706 TPX Formula:
- 1 tsp Nunn Design Resin
- 1 tiny toothpick tip Blue
- 1 toothpick tip Yellow
- 1 tiny toothpick tip Yellow
- 4 toothpick tips White
- 1 tiny toothpick tip Black
Step 9:
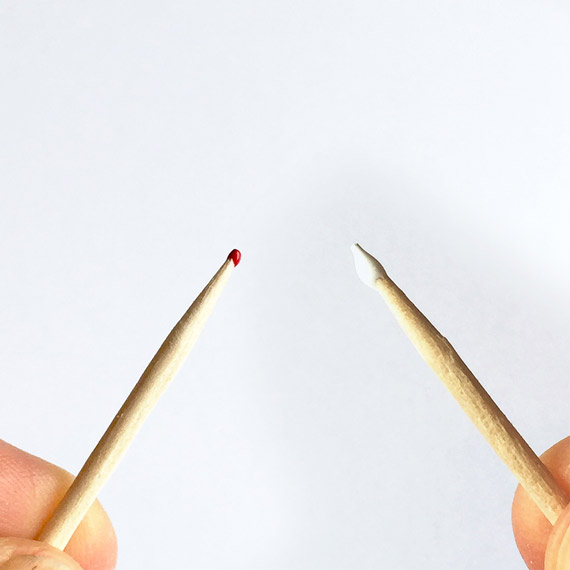
Let’s define what a “tiny toothpick tip” and a “toothpick tip” amount of colorant should look like. This is not an exact science. If you don’t get the exact amount, your color will still come out fairly close.
A “tiny toothpick tip” should look like the red one in this image. A “toothpick tip” should look like the white.
Step 10:
Add the required amount of Castin’ Crafts Opaque Pigment to the mixed resin. Once all the colorants are added, stir thoroughly until mixed. If the color is slightly off, you can continue to add colorants until you have the desired effect.
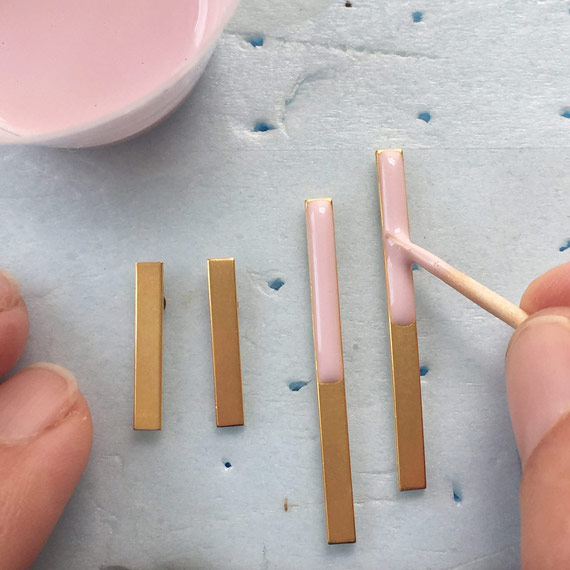
Step 11:
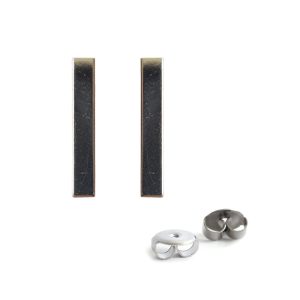
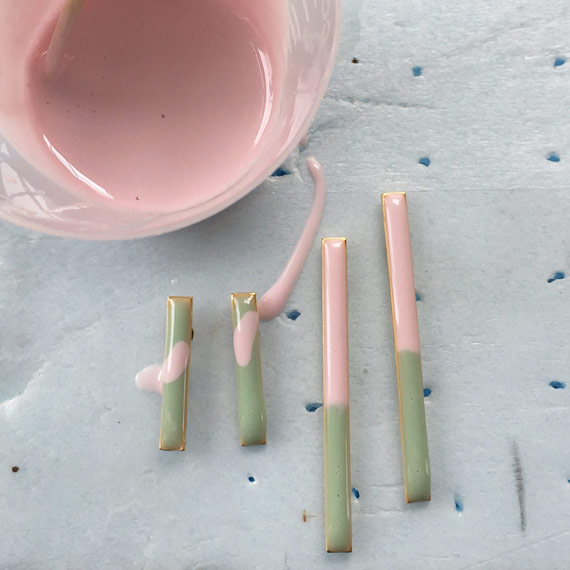
Drizzle the first color of your colorized resin onto the Earring Post Bar slowly and carefully with a toothpick. Since the width of the bars are so small and thin in size, it is really easy to overflow, so go slowly.
Step 12:
Wait about ½ hour before applying the second color of resin. Both of the colorized resin mixtures will have had time to “set-up” a wee bit and should be slightly thick in consistency. The thickness will prevent the resins from bleeding together when they come in contact with one another.
Use a toothpick to apply the second color of resin onto your Earring Post Bars.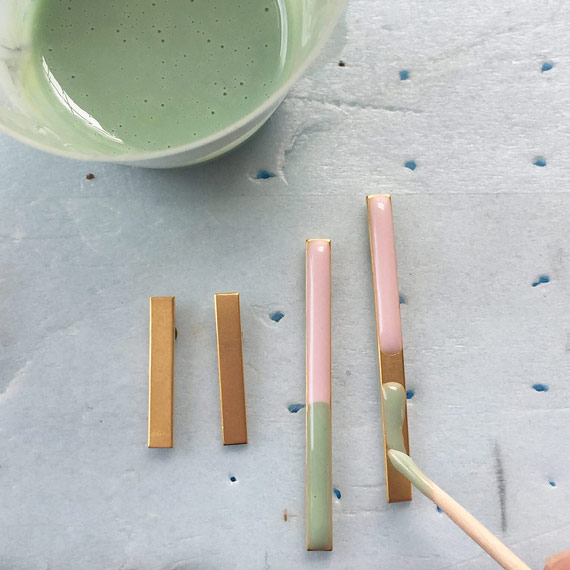
Step 13:
Another fun technique is to create strips of colorized resin. To do this technique, wait until the resin is getting thick. This will cause the resin to be fairly stringy. Roll some of the thickened resin onto a toothpick and test to see if the resin is stringy. Drizzle the strings of colorized resin across the Earring Post Bars creating the effect that you desire.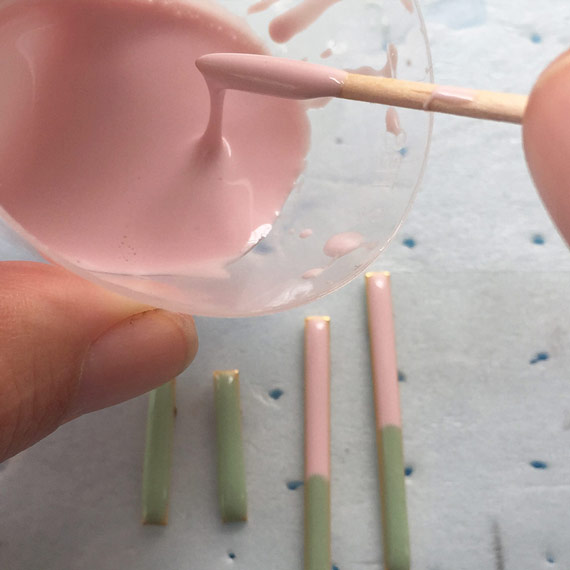
Step 14:
Let the resin cure for 12 hours. You will need to “babysit” your curing resin.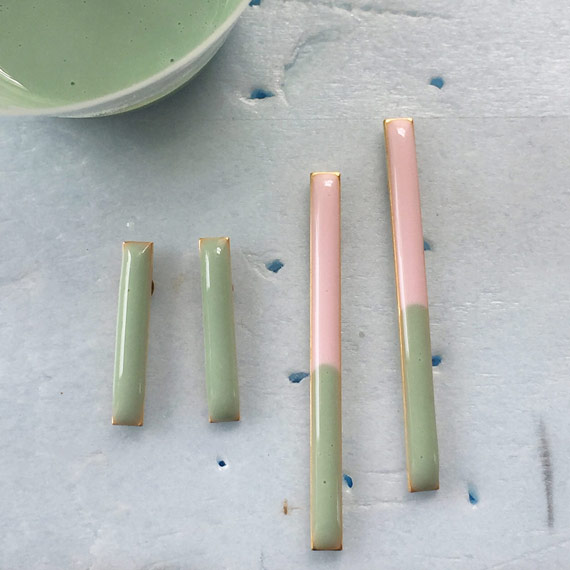
TIP: Use your hot breath to “huff” on any bubbles forming in the resin. Your hot breath will make the bubbles expand and pop.
Step 15:
If you had any over pour of resin that is stuck to the sides of the bars, use a pair of needle nose pliers to gentle remove the resin. When the resin is 12 hours into the curing process it is still not fully cured, but this soft cure state makes it really easy to remove the excess resin from the earrings.
Step 16:
Let pieces cure for the full curing cycle of up to 72 hours.
Step 17:
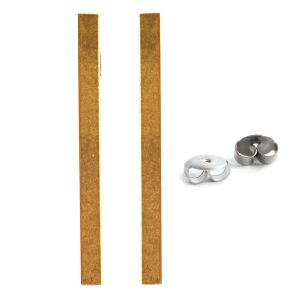
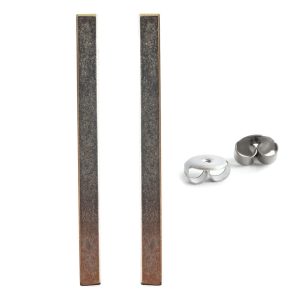
Add on butterfly clutches.
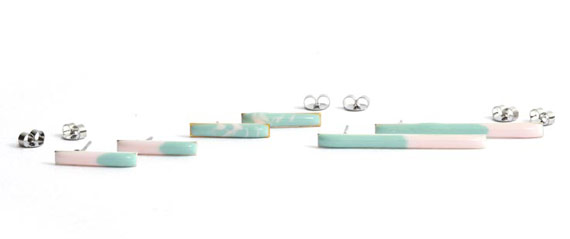
Same Technique:
Here is the same technique, but in the Bitsy Earrings.
Shop Wholesale Products for Technique