[everest_gallery alias=”mucking_22-gel-du-soleil-resin-part3″]
22 Things to Create with Gel du Soleil Resin – Part 3
Recently, after spending a week “mucking about” in my studio, I explored a variety of techniques with Gel du Soleil Resin. Some techniques and mediums worked, some didn’t. This series is an “over the shoulder” glance of what I was creating. I hope that you will be inspired to push your own creative play and explore even further!
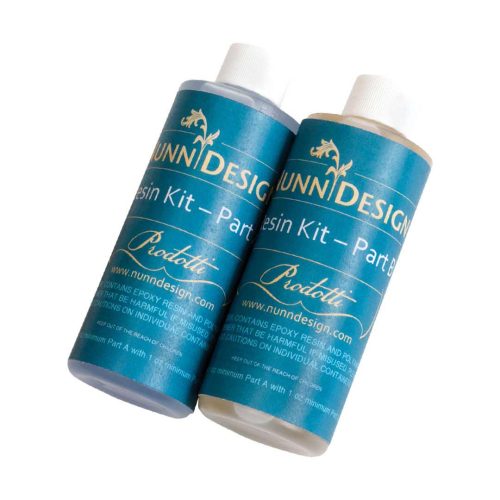
ND Resin Vs Gel Du Soleil Let's Get Started! Shop SuppliesNunn Design 2-Part Resin vs Gel du Soleil UV Resin
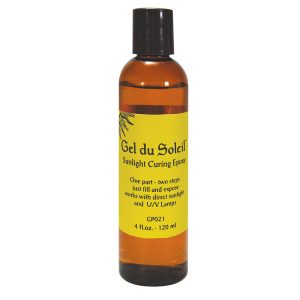
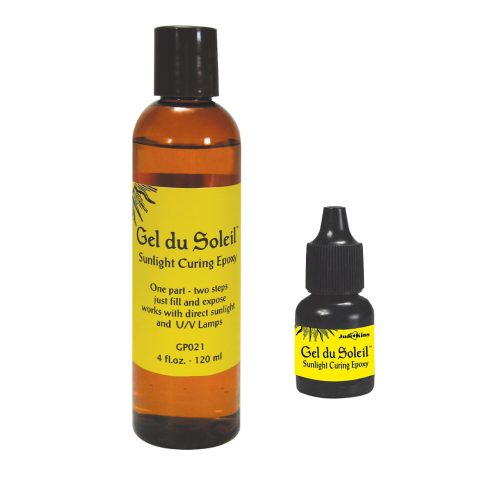
If you aren’t familiar with Gel du Soleil, it is a resin that cures in 20 minutes when exposed to ultraviolet light. I often use both Nunn Design 2-Part Resin and Gel du Soleil, depending on the technique. You can read about these two resins on the Nunn Design Blog, but let me highlight the reasons WHY I think that Gel du Soleil is such a great resin option to explore.
- There is no mixing of this resin because the catalyst is ultraviolet light. When the Gel du Soleil is exposed, with an ultra violet lamp or natural sunlight, the resin will cure and be hard to the touch within 20 minutes.
- It is available in two sizes, allowing you to test it!
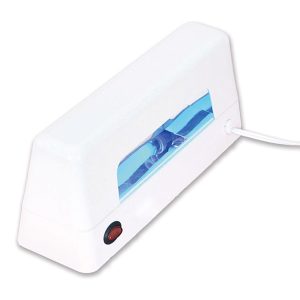
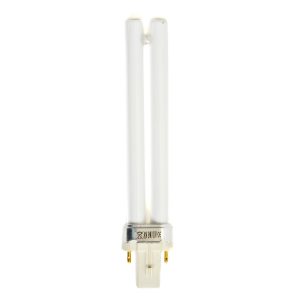
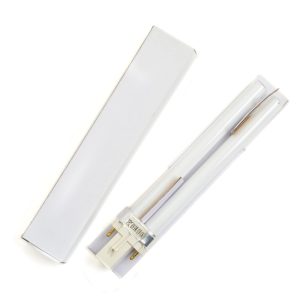
- The ultraviolet lamp is very inexpensive and has replacement bulbs you can purchase.
- No waste.
- You have as much time as you need as long as you keep the resin out of ultraviolet light.
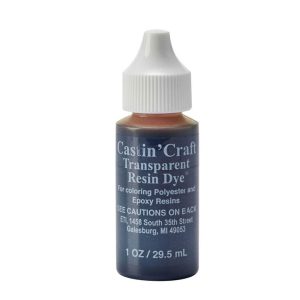
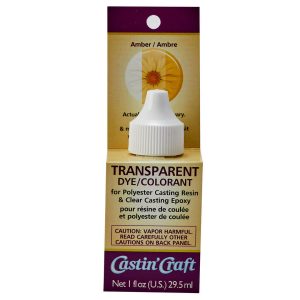
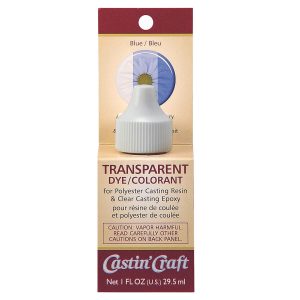
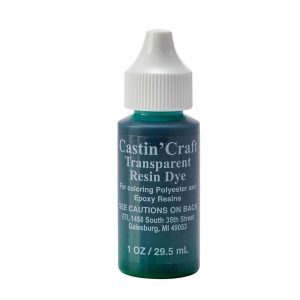
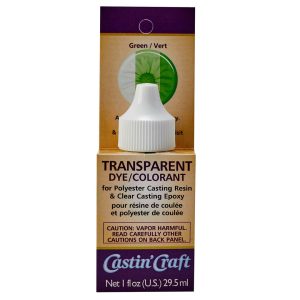
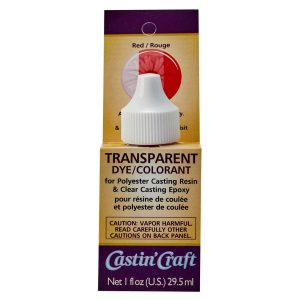
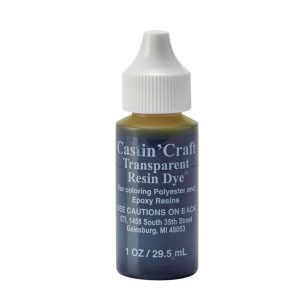
- It can be colorized with translucent dyes.
- It is easy to create intricate pieces that have multiple layers.
- This is worth repeating: Cures in 20 minutes!!!
Let’s Get Started!
This is the third and final part covering the 22 Things to Create with Gel du Soleil Resin. You can access the other posts in this series on our website.
- 22 Things to Create with Gel du Soleil Resin – Part 1
- 22 Things to Create with Gel du Soleil Resin – Part 2
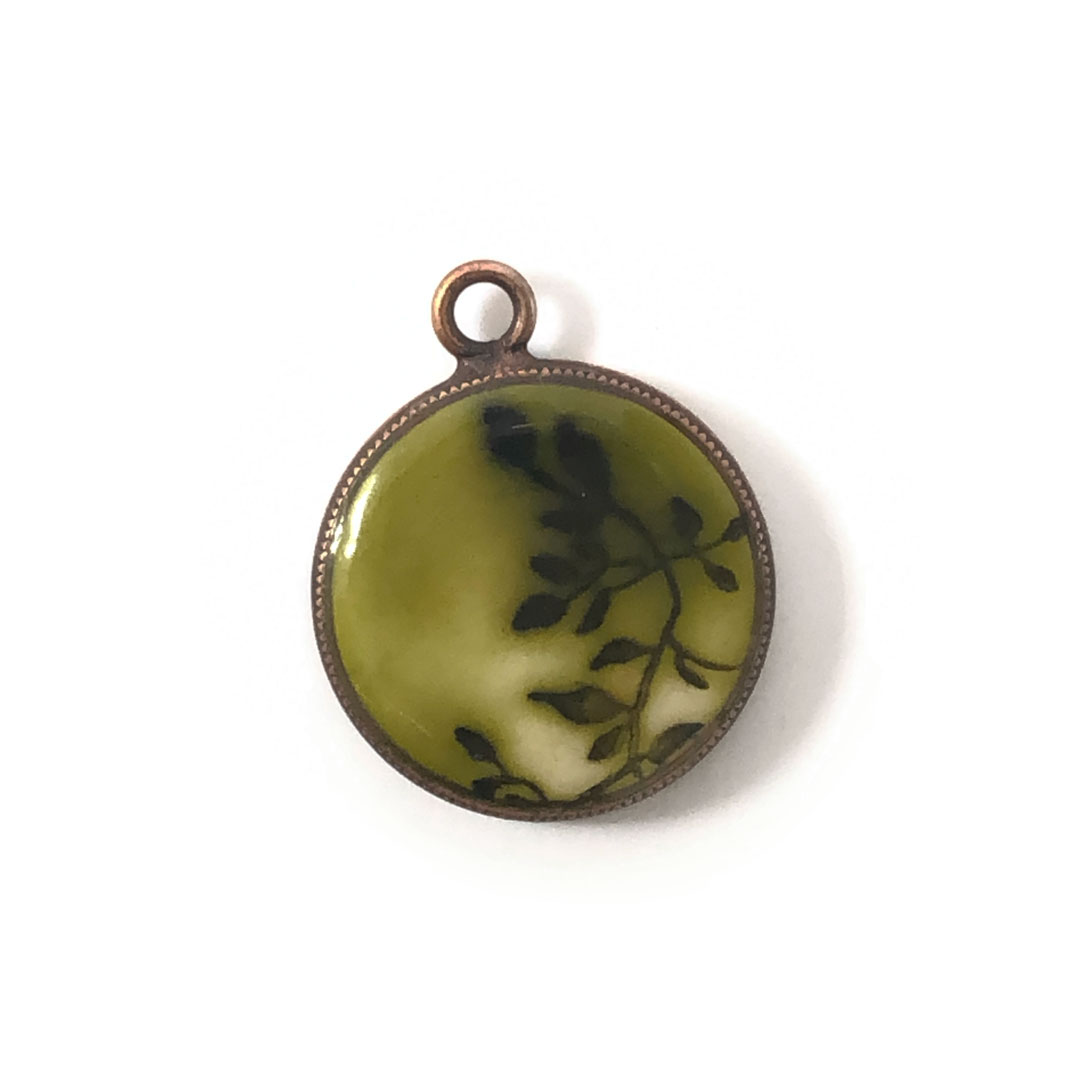
15. Dyed Gel du Soleil within Open Back Bezels
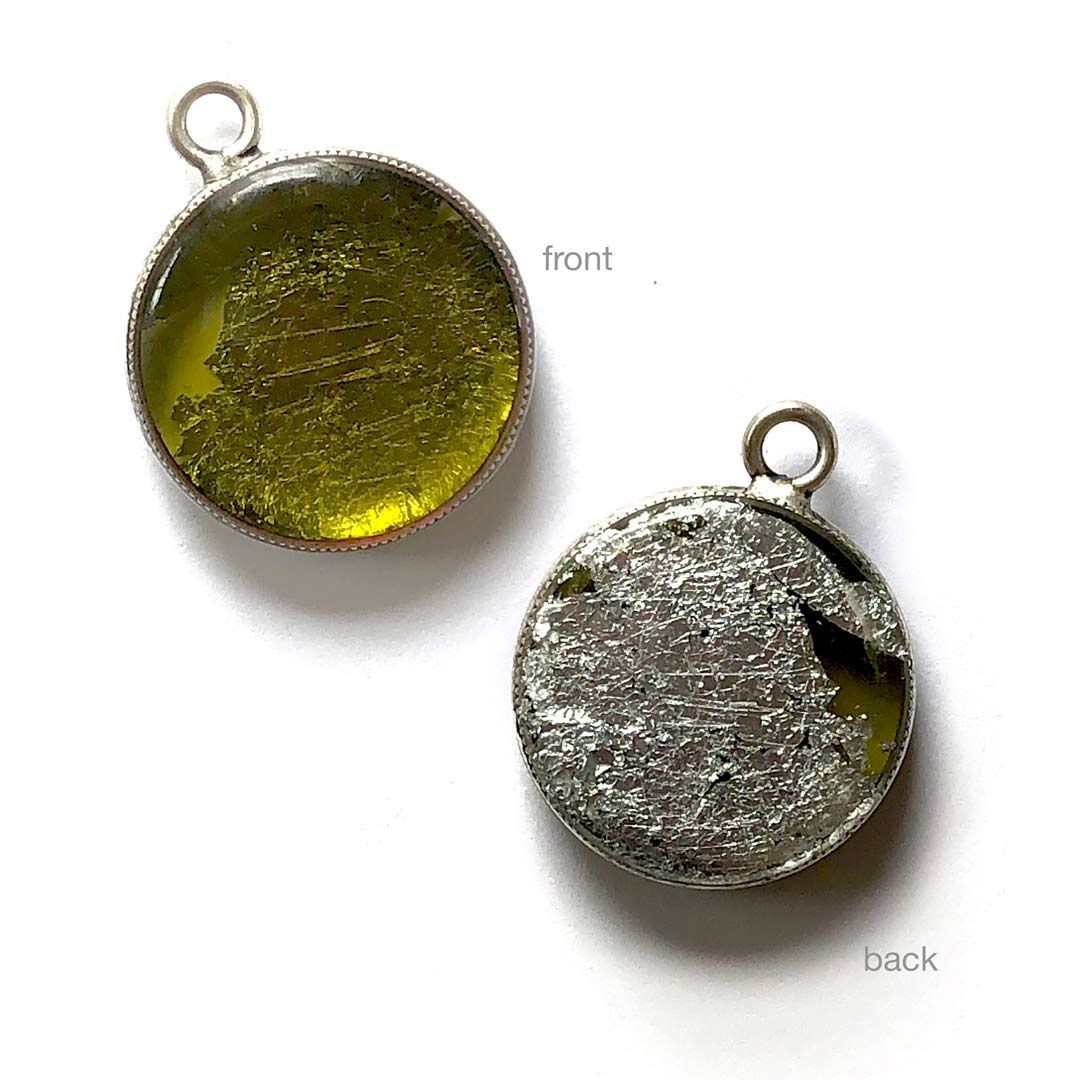
I’ve had mixed results working with Gel du Soleil in an Open Back, but in this example, I walk you through how it can work. It can be done and the look is great, but it does involve a couple extra steps.
Watch the video to see more!
16. Organics with Gel du Soleil in Open Back Bezels
Here is an example of where Gel du Soleil did not work when used within a Nunn Design Open Back Bezel. I discuss why in the video. The good news is that it can be done, you just have to make sure that the resin is fully secured to the side edges of the bezel.
Watch the video to see more!
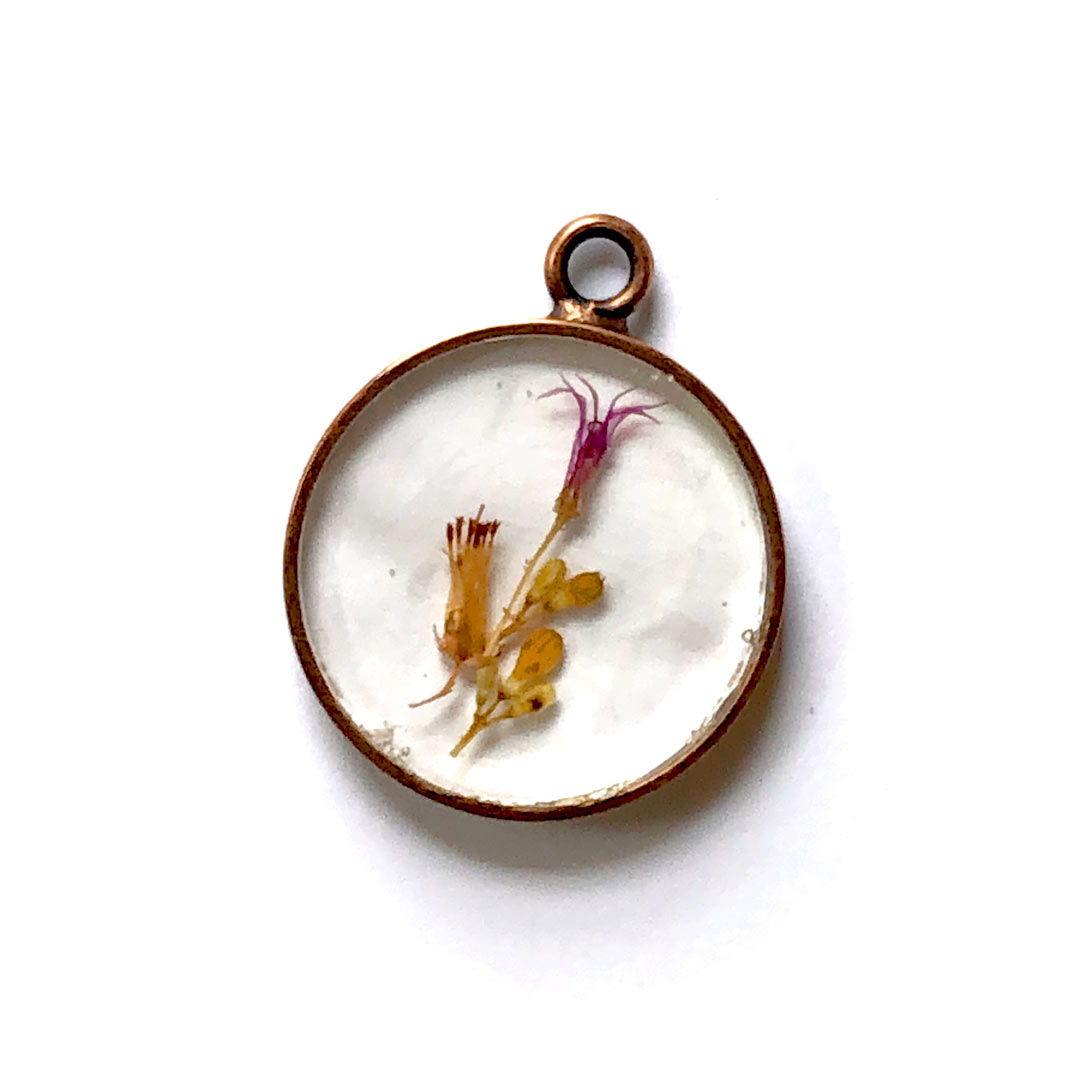
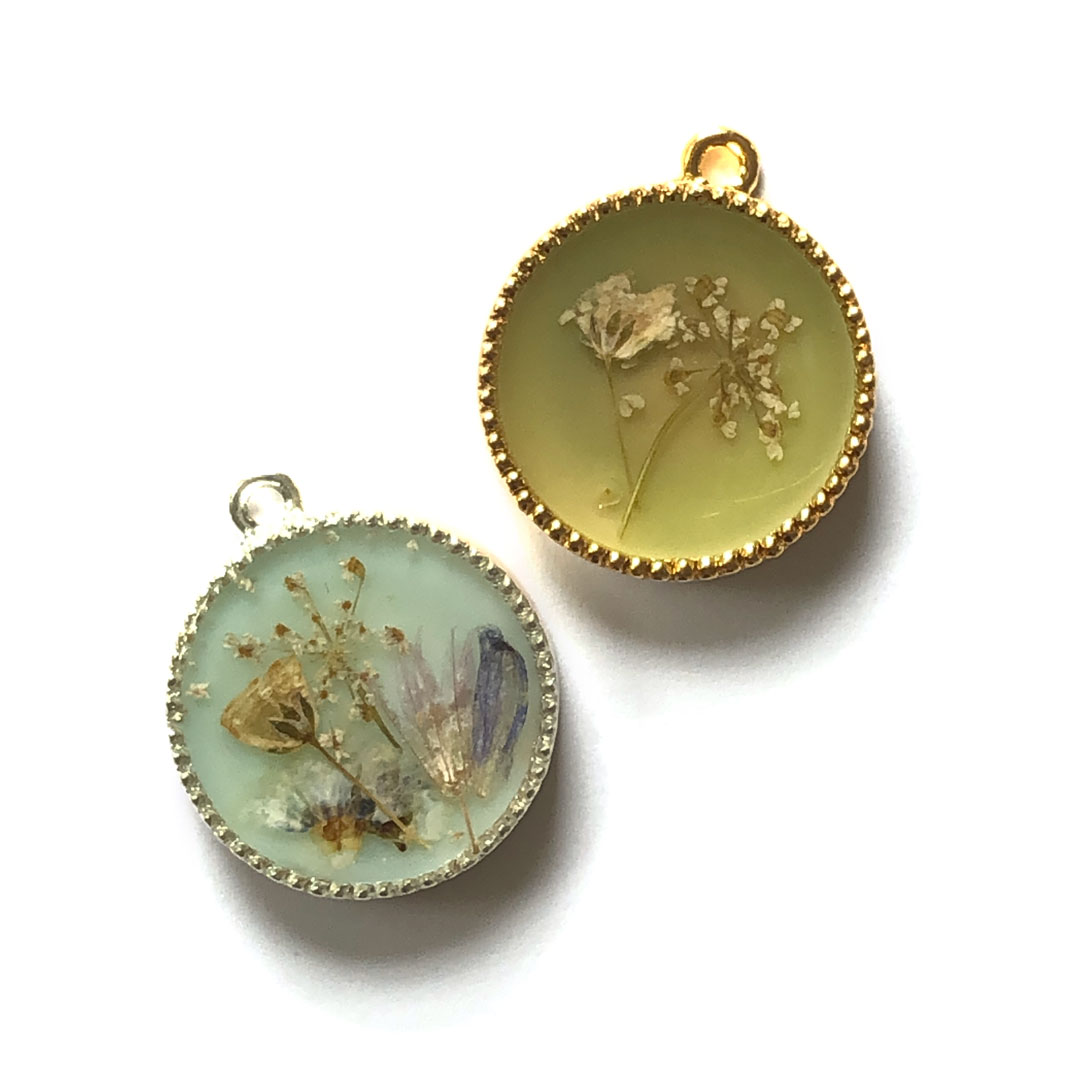
17. Organics with Dyed Gel du Soleil
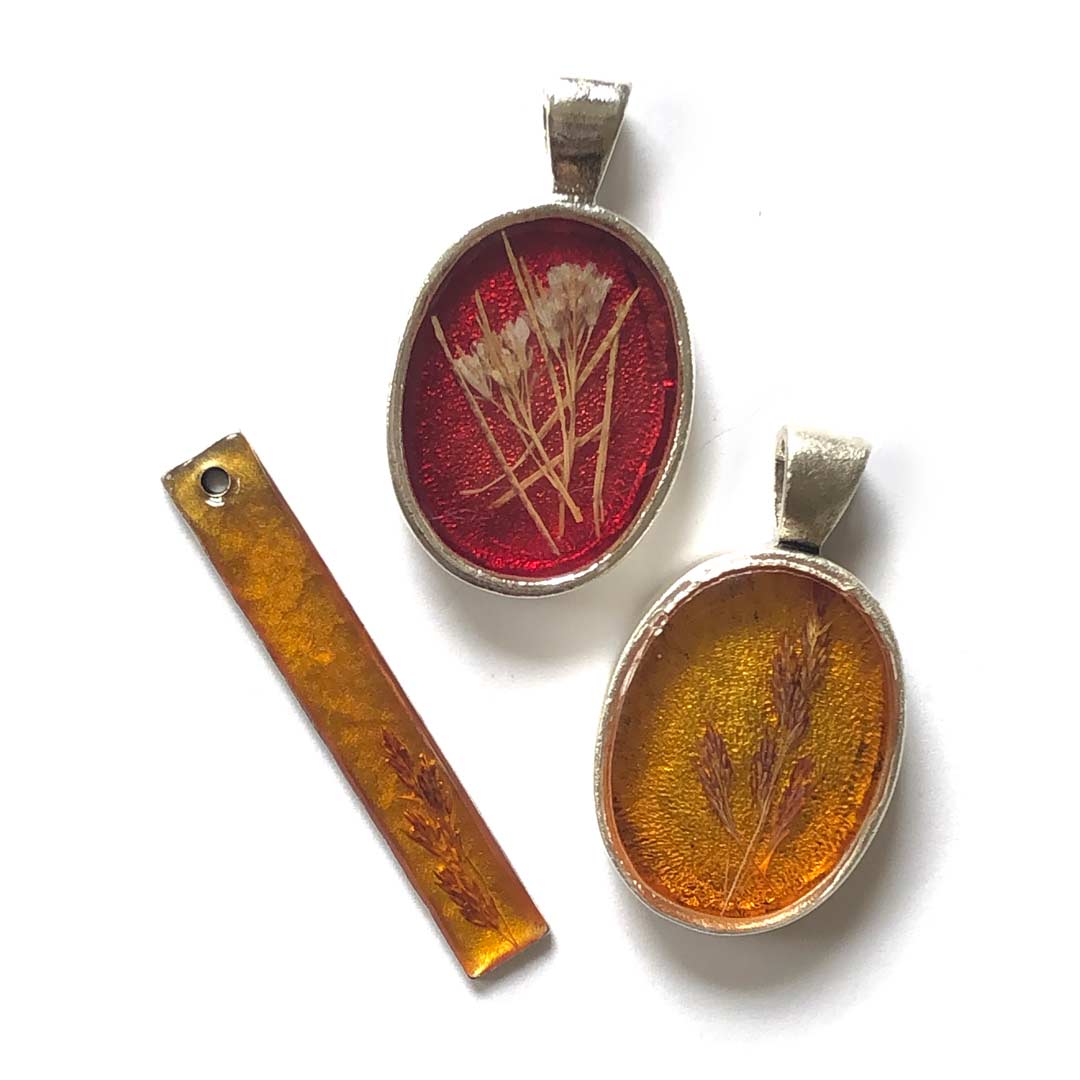
Gel du Soleil colorized with Transparent Dyes worked beautifully with preserved organics. For a couple of the samples, I glued the organics into place. In another experiment, I added translucent dye to the Gel du Soleil, poured it into the base of a bezel, cured the gel and then placed in the organics. The beauty of working with a fast curing ultraviolet resin really shines in this example. It is easy to place the organics into the gel, secure them into place so there is no shifting during the curing process!
Watch the video to see more!
18. Dyed Gel du Soleil on Flat Tags
I think this is the bomb! I have no idea what I’ll do with this idea, but it is super cool if I say so myself (which I did a couple times in the video!). I created an impression into the Nunn Design Flat Tag using a leather hole punch, then added some dyed Gel du Soleil to create the perfect little dot.
Watch the video to see more!
19. Gel du Soleil with Images
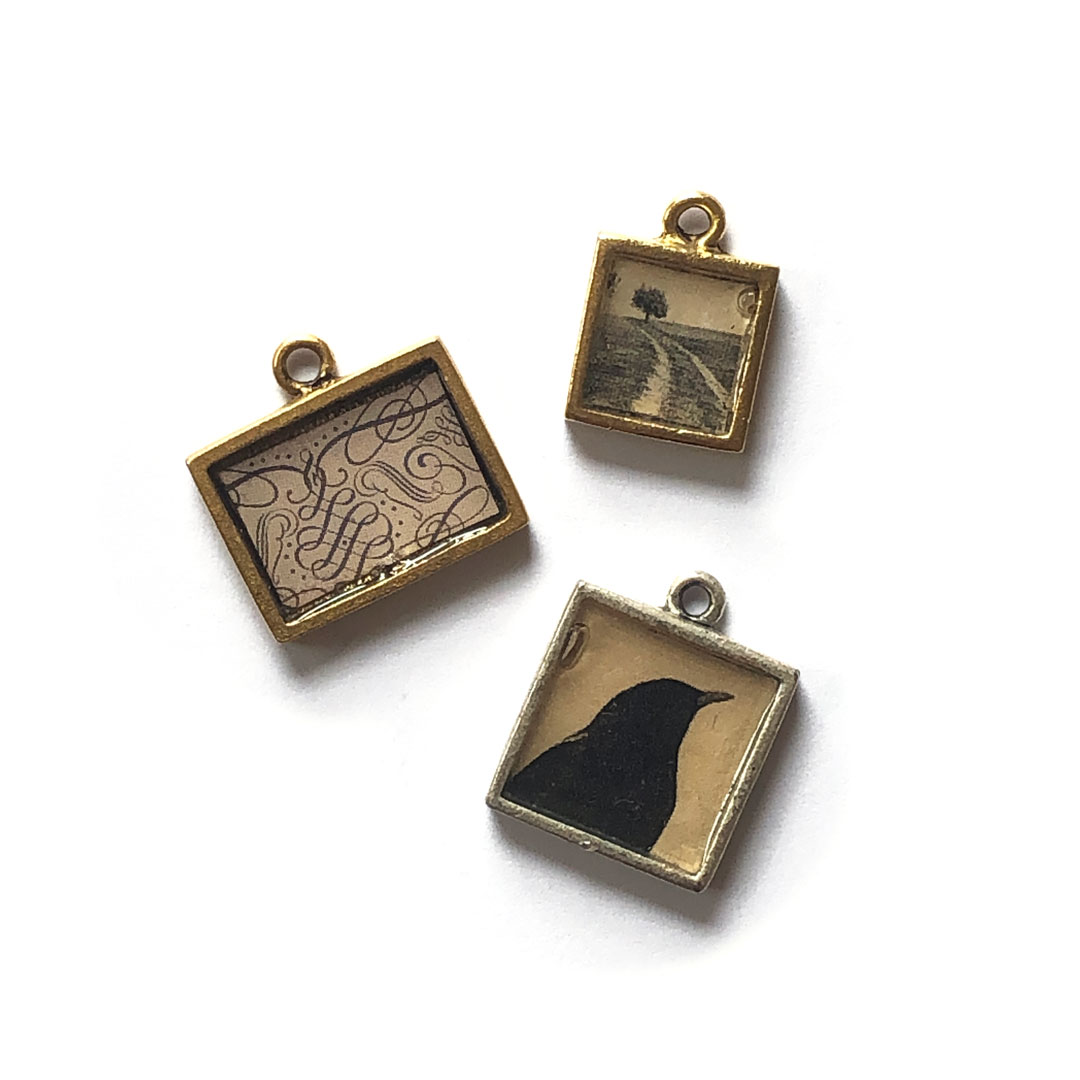
I started out trying to solve how to use ultraviolet resin on imagery over 15 years ago. I’m sad to say, I still haven’t figured how to have consistent results time and time again. It does work, but here are a couple of examples of what happens when it doesn’t. Please don’t call me a liar because I included this technique as one of my 22 things to create with Gel du Soleil.
I’d love to hear from any of you who have managed to have the results be consistent when using ultraviolet resin with images!
Watch the video to see more!
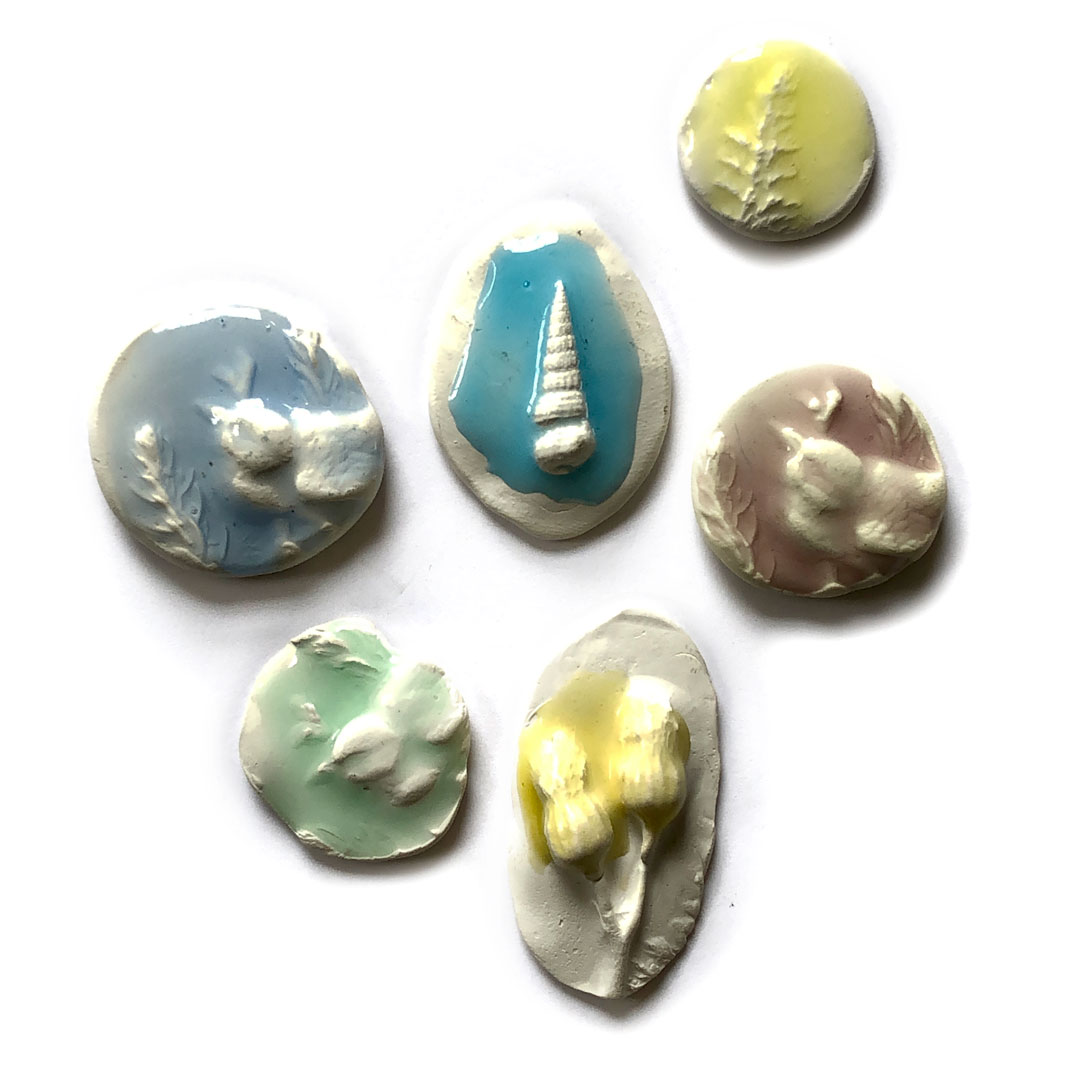
20. Dyed Gel du Soleil with Sculpted Epoxy Clay
I really love the look of sculpted epoxy clay. It looks like porcelain, but doesn’t require glazing and firing. We have several tutorials on the Nunn Design Website about creating this look with 2-Part Resin.
What is great about colorizing Gel du Soleil with transparent dyes is that you can mix up extremely small batches of resin and have all the time in the world to work with it! The gel will not hardened until exposed to the ultraviolet light! There is no waste and you can take your time!
Watch the video to see more!
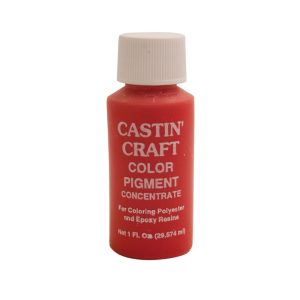
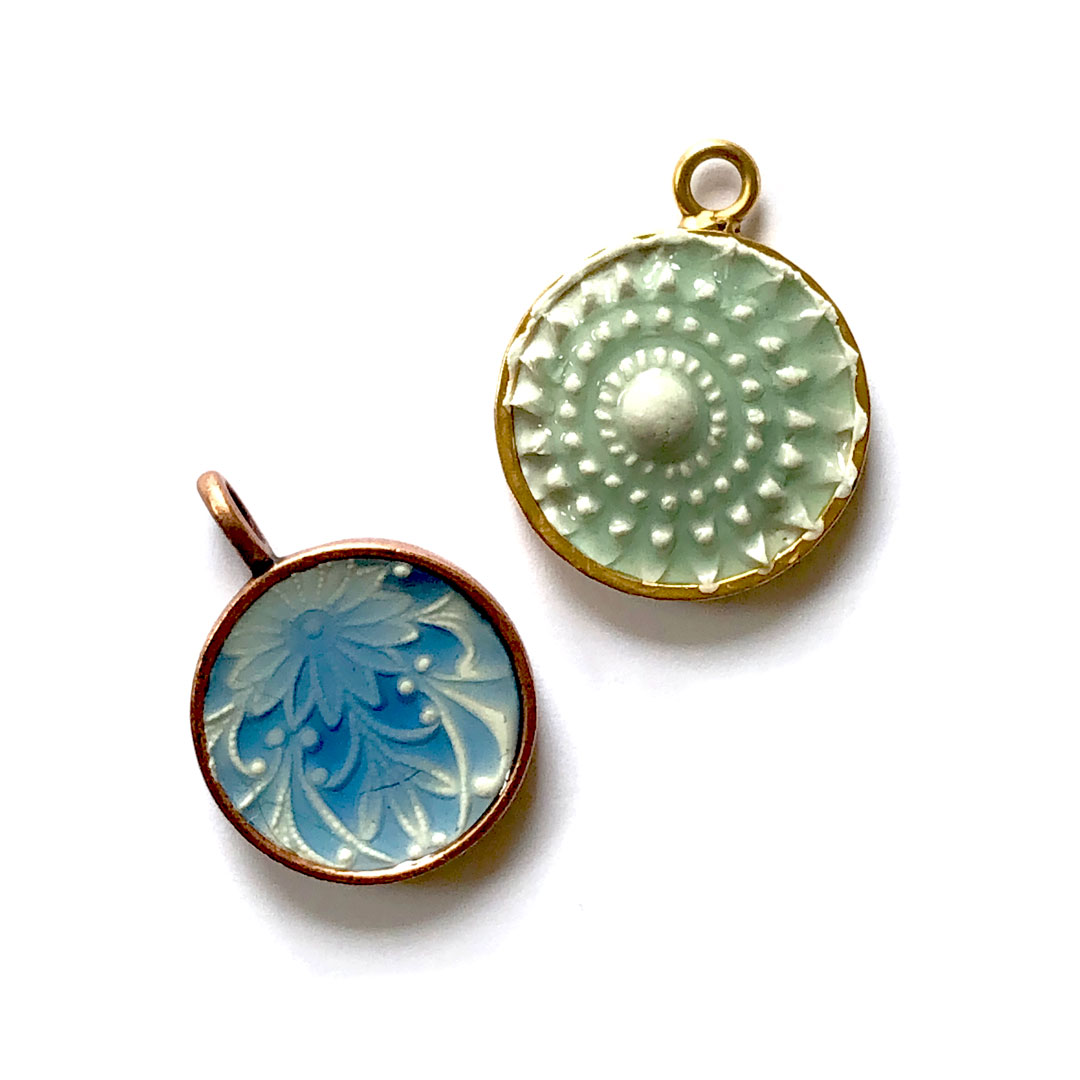
21. Dyed & Opaque Pigments with Gel du Soleil over Organics
As we have covered in other techniques, the Gel du Soleil has to allow ultraviolet light to be exposed to ALL of the gel in order for the whole piece to cure. I was curious how opaque I could make the Gel du Soleil and still have it cure. In this sample, I had some gel that I had colorized with translucent dyes. I wanted to know if I could create a whole different color by adding a white opaque pigment. I’m happy to say that it did cure, although I think I was pushing the envelope.
Watch the video to see more!
22. Dyed & Opaque Pigments with Gel du Soleil over Epoxy Clay
I used the same mixed resin from the previous example and applied it over rubberstamped epoxy clay. I love this look!
Watch the video to see more!
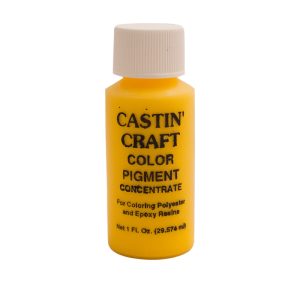
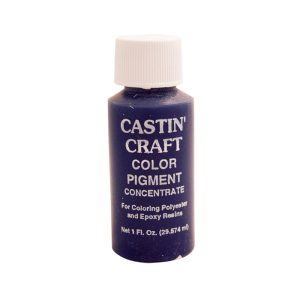
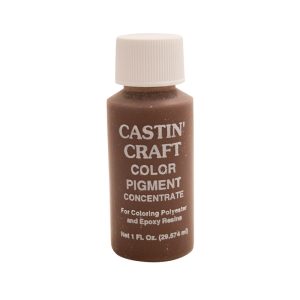
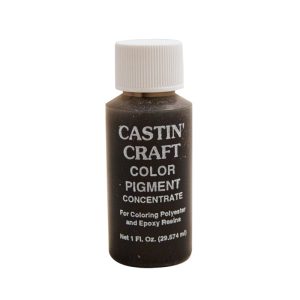
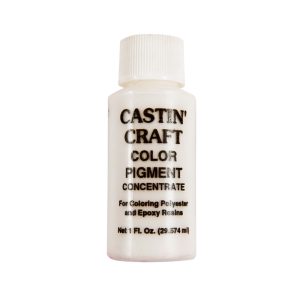
Do You Need Both Castin’ Craft Dyes and Opaque Pigments?
My vote is yes. Here is a video showing an example of the difference in colors.
Shop Wholesale Products for Technique