Tutorials
Embedding Crystal Chatons into Epoxy Clay-Tutorial!
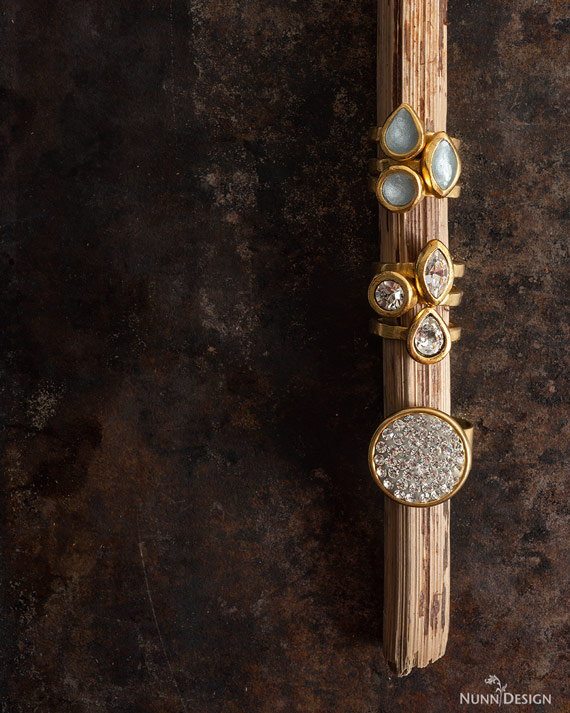
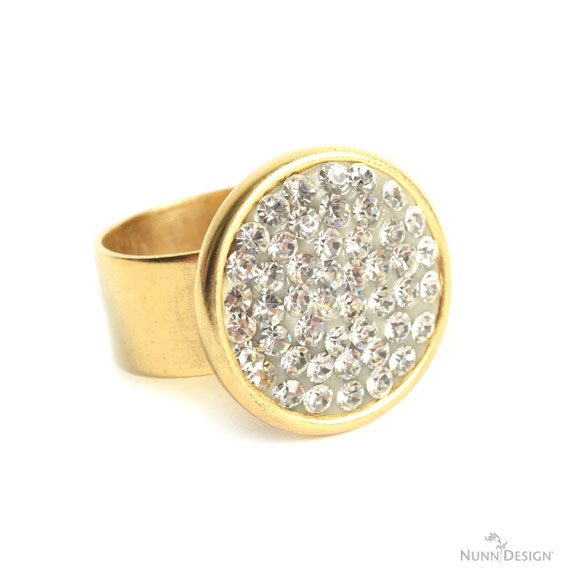
Embedding Crystal Chatons into Epoxy Clay creates a very classic and elegant look. Also, it is really fun to do! Let’s take a look at how it is done.
Supplies:
Supplies Needed:
- Nunn Design Findings
- Crystal Chatons
- Epoxy Clay Kit
Other Supplies:
- Q-tip
- Rubbing Alcohol
- Wet wipes
- Toothpicks
Add Epoxy Clay into Bezel
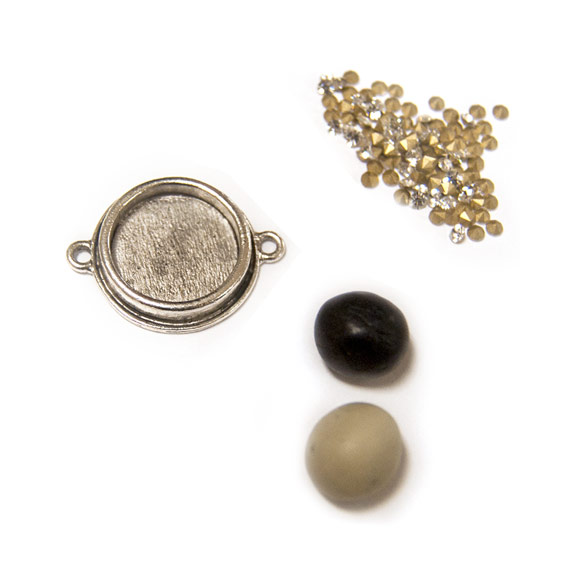
Step 1: The Nunn Design Bezels are oxidized to provide the antiqued look to the precious metal plating. The oxidization, when it comes into contact with the clay, could change the color of the clay. To avoid this, clean the bezel thoroughly prior to application of the clay. Get the tip of a Q-Tip wet with rubbing alcohol and clean away any of the blackened oxidization, especially from the inside of the bezel.
Step 2: Follow the manufacturer’s instructions for the handling and mixing of the Epoxy Clay. For mixing the Epoxy Clay, it is best to wear gloves. Pinch off two equal sized balls, approximately the size of a large blueberry of Part A and Part B. Blend the clay together until it s no longer marbled and is uniform in color. You have approximately 90-120 minutes of working time before the clay starts to harden, so take your time. Once the clay is thoroughly mixed, remove your gloves to make it easier to work with the clay.
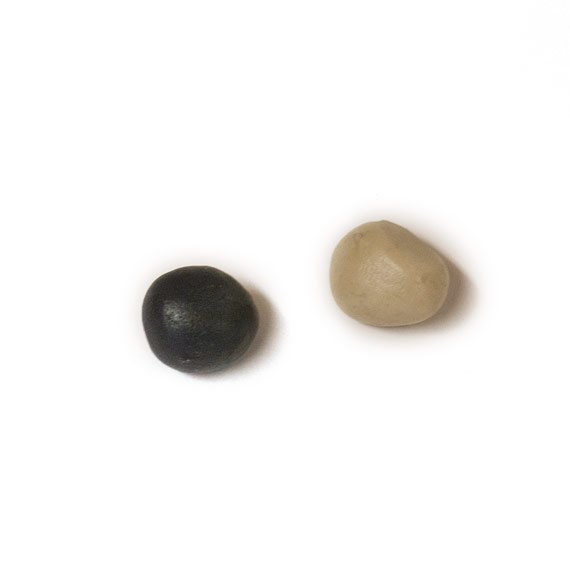
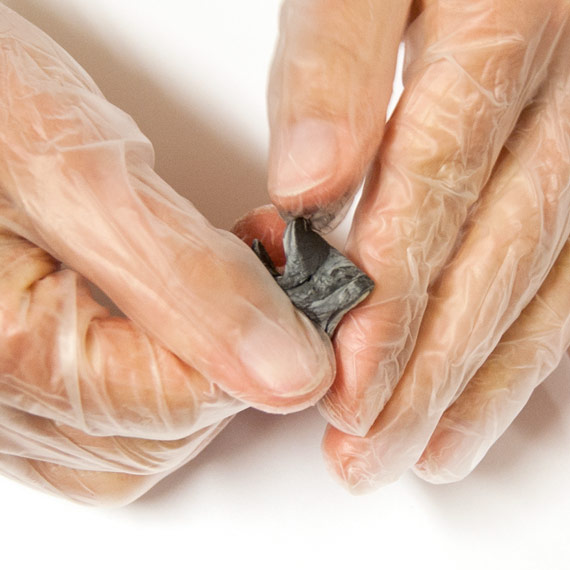
Step 3: Pinch off a small ball the size of a small pea and roll the mixed Epoxy Clay thoroughly between your palms until it forms a smooth round ball.
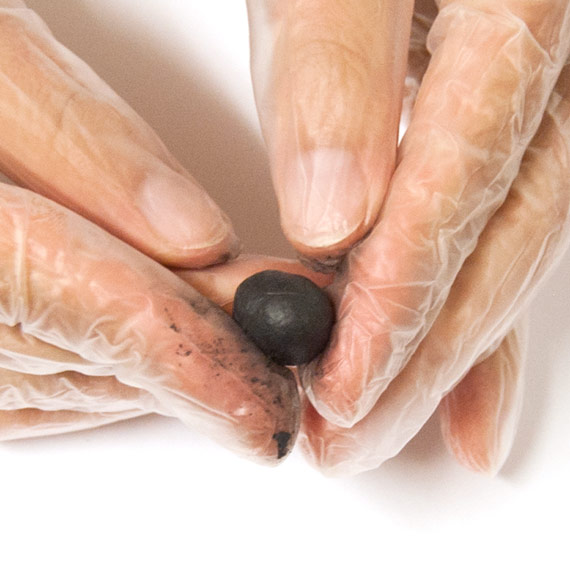
Tip: If you are doing a pair of earrings, roll out the clay balls at the same time. This will help create a uniformed consistent look.
Step 4: Pat the clay gently into the bezel. Depending on the effect that you would like, you can either press the Epoxy Clay flush to the side edges of the bezel or create a nice high dome.
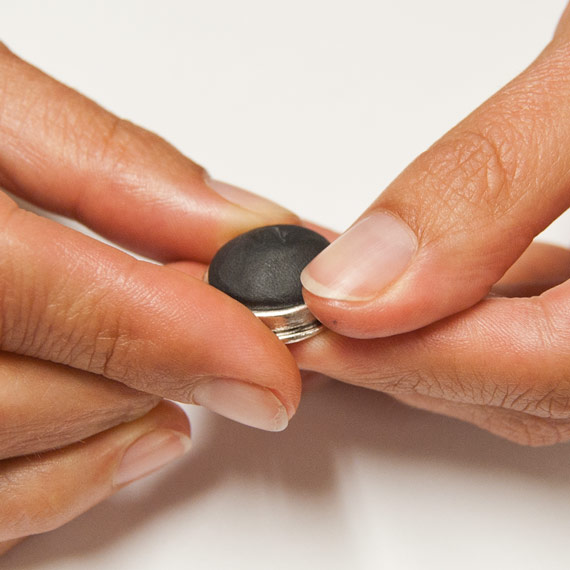
Step 5: Using a wet-wipe, clean up any excess Epoxy Clay that might have been left on the jewelry finding. The Epoxy Clay hardens like cement, so cleaning it up now and being tidy as you go makes the process easier and the results so much nicer.
Embedding the Crystal Chatons
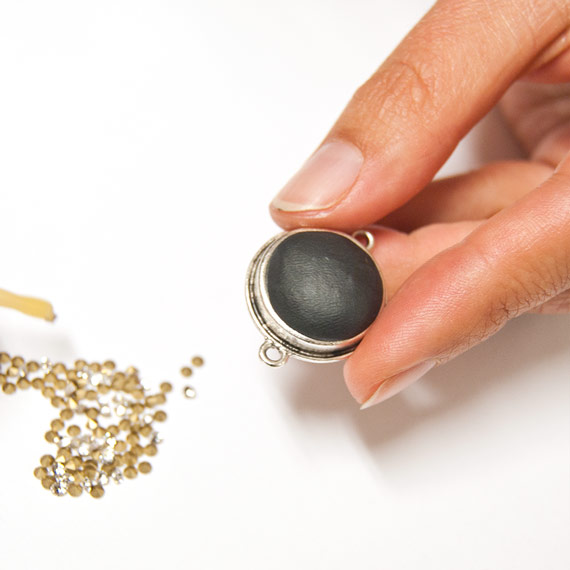
Step 6: Place the Crystal Chatons onto your work area. If you purchased a pack of Epoxy Clay, there will be beeswax toothpick included in your kit. Open it and have it on the ready.
Step 7: Take a moment to practice picking up the Chatons with your toothpick. If the Chaton is face down with the pointed end facing up, you will want to use your toothpick to turn the stone over. Pick up the top of the Chaton and place it into the clay. To release the Chaton, roll the toothpick slightly to release the Chaton from the beeswax tip. You have approximately 1 1/2 hours to embed the stones, so take your time applying your crystals into the clay. I like to start on the outside edge and work my way into the center.
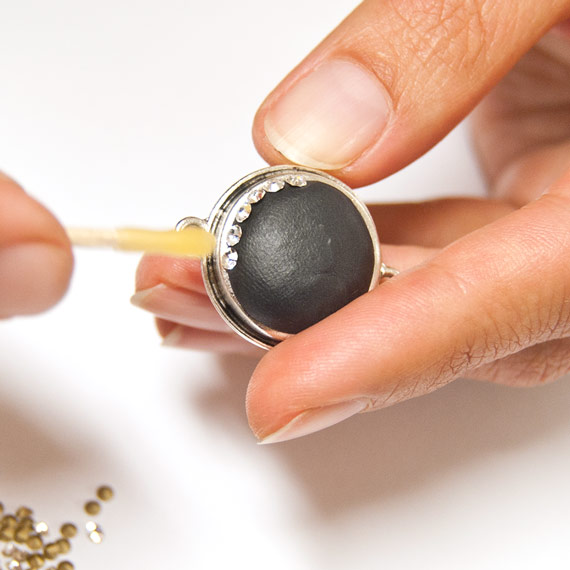
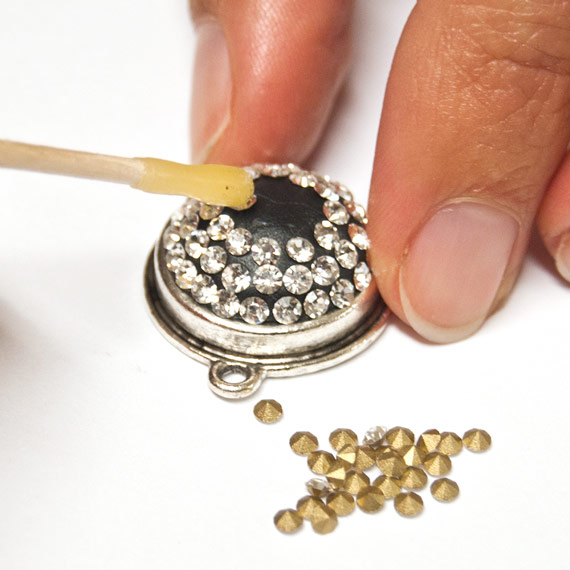
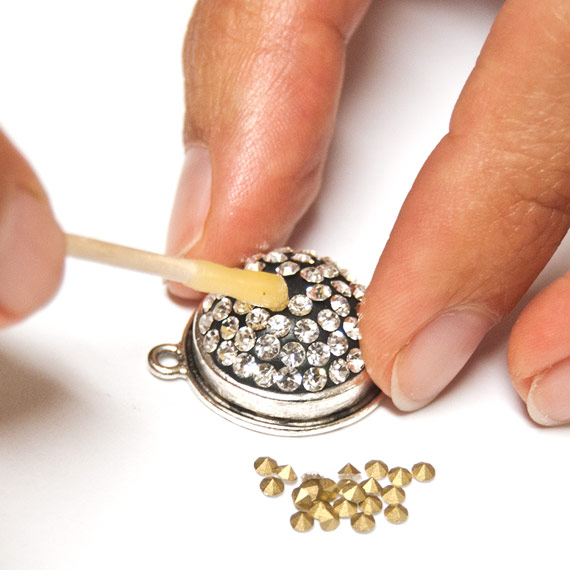
Tip: Do not press down super hard. Just get the tip of the Chaton into the clay. If you press down too hard, it will make the dome be uneven and it will be super challenging to get the Chatons out without really digging into the clay.
Step 8: Once all of your Chatons are in place, use your fingers to slightly press all of your Chatons down into the clay making sure that the sides of each one are fully embedded into the clay. You will also be using your fingers to make sure your domed clay is nicely sculpted. If you have a stone fall out once the clay has cured, chances are that the Chaton’s point wasn’t fully embedded. If a stone does pop off, you can glue it back into place. I tend to like to use GS-Hypo Cement or Bond 527 Cement.
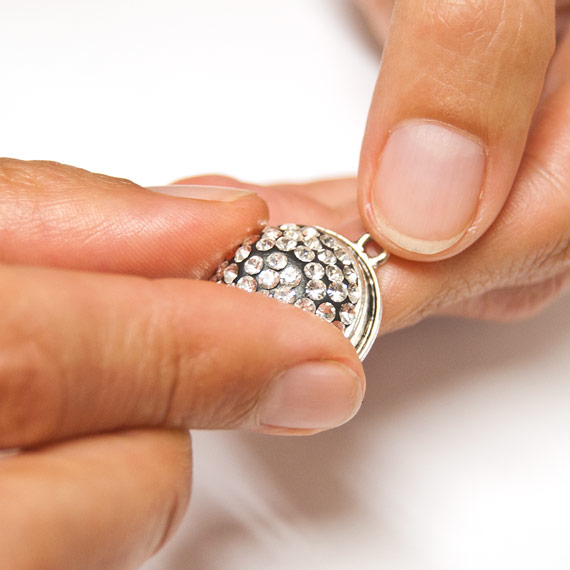
Step 9: Using a damp wet cloth, wipe away any clay that might be smudged around. When it dries, it will be REALLY hard to get off.
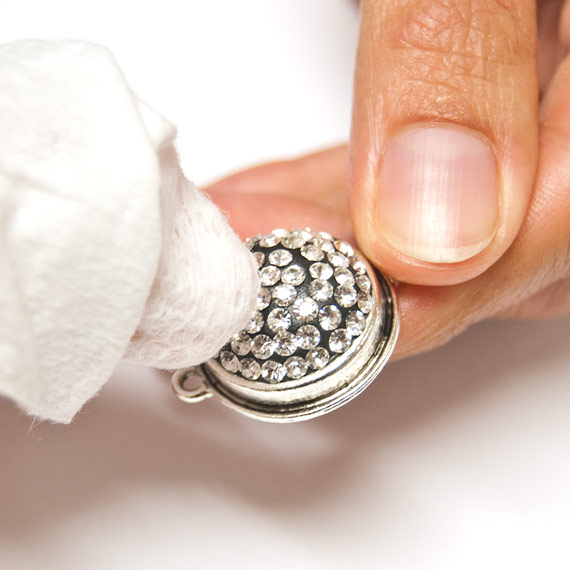
Step 10: Your piece will cure in 14-16 hours.
Be Inspired:
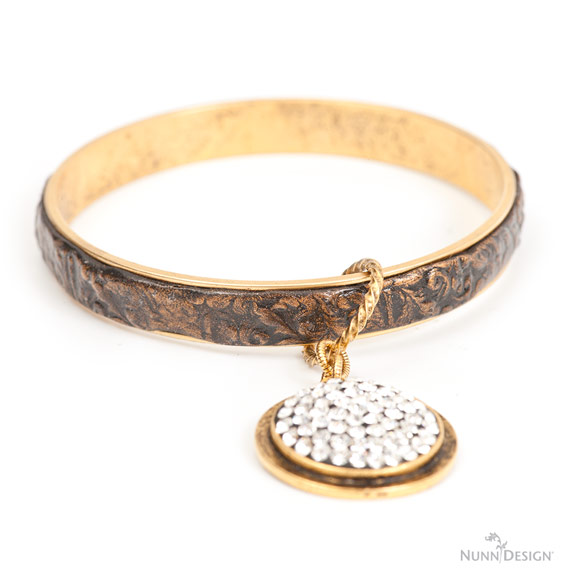
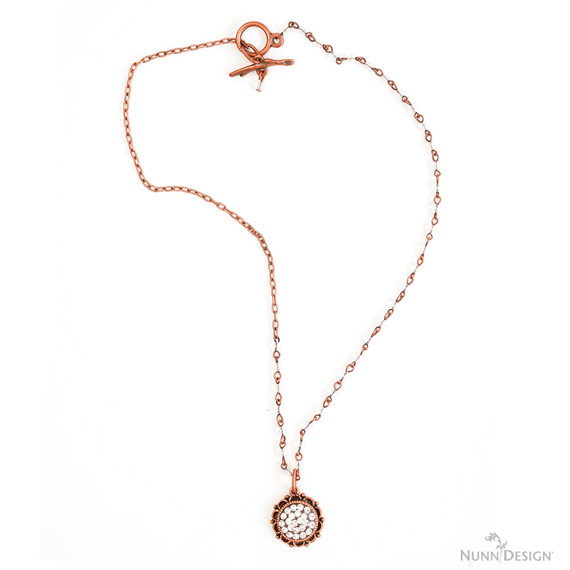
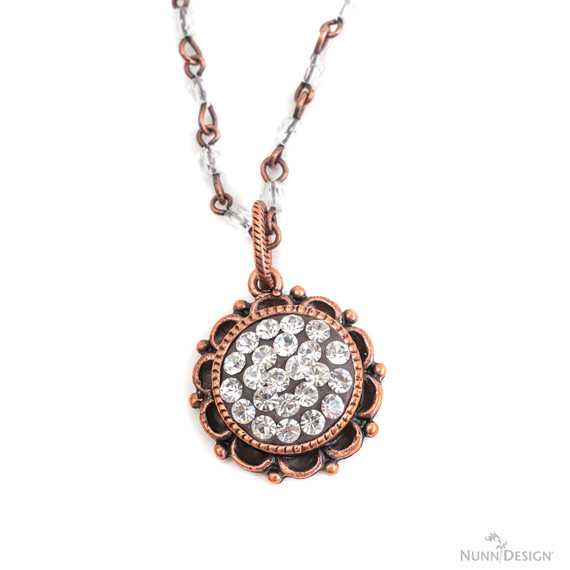
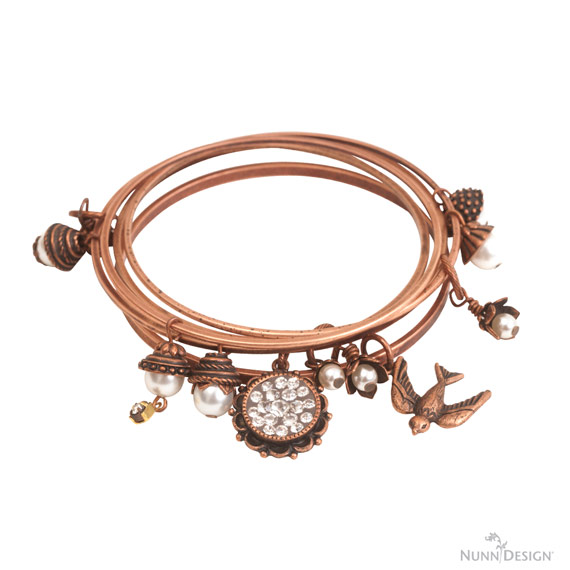
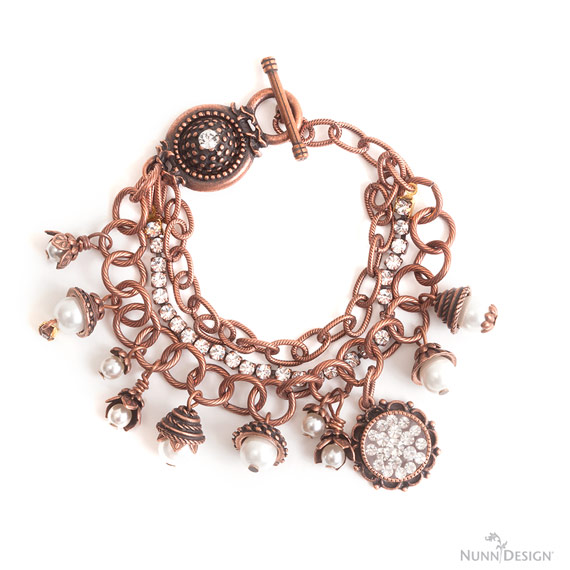

To learn how to create a stair-stepped chaton look like these, here is a link to another tutorial that will show you how!
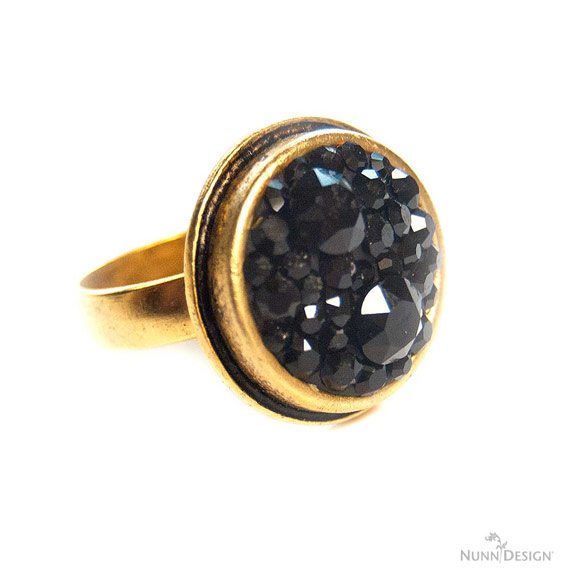
Black Chaton Gold Ring & Earring Tutorials
Shop Supplies:
Shop Wholesale the Supplies:
Shop Nunn Design Wholesale
Nunn Design has been supplying jewelry artists with findings for over 20 years. Shop wholesale jewelry findings for creative jewelry makers.
Shop Nunn Design!How to Purchase Wholesale?
If you are interested in becoming one of the many designers who trust their jewelry to Nunn Design Findings, please join us by registering to become one of our wholesale customers!
Please visit our Where to Buy Page for a listing of online stores that sell Nunn Design Findings retail.
If you enjoyed reading this post, please subscribe to our blog. Here are 10 Reasons Why to Subscribe and a place to do so!


