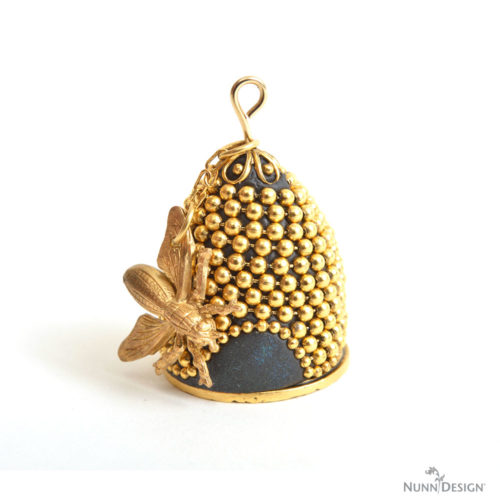
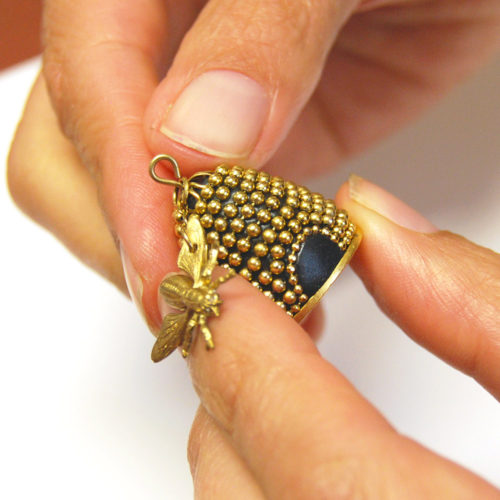
Okay… This project by Nunn Design Team Member Melissa Williamson is so AWESOME, I just about screamed with delight when I saw what she was creating. Man, I’m telling you, the Nunn Design Team had a killer Art Day! Here is how Melissa created this Ball Chain Bee Hive Pendant. This project is more intermediate, but don’t let that discourage you from giving this a try!
Learn How!
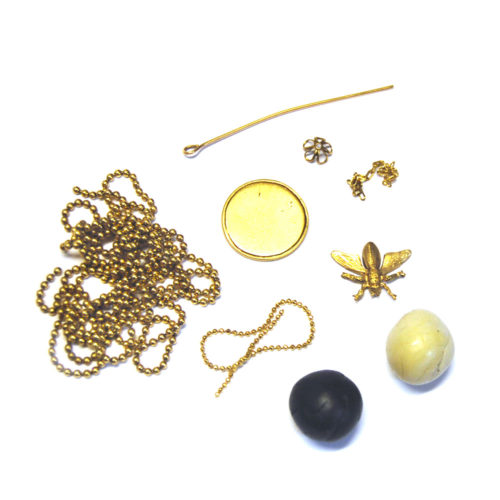
Supplies Needed:
Crest Tag Circle-Gold
Crystal Clay 25g-Black
Faceted Bead Chain Fine-Gold
Ball Chain Small-Gold
Eye Pin 2inches-Gold
Beadcap 6mm Open-Gold
2 Jumprings Small-Gold
Brass Stamping Honey Bee
Small Delicate Cable Chain
Others:
Wet-wipes
Toothpick or headpin
Tools:
Flush Cutter Pliers
Needle Nose Pliers
1.25mm Hole Punch
The Making of the Hive
Step 1:
Follow the manufacturer’s instructions for the handling and mixing of the Crystal Clay. While wearing gloves, pinch off two equal sized balls the size of large blueberries of Part A and Part B and blend together fully until the clay is no longer marbled and uniform in color. You have approximately 90-120 minutes of working time before the clay starts to harden, so take your time. Once the clay is thoroughly mixed, remove your gloves to make it easier to work with the clay.
Step 2:
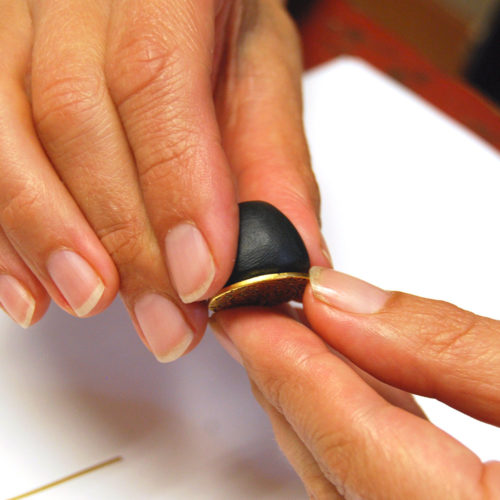
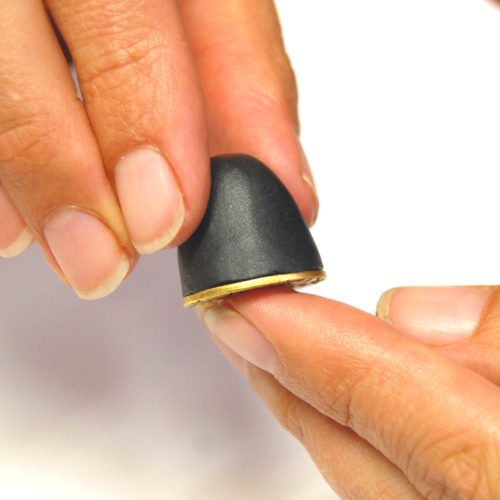
Roll the ball in the palm of your hands until it is smooth. Place the ball of Crystal Clay into the Crest Tag Circle and start to sculpt the dome with your fingers.
Tip: If you have too much clay and your dome is way too high, pinch of the excess clay and then remove all of the clay from the Crest Tag. It is easiest to just start this step over again.
Step 3:
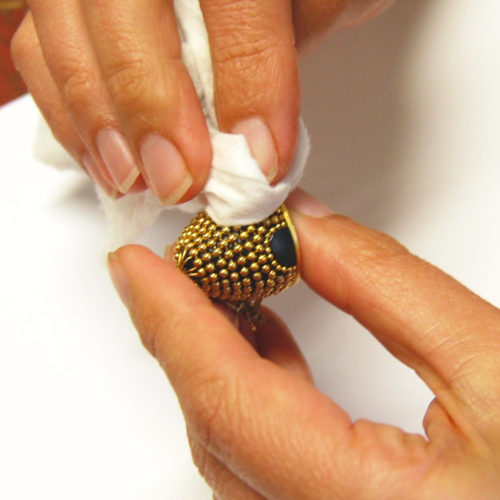
After you hive is domed, use a wet-wipe to remove any Crystal Clay from the Crest Tag Circle. When the clay hardens, it is like cement. Cleaning your hands and the metal surface as you go will result in a higher quality finished piece.
Step 4:
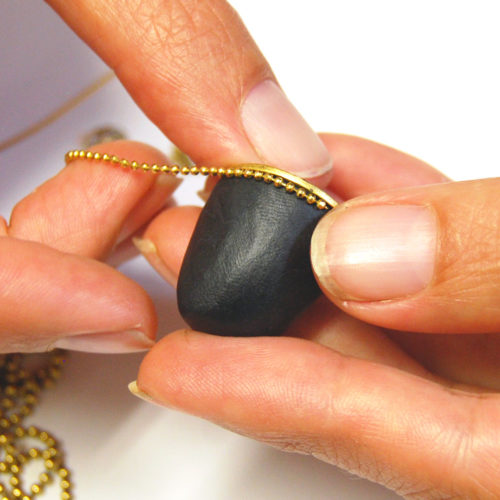
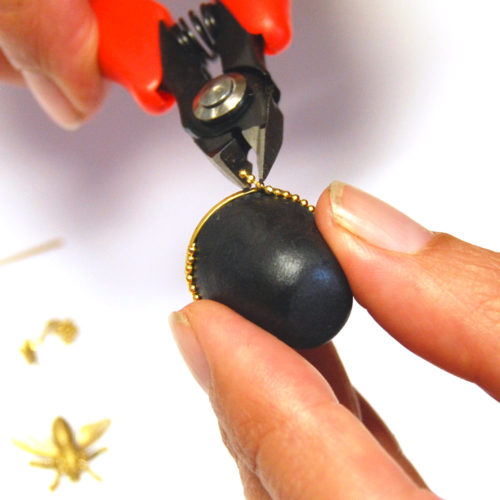
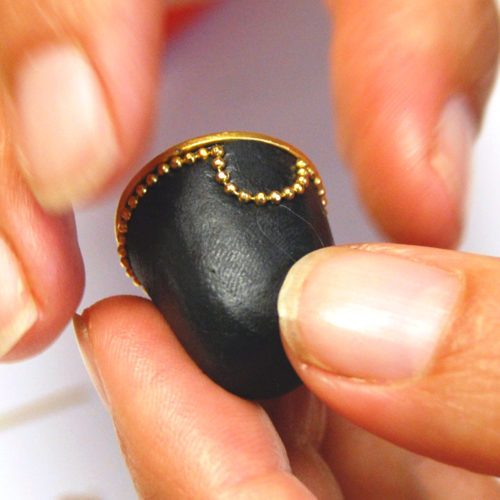
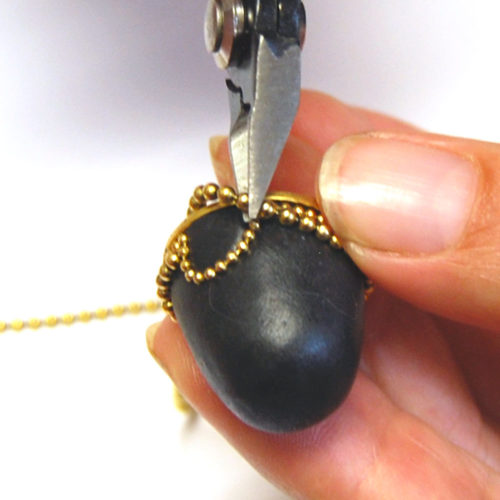
Embed the first bead of the Faceted Bead Chain Fine into the Crystal Clay at the base of the dome. Wrap the Faceted Bead Chain Fine around the base stopping to leave a ½” gap. Use a pair of Flush Cutter Pliers to trim away the excess chain. Using a piece of the Faceted Bead Chain Fine create a ¼” high arch in the gap. Trim any excess chain you may have. This will be the opening of the hive. Oh my!!! This is exciting!!
Step 5:
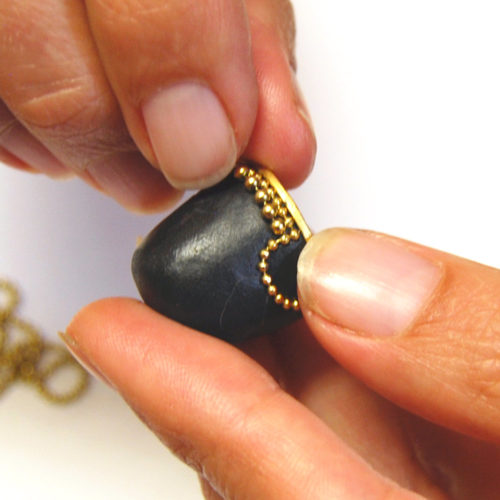
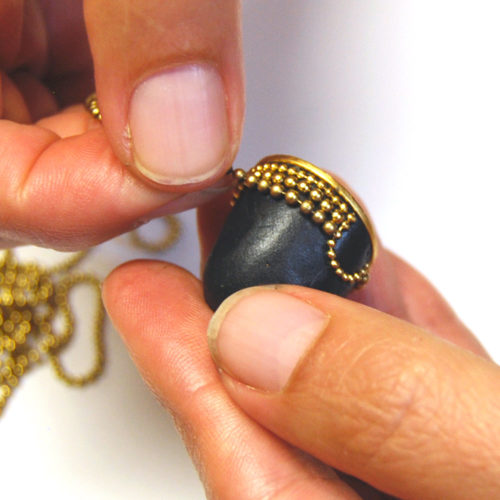
On the second row up, we will be switching to the Ball Chain Small. Start by embedding the end of the Ball Chain Small at the arch and wrap the chain around to the other side of the arch. Use a pair of flush cutters to cut away the excess. Try your best not to press the chain down too far into the clay, but far enough to keep it in position. Continue this step for 4 rows or until you are at the top of the arch.
Step 6:
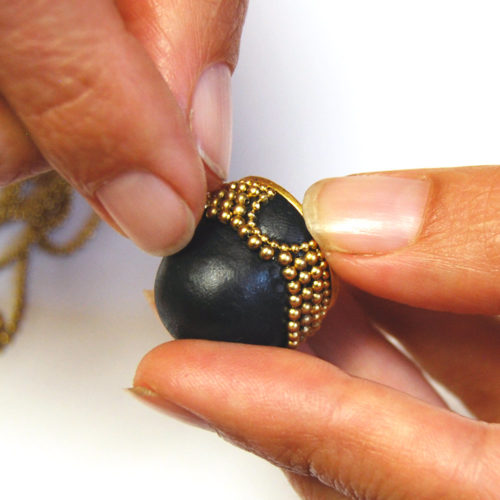
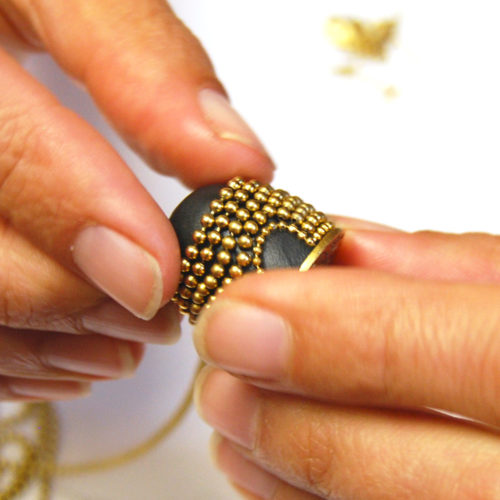
Once you are at the top of the arch, embed the first ball of your Ball Chain Small and spiral the chain up the hive until you have about 3/16” remaining on Crystal Clay at the top. Do not trim away the excess of the Ball Chain Small until after Step 7.
Step 7:
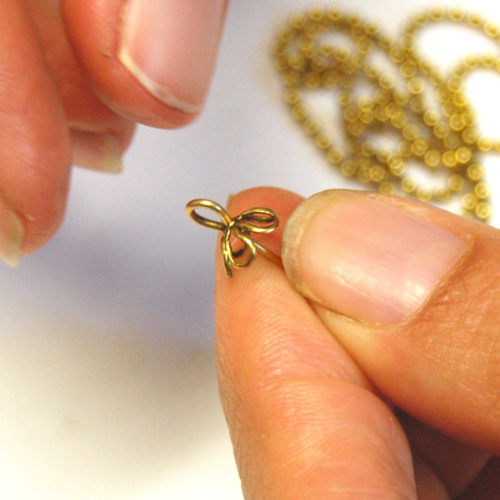
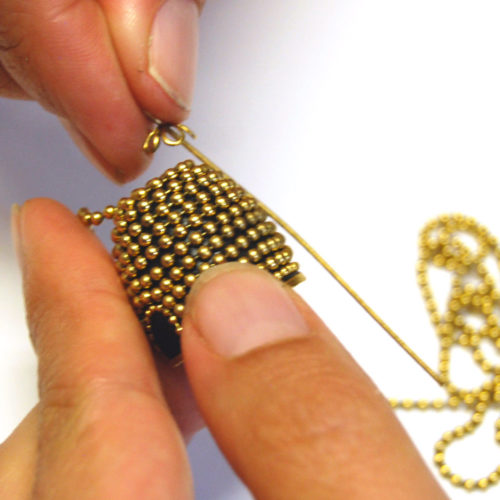
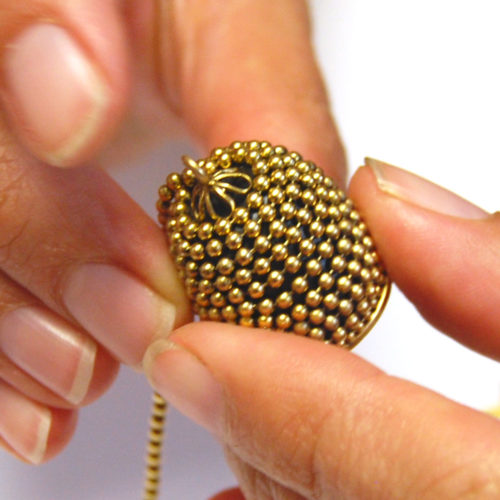
Using a pair of Flush Cutter Pliers, trim some of the excess length of the Eye Pin and thread on the 6mm Open Beadcap. Place the Eye Pin down the center of the hive and embed into the top of your hive the beadcap. Now you can trim away the excess Ball Chain from Step 6.
Step 8.
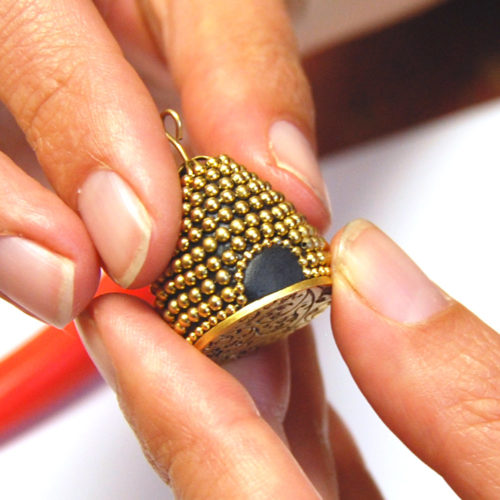
Gently sculpt the dome and embed the Ball Chain Small into the Crystal Clay.
Step 9:
Gently wipe down your piece with a wet-wipe. Let the Crystal Clay cure for 12 hours.
Attaching the Honey Bee to the Hive
Step 10:
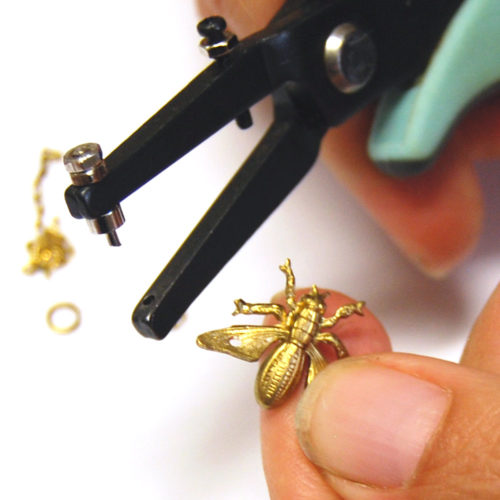
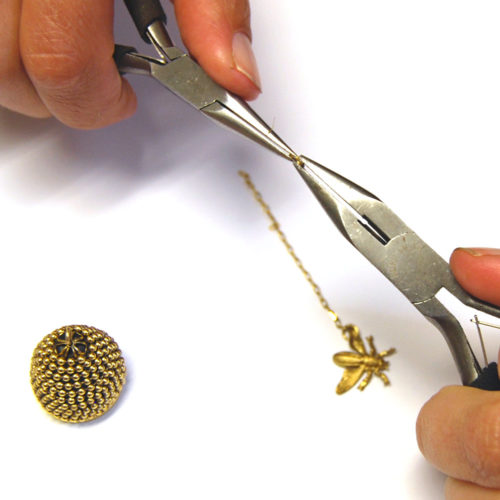
Using a 1.25mm Hole Punch, punch a hole into the wing of the Brass Stamping Honey Bee.
Step 11:
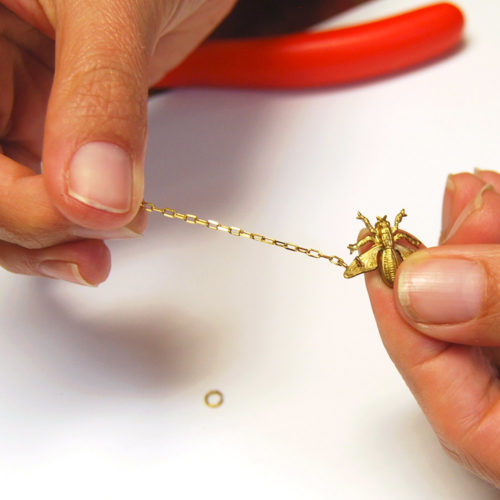
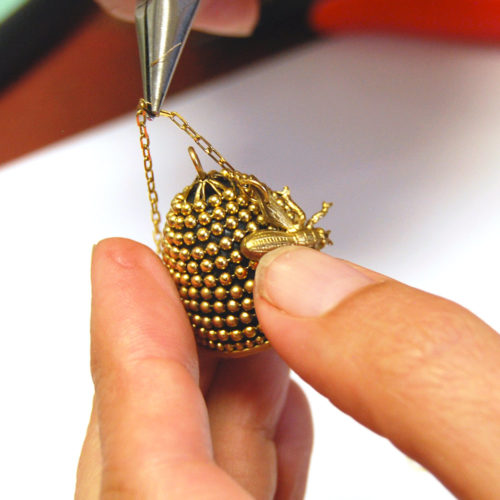
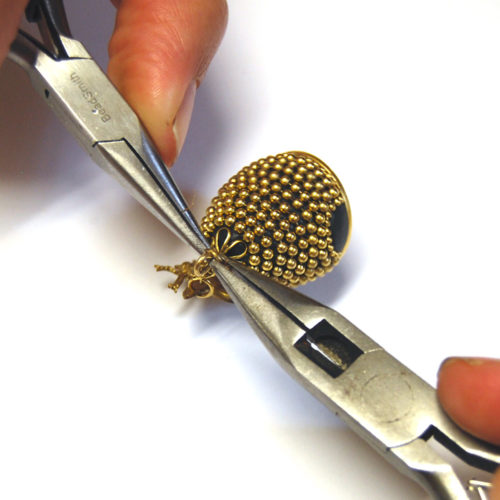
Using the Flush Cutter Pliers, cut about ¼” of the Small Delicate Cable Chain and add a Jumpring small on both ends. Attach one end to the Brass Stamping Honey Bee and the other to the Eye Pin.
Shop the Supplies!
- Crest Tag Circle-Gold
- Crystal Clay 25g-Black
- Faceted Bead Chain Fine-Gold
- Ball Chain Small-Gold
- Eye Pin 2inches-Gold
- Beadcap 6mm Open-Gold
- 2 Jumprings Small-Gold
- Brass Stamping Honey Bee
- Small Delicate Cable Chain
- Flush Cutter Pliers
- Needle Nose Pliers
- 1.25mm Hole Punch
Didn’t I tell you? Awesome!!!
Shop Nunn Design Wholesale
Nunn Design has been supplying jewelry artists with findings for over 20 years. Shop wholesale jewelry findings for creative jewelry makers.
Shop Nunn Design!How to Purchase Wholesale?
If you are interested in becoming one of the many designers who trust their jewelry to Nunn Design Findings, please join us by registering to become one of our wholesale customers!
Please visit our Where to Buy Page for a listing of online stores that sell Nunn Design Findings retail.
If you enjoyed reading this post, please subscribe to our blog. Here are 10 Reasons Why to Subscribe and a place to do so!


Very clever! Thank you for sharing Melissa’s way cool project.
It is awesome. This was the first time that I made Melissa’s design while doing these step-out images. I’m eager to make more in various sizes. Maybe embed some crystals in there too.
Very clever indeed. I loved it Melissa.
That is so darn cute, I am giddy!
I’m telling you! I screamed “awesome!!” when I say it being created!