Tutorials
Create This Parisian Resin Bracelet
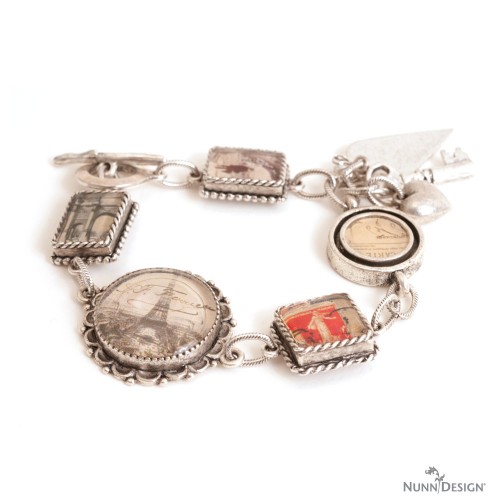
Who doesn’t love a piece of jewelry that captures a feeling or maybe a memory of a past adventure? This bracelet captures just that for me. In this Parisian Resin Bracelet Tutorial, learn how to use images and UV Resin – a single part epoxy that cures when it is exposed to uv light.
Instructions For Parisian Resin Bracelet
Supplies Needed:
- 1 small Gel du Soleil 5/16oz (gel 5/16oz)
- 2 Ornate Mini Rectangle-Slv (ompr-sb)
- 1 Ornate Mini Square-Slv (omps-sb)
- 1 Ornate Large Circle-Slv (olpcs-sb)
- 1 Small Pendant Circle-Slv (spc-sb)
- 1 Mini Link Circle-Slv (mlcs-sb)
- 1 Round toggle – Slv (rt-sb)
- 1 Twig Toggle Bar – Slv (ttb-sb)
- 12 Oval jump rings-Slv
- 1 Small Heart – Slv (shso-b)
- 1 Key Charm- Slv (kcs-b)
- 1 Elongated Heart – Slv (ehcs-b)
- 1 Collage Sheet Paris (csp)
- 1 Nunn Design Glue (glue)
Tools Needed:
- Paintbrush
- Cotton Swab
- Headpin
- Matches
- Small Glass Dish
- Direct Sunlight or UV lamp
- Water (for rinsing brush)
- 2 pair needle-nose pliers (for opening/closing jumprings)
- 1 pair of cutters (to remove loop from mini link circle)
- Bond 527 or E6000 glue
STEP 1:
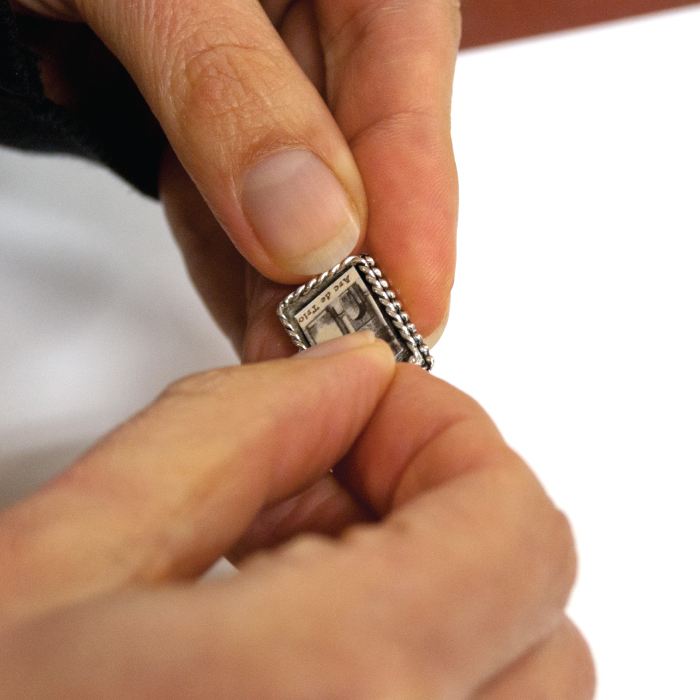
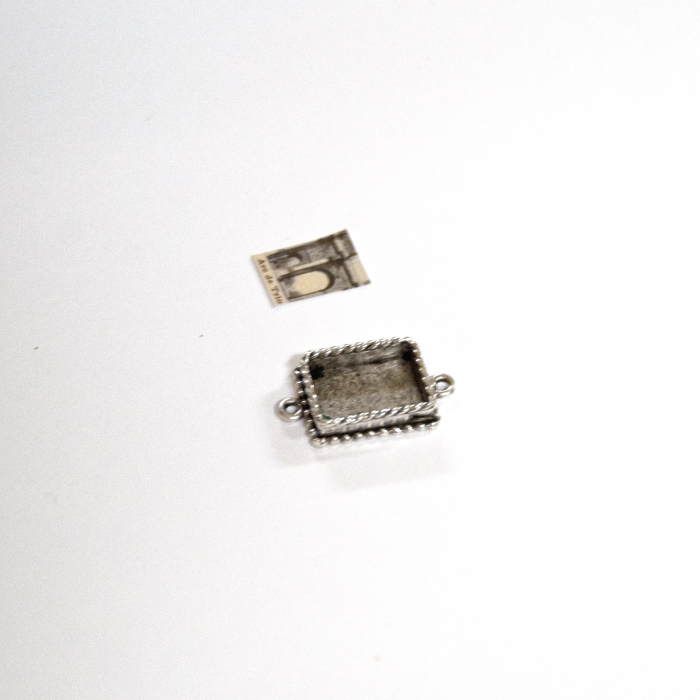
Select your image from the Paris Collage Sheet. Trim the image to fit the bezel of choice. (Leave the Small Link Circle – Antique Silver empty)
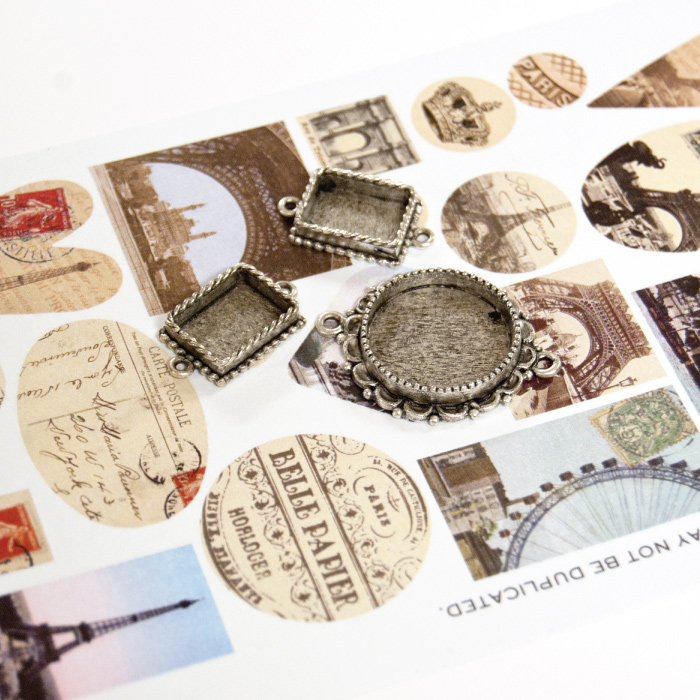
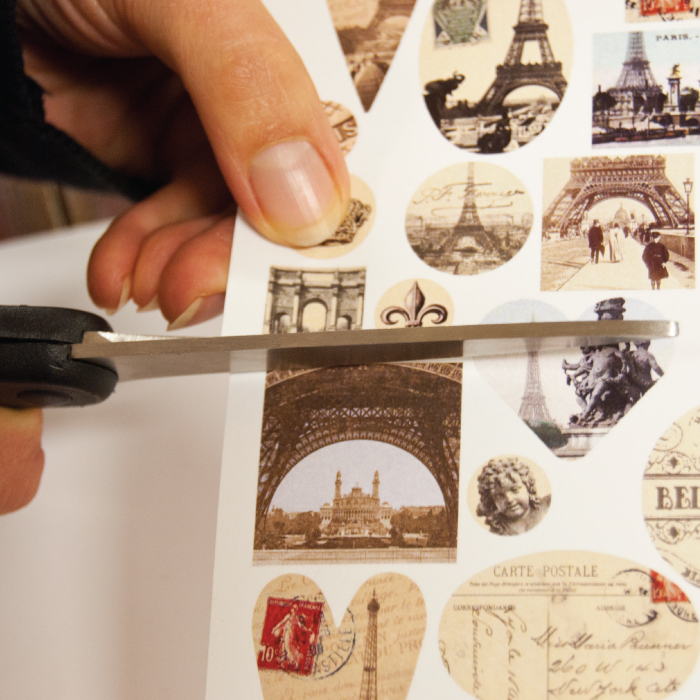
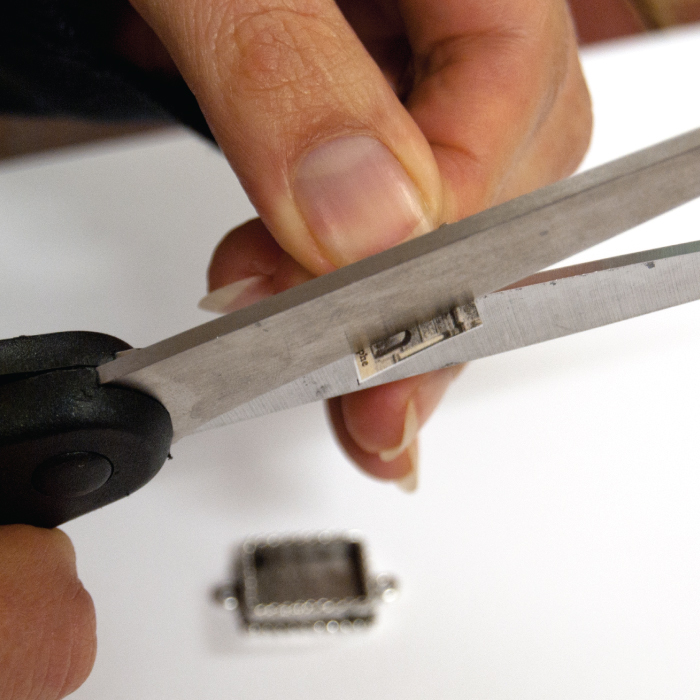
STEP 2:
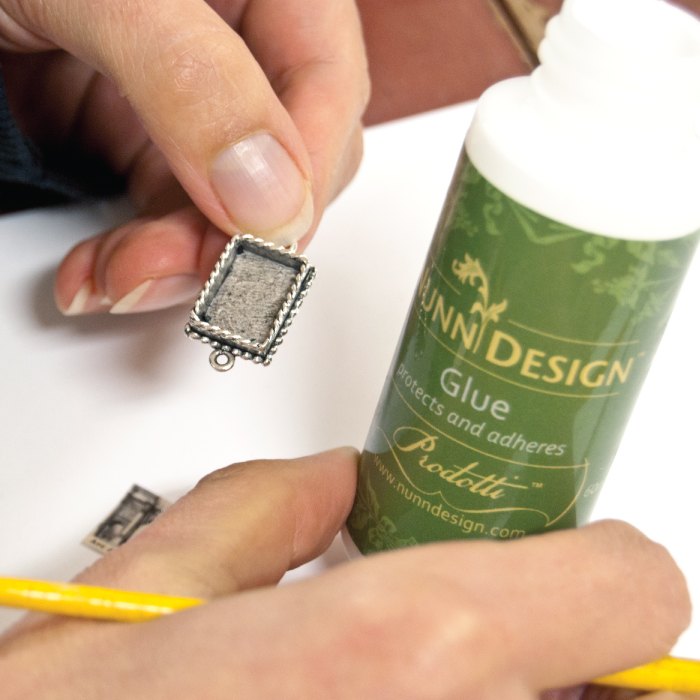
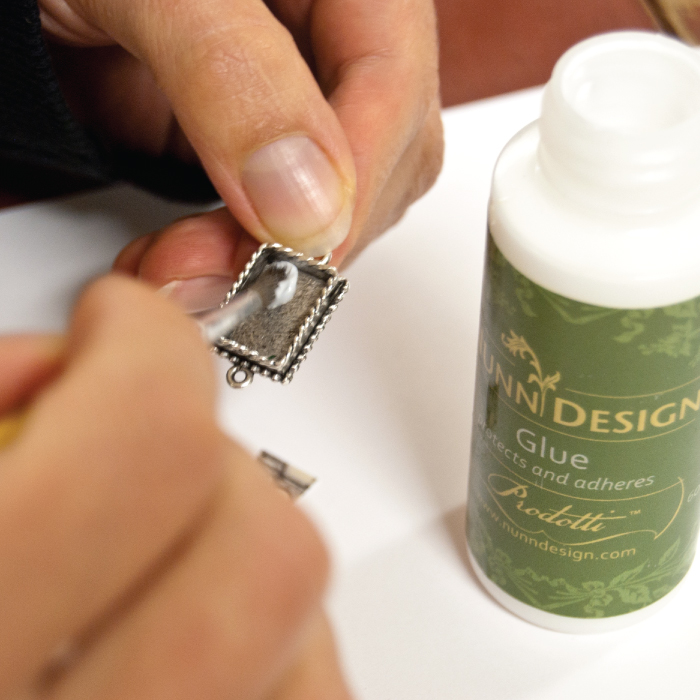
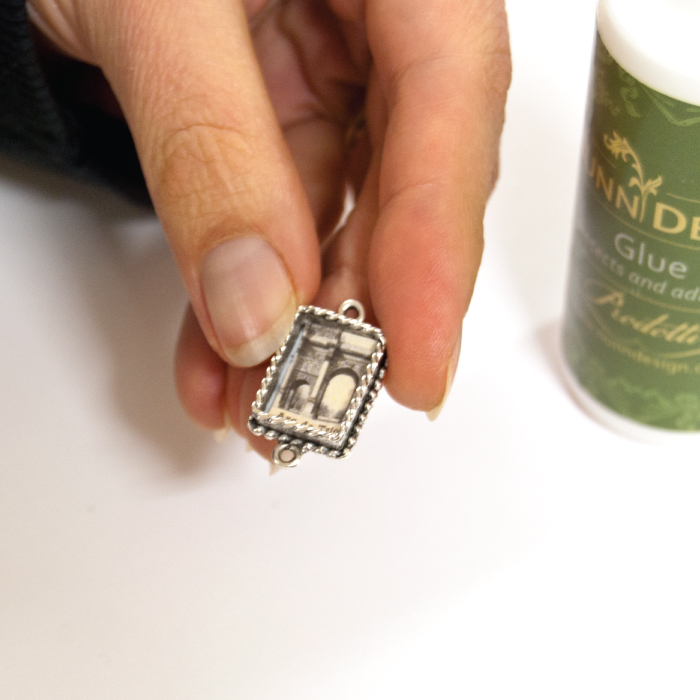
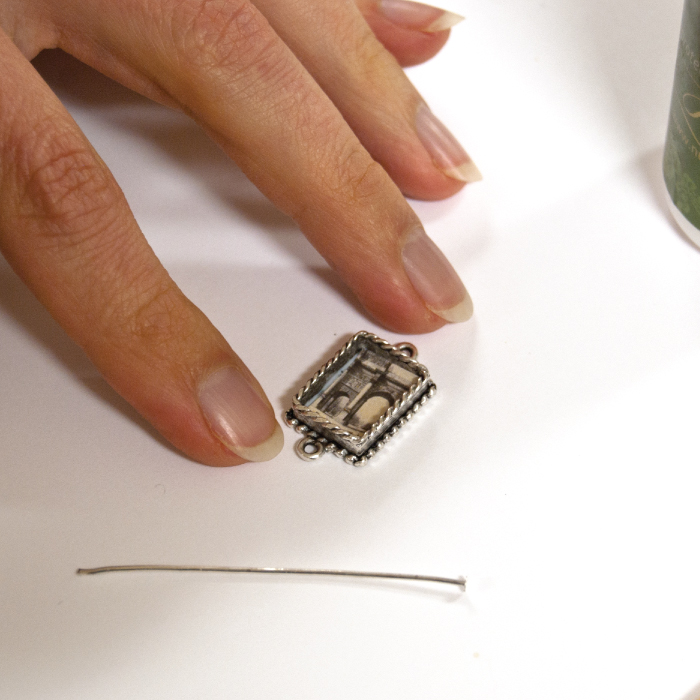
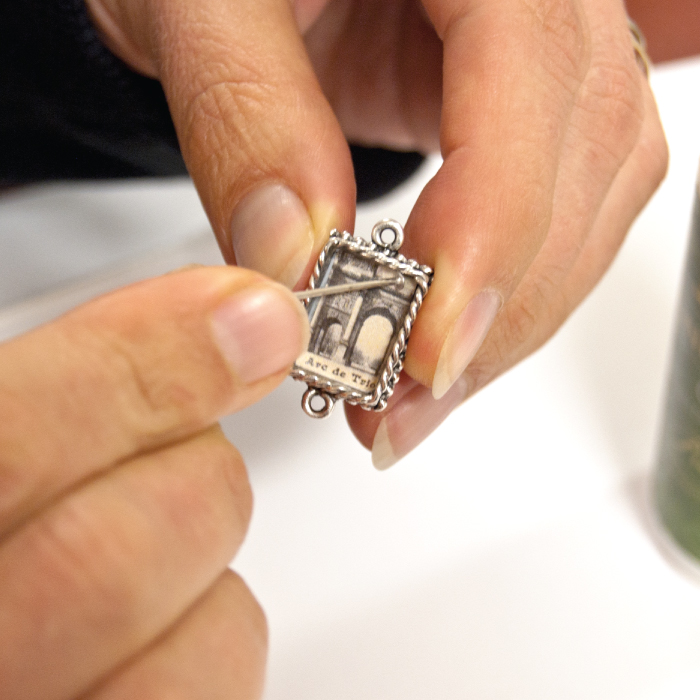
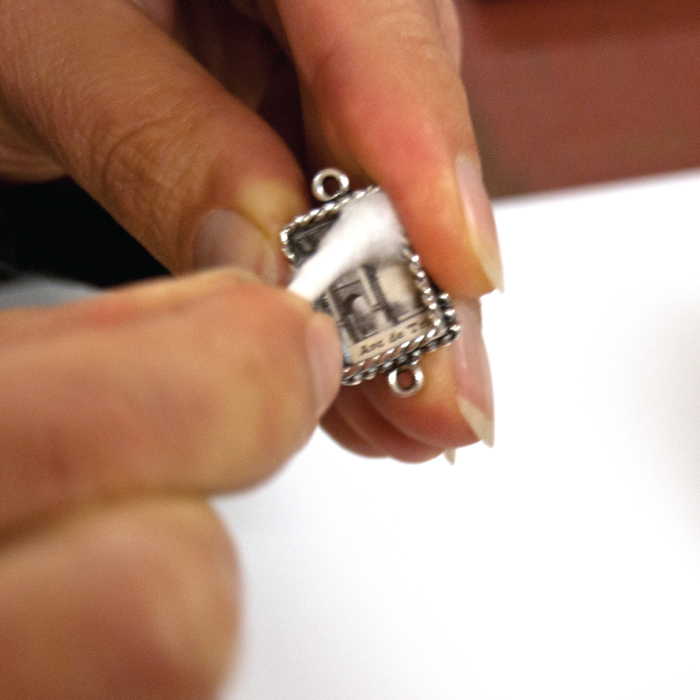
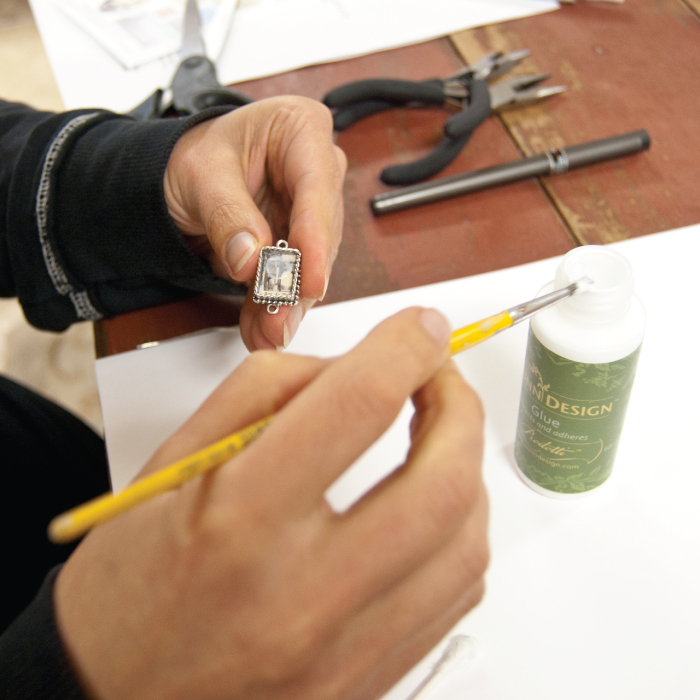
Using the Nunn Design Glue, paint a thin coat into the base of the bezel. Place your collage image from Step 1 into the base of the bezel on the wet glue. Starting in the center, burnish the image down with a cotton swab, pressing any excess glue out to the edges
STEP 3:
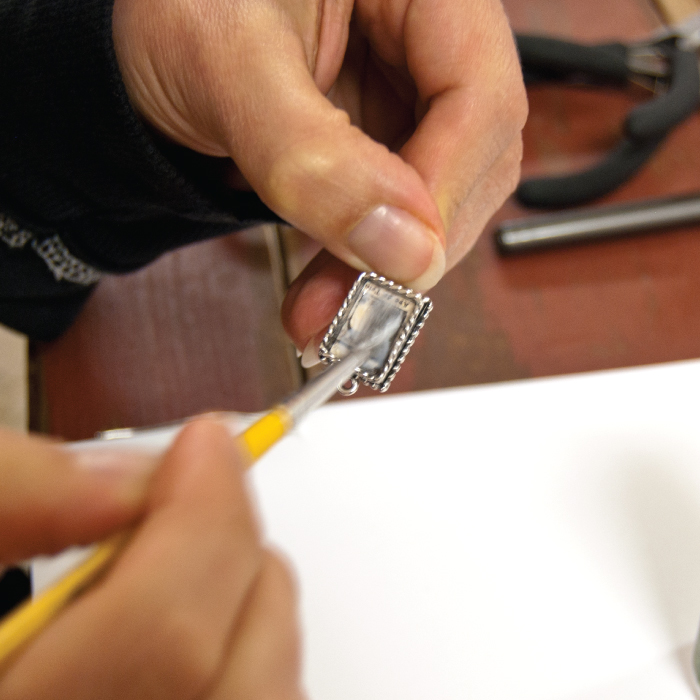
Paint a thin coat of the Nunn Design Glue over the top of the collage image ensuring you cover all 90° angles. Let dry overnight (8 – 12 hours). Note: The dry time is critical to prevent bubbles from occurring due to the moisture in the collage image.
STEP 4:
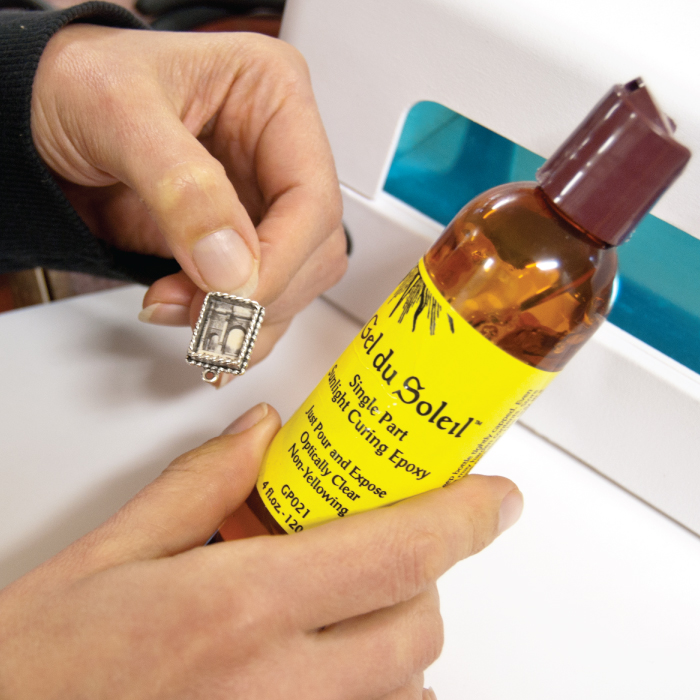
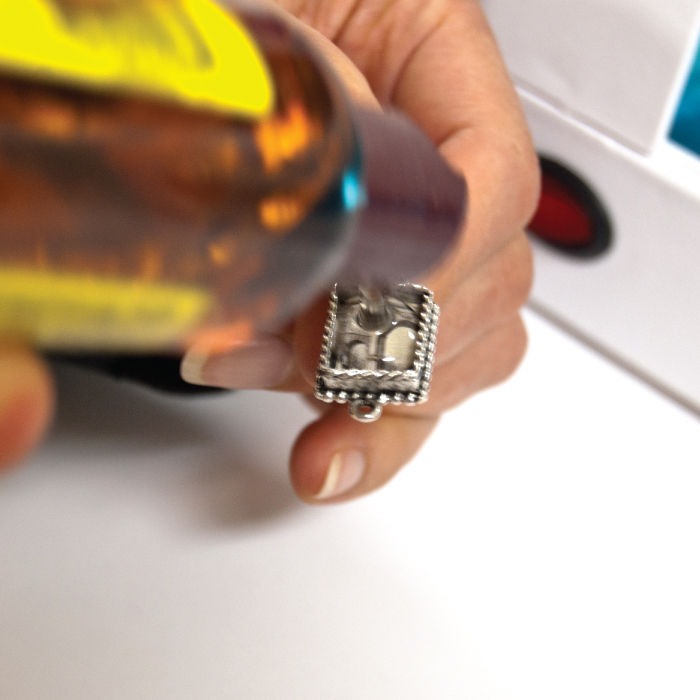
Using the Gel du Soleil, drop a few drops into the center of your fully dried collage image. Tip the bezel slightly allowing the Gel to flow to the sides. Continue to add additional amounts of Gel until you have filled the bezel to the desired height.
STEP 5:
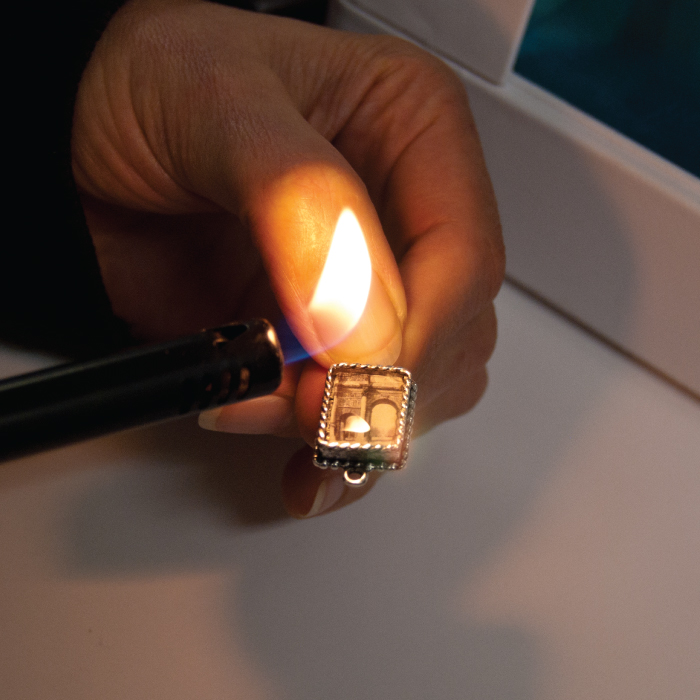
Use the headpin, matches, or a lighter to pop any bubbles that come to the surface. The headpin can be used directly on the bubble. To use the matches or lighter, hover the flame closely over the bubble in the resin – this will pull the bubble to the top and pop it. Be careful to keep the flame from actually touching the resin.
STEP 6:
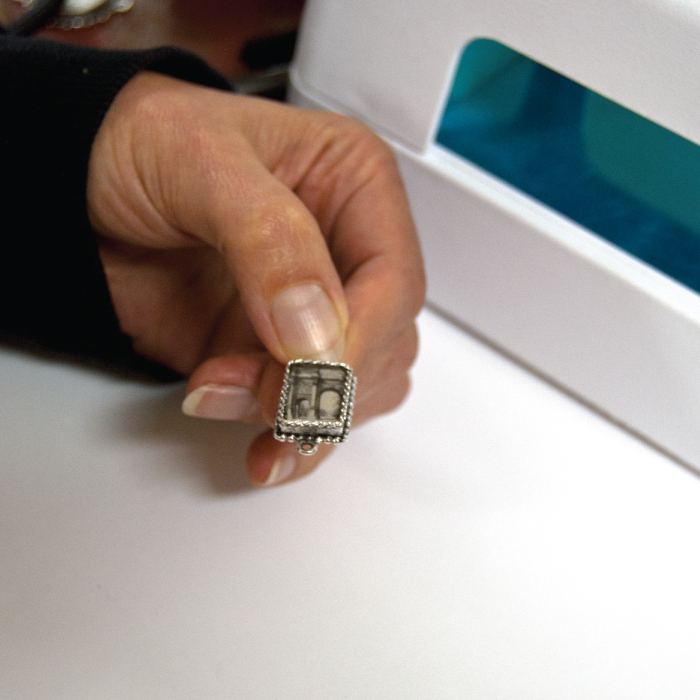
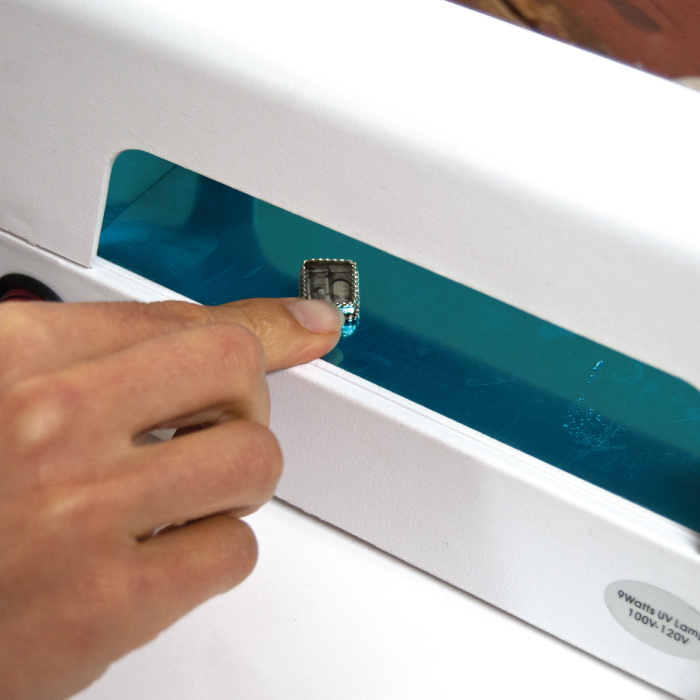
Let cure for 20 minutes under a glass dish on the windowsill in direct sunlight or under a UV lamp. It must have the full intensity of the sun (no clouds) to cure.
Assembling Your Bracelet:
STEP 7:
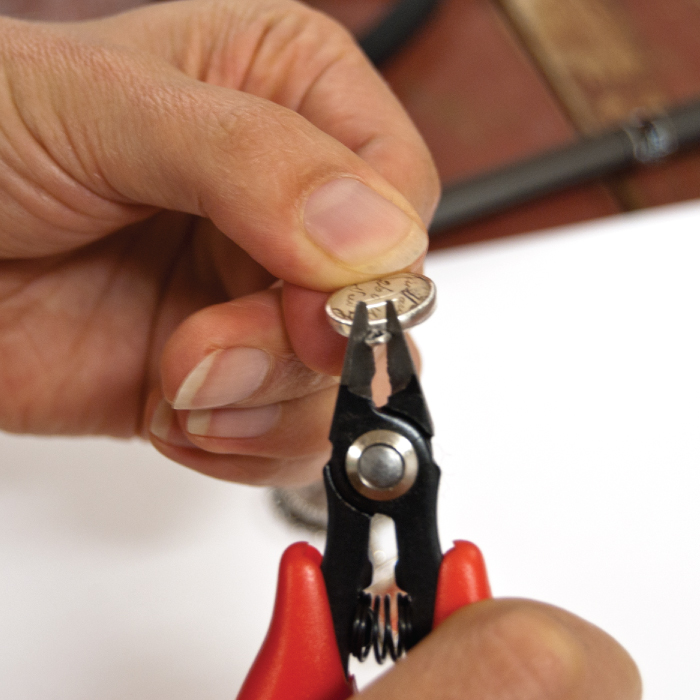
Using your cutters, cut the loop off of the end of the Mini Link Circle. Glue the piece into the center of the Small Link Circle using strong glue such as Bond 527 Cement or E6000.
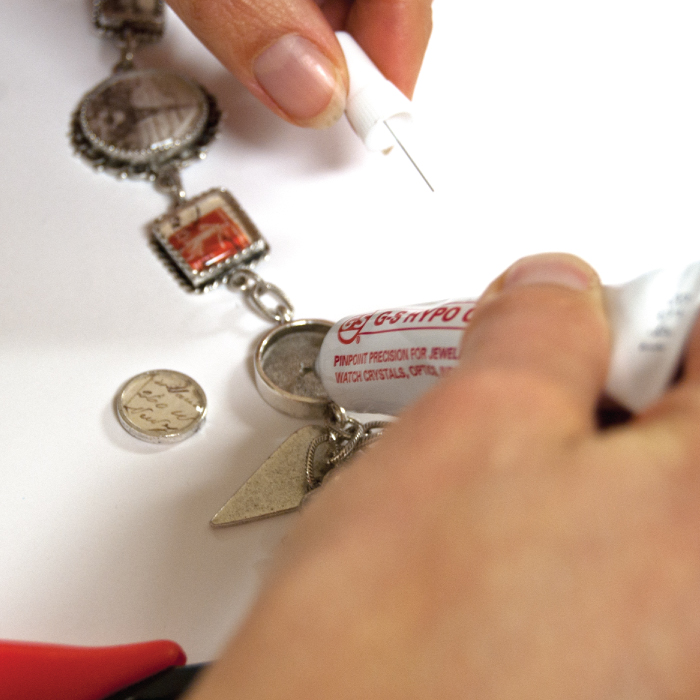
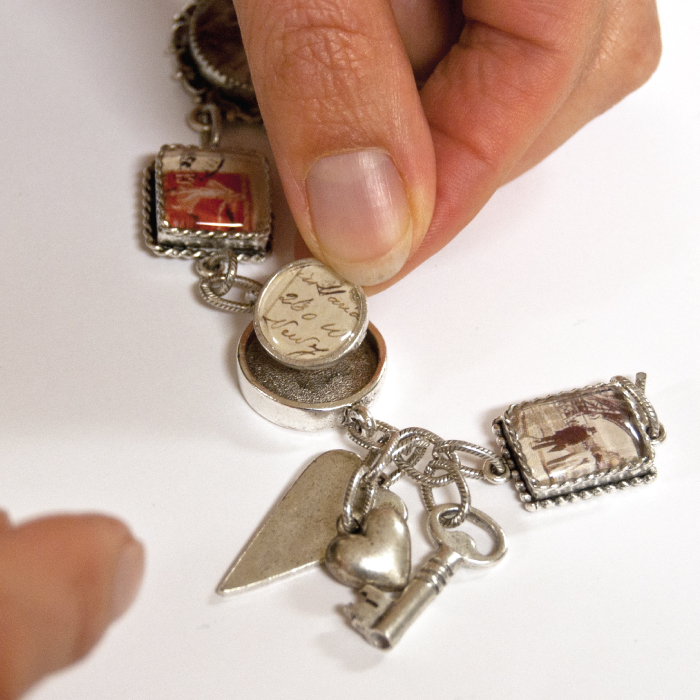
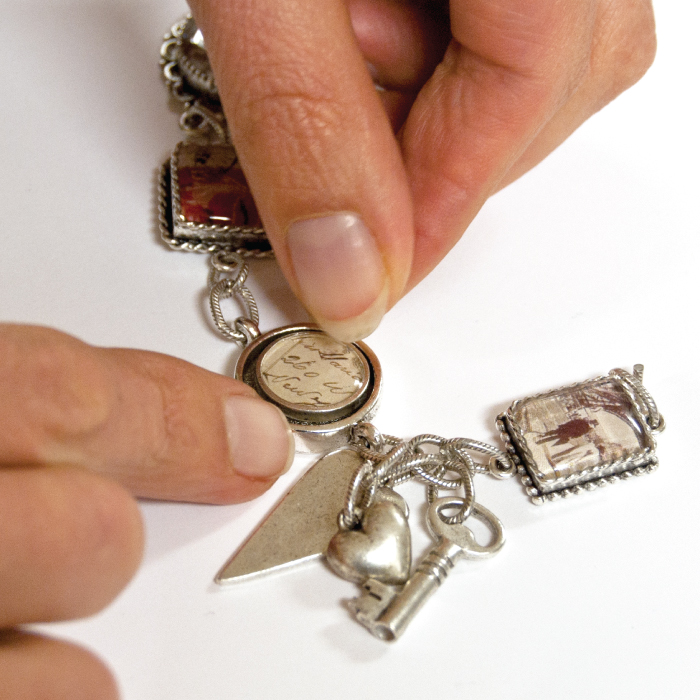
STEP 8:
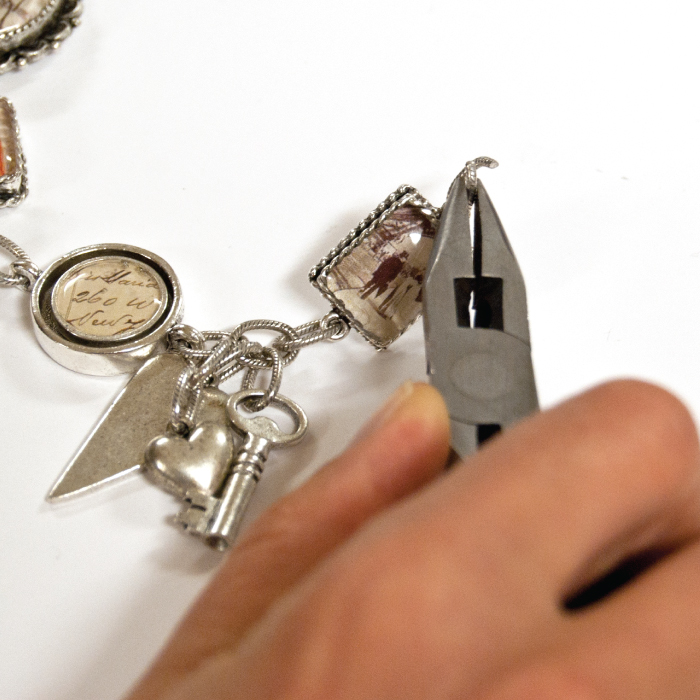
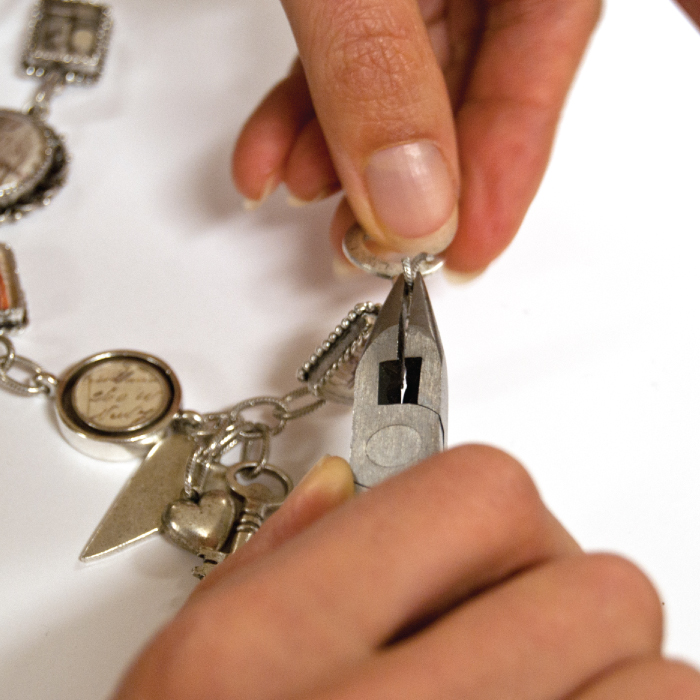
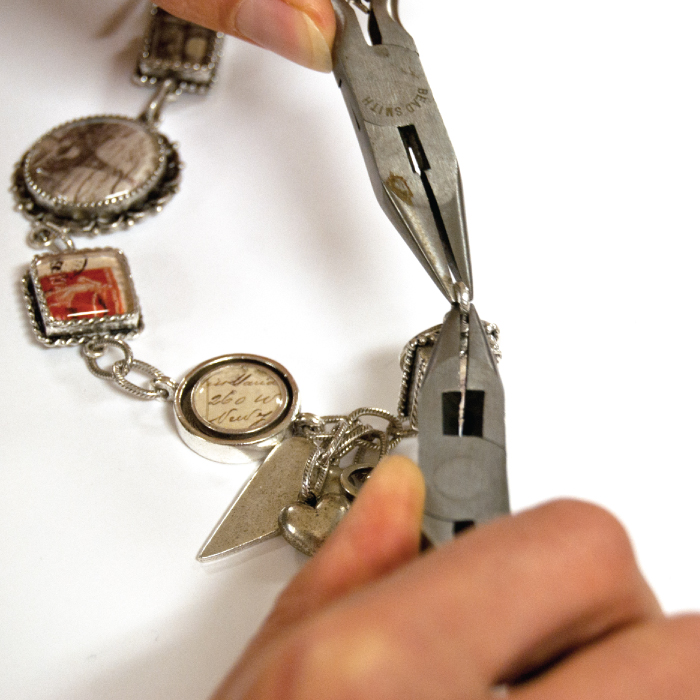
Using the 9mm Oval Jump rings, start to assemble the pieces using two pairs of needle-nose pliers to open and close the jump rings. Attach each bezel with a jump ring to the bracelet.

PDF Download: “Make This” Resin Charm Bracelet
Shop Nunn Design Wholesale
Nunn Design has been supplying jewelry artists with findings for over 20 years. Shop wholesale jewelry findings for creative jewelry makers.
Shop Nunn Design!How to Purchase Wholesale?
If you are interested in becoming one of the many designers who trust their jewelry to Nunn Design Findings, please join us by registering to become one of our wholesale customers!
Please visit our Where to Buy Page for a listing of online stores that sell Nunn Design Findings retail.
If you enjoyed reading this post, please subscribe to our blog. Here are 10 Reasons Why to Subscribe and a place to do so!


