


Nunn Design Online Classes, Tutorials
How to Use Epoxy Clay in a Nunn Design Bezel
Over the years I have developed techniques for placing mixed Epoxy Clay within Nunn Design Bezels. These techniques have become habits, like brushing my teeth daily and reaching for the turn signal when I’m driving my car (which btw is a 1986 Saab Turbo!).
In this tutorial, we cover some of the habits that make my experience of working with Epoxy Clay faster and more efficient. Even for you experienced Epoxy Clay users, I hope that you find a trick or two that you can find useful.
Fast Tutorial Video:
Watch this Fast Video For a quick overview of the process and then read the full tutorial below!
Long Tutorial Video:
Watch the Long Video to see the complete process!
Learn How!
Supplies :
Nunn Design Bezels
Epoxy Clay – Black
Other Supplies Needed:
Q-Tips
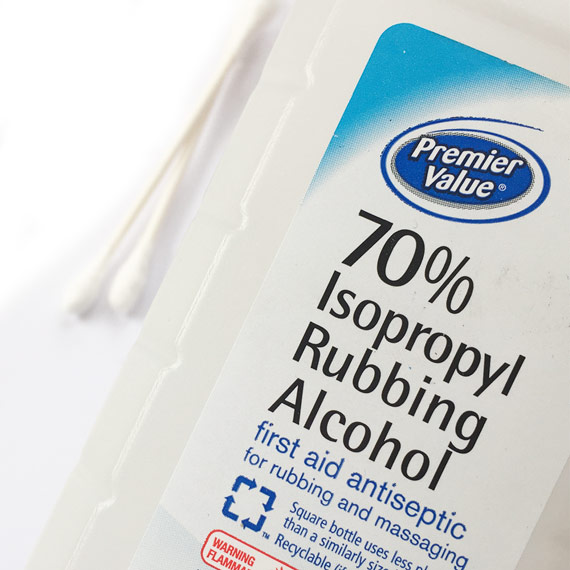
Rubbing Alcohol
Wet wipes
Toothpicks or headpins
Gloves
Baby Powder
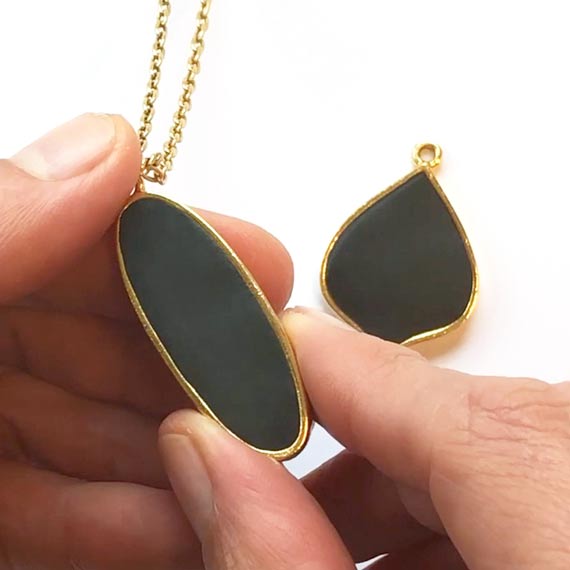
Preparing Your Nunn Design Bezels:

(Shown here: Grande Pendant Marrakesh & Grande Pendant Oval Narrow)
Step 1. The Nunn Design Findings are oxidized to provide the aged look to the precious metal plating. The oxidization, when it comes into contact with the mixed Epoxy Clay could change the color of the clay. To avoid this, clean the bezel thoroughly prior placing the Epoxy Clay within the finding. To clean, get the tip of a Q-Tip wet with rubbing alcohol and clean away any of the blackened oxidization on all the surfaces of the bezel.
Why the heck do we put that oxidization junk on there in the first place? Good question! The blackening absorbs into the precious metal and provides that dull sort of aged look. We can’t manage to get this effect without doing this step. I agree that it is a pain in the tushie to wipe off, but when we find a way to save us all this step, we will be the first to let you know!
Mixing the Epoxy Clay:

Step 2. Epoxy Clay is a 2-part epoxy. Mixing equal parts of A & B activates the clay. Once the clay is activated you have 90-120 minutes before the clay hardens and you can no longer sculpt or embed objects. Prior to mixing the 2 parts, it is recommended by the manufacturer to wear gloves when handling. Once the clay is mixed it is activated and is neutral and gloves are no longer necessary.

The gloves that are included in the Epoxy Clay 50gr Kits are not my favorite. They are way too big for my hands and I have a heck of time mixing and colorizing the clay while wearing them. If you are having the same challenge try a different brand. If you do not have a latex allergy, I recommend using a pair of industrial, powder-free, 5 mils, latex glove sized to fit your hand snugly.
I use my latex gloves over and over again to prevent waste. To get the most usage out of the gloves, place baby powder generously over your hands prior to putting the gloves on.
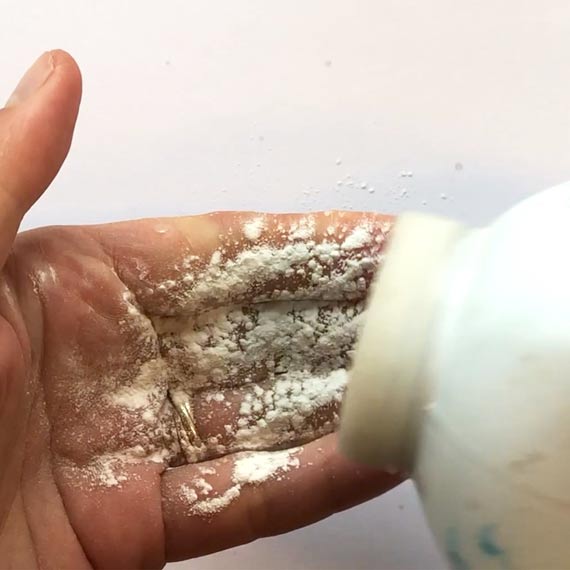
This will make it easier to get the gloves off once you are finished mixing the Epoxy Clay.
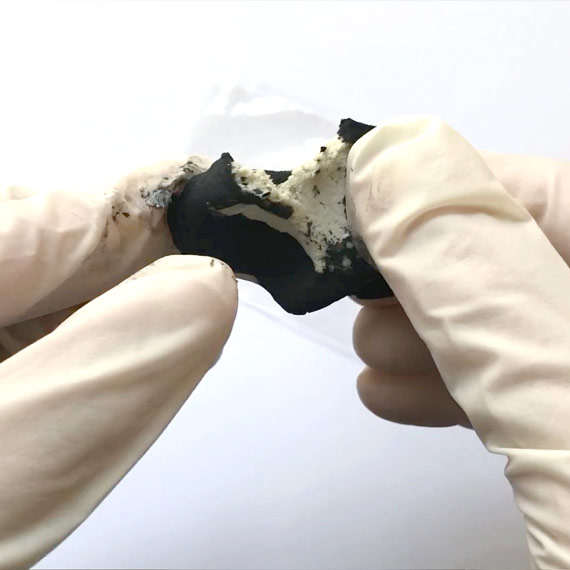
Step 3. With the gloves on, open up the packages of Epoxy Clay and pinch off two equal-sized balls of Part A and Part B. Blend together the 2 parts fully until the clay is no longer marbled and is uniform in color.

Tip: I guesstimate the amount of Epoxy Clay that I will need to fill the bezels for the project I’m working on. I would recommend having plenty of bezels prepped just in case you have excess clay.
Tip: Make sure to wrap up your Epoxy Clay to prevent it from drying out and hardening. Store Part A and Part B in separate zip-lock bags to avoid contamination while it is in storage.
Step 4. Once the clay is mixed, you can safely handle the clay without wearing gloves. Prior to removing the gloves, use a wet-wipe to clean them fully. Store the gloves for your next creative jewelry making project.
Use a wet-wipe to also clean your hands of any baby powder prior to handling the clay.

Step 5. Roll the thoroughly mixed Epoxy Clay between your palms until it forms a smooth round ball.
Step 6. Press the ball of mixed Epoxy Clay into your bezel using the tips of your fingers. For this particular technique, I wanted the Epoxy Clay to be flush and level with the sides of the bezel.

If you have too much clay, you can pinch off the excess and pat down until smooth again, or remove it from the bezel altogether and remove the excess.


If filling the corners with Epoxy Clay is challenging, use a toothpick to press the clay up into the corners of the bezel. Pat the toothpick marked clay with your fingers until smooth.
Tip: Make sure to check the backside to make sure you are getting the Epoxy Clay into all of the crevices and corners of the bezel.
Step 7. Use a wet-wipe to clean-up any excess Epoxy Clay that might have been left on the jewelry finding. The Epoxy Clay hardens like cement, so cleaning it up now and being tidy as you go makes the process easier and the results so much nicer.

Step 8. Let the Epoxy Clay cure for 12 hours. It will be hard to the touch, but will continue to fully cure for another 72 hours.
Step 9. Assemble into something fabulous!

Shop Wholesale Nunn Design Findings
Shop Nunn Design Wholesale
Nunn Design has been supplying jewelry artists with findings for over 20 years. Shop wholesale jewelry findings for creative jewelry makers.
Shop Nunn Design!How to Purchase Wholesale?
If you are interested in becoming one of the many designers who trust their jewelry to Nunn Design Findings, please join us by registering to become one of our wholesale customers!
Please visit our Where to Buy Page for a listing of online stores that sell Nunn Design Findings retail.

If you enjoyed reading this post, please subscribe to our blog. Here are 10 Reasons Why to Subscribe and a place to do so!