





Be Inspired
Jewelry Trend: Bead Stringing! Learn How!
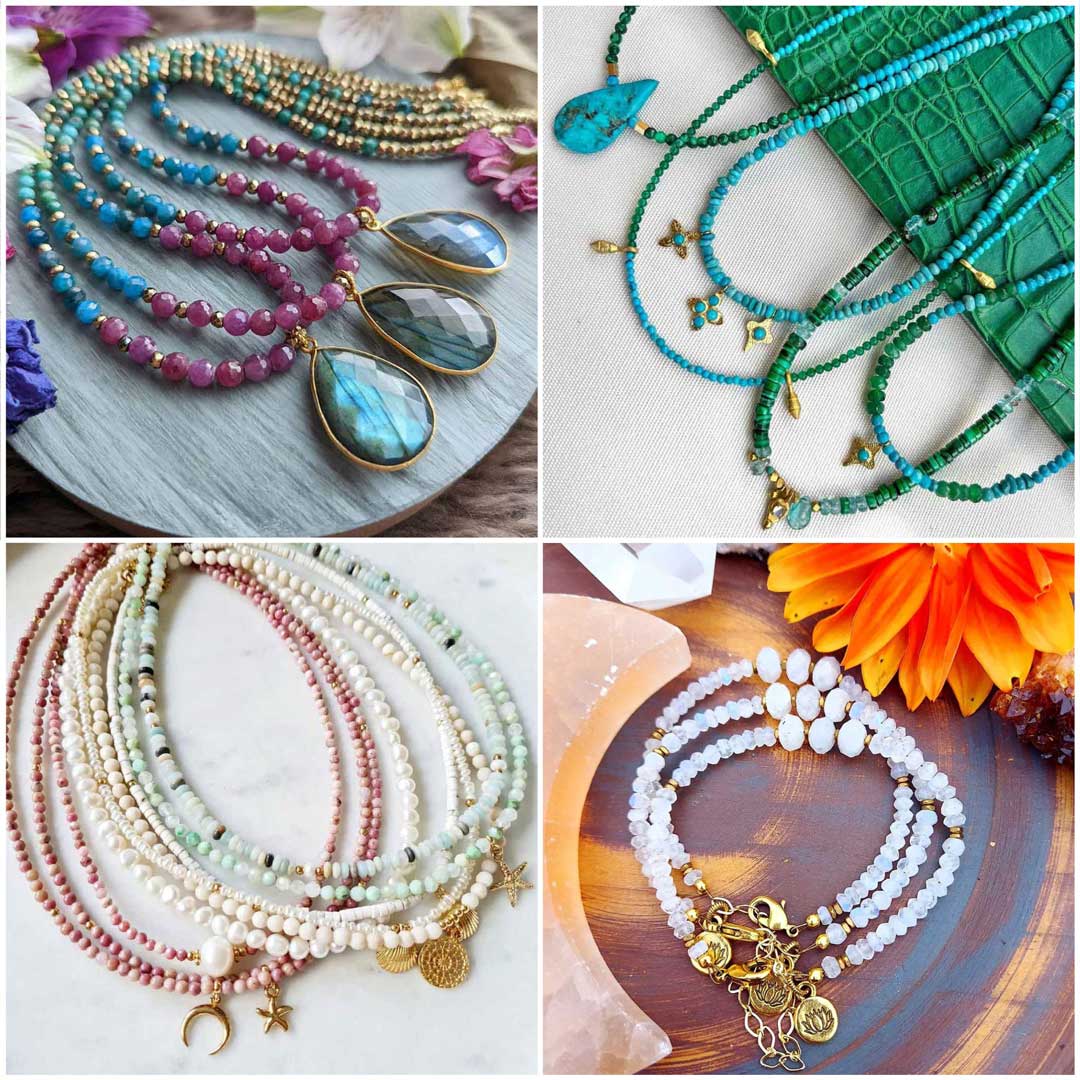
The jewelry that is trending this year involves learning the technique of stringing. As with any new technique there are new things to learn.
I am not an expert on stringing. I know the basics and hope to learn even more from all of you! I do know enough to get us started!
Be Inspired!


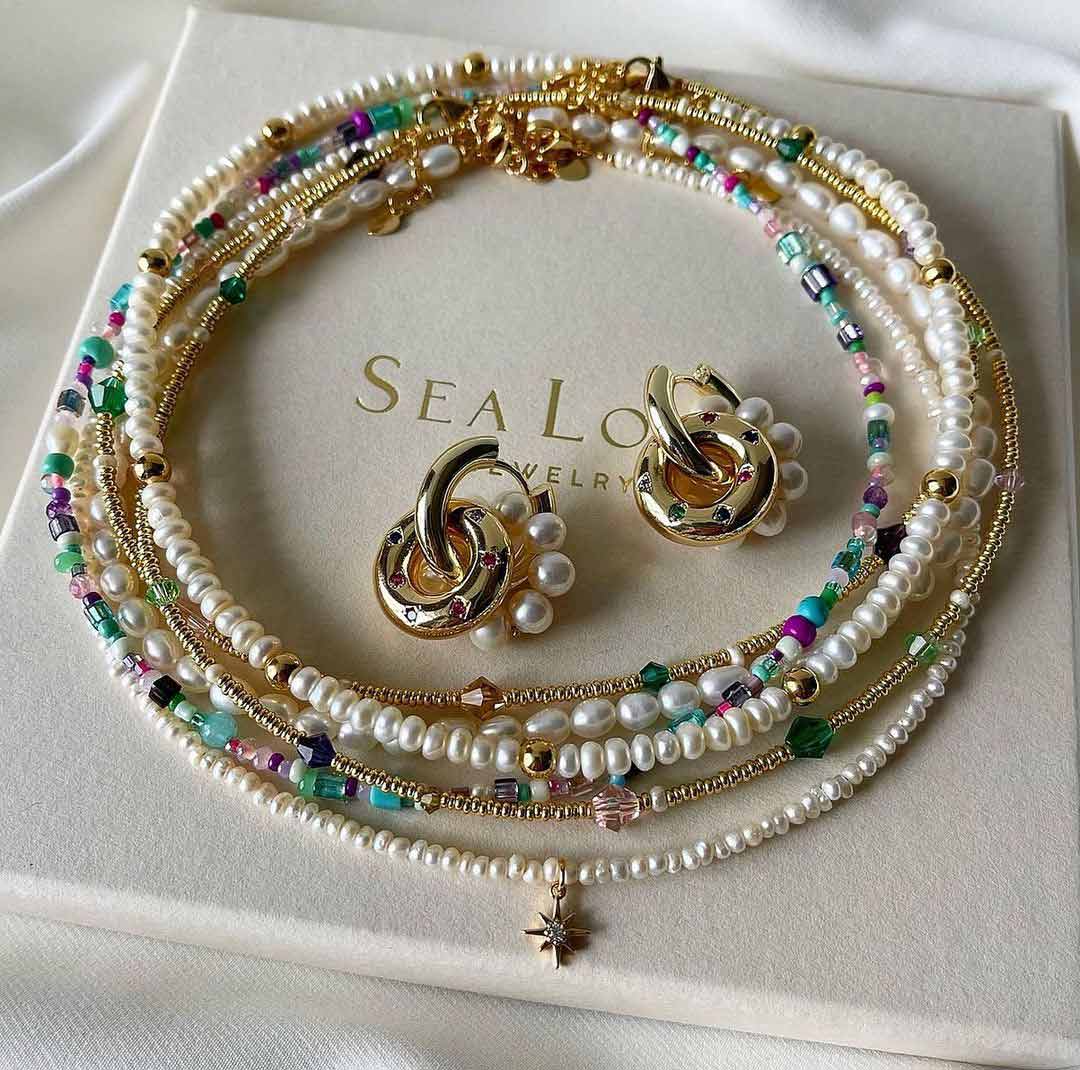
 instagram – @luna_rosa_jewellery
 instagram – @luna_rosa_jewellery


Learn How!
What makes learning a new technique challenging for me is that it can be so overwhelming! When it comes to stringing, you can string so many different types of beads with different sizes of holes. You can use wire or silk threads. You can knot in-between the beads. You can incorporate several techniques into one finished piece of jewelry.
To keep this simple and get you started, let’s limit our options and focus on:
- Stringing beads the size of seed beads and up to 12mm in size.
- Stringing on wire.
- Attaching your strung strand of beads onto a clasp and close it using crimp beads.
With these restraints, here are a couple of close-up shots of what you really need to know and understand in order to learn the basics of stringing.


Supplies You’ll Need!
As with any technique, you can go nuts-o buying a bunch of stuff. I’ve tried to break it down into what is essential so that you can get started!
1. Beading Wire
Beading wire comes in a variety of colors that can blend nicely with the Nunn Design plating options.
- For really fine seed beads and 4mm or smaller pearls, try: Soft Flex Beading Wire Fine .014in
- For 4mm to 12mm beads (actually, I’m not sure if you could even go larger, but you will have to explore that), try: Soft Flex Beading Wire Medium .019in
2. Crimp Tubes
Once you are finished beading, you will thread on a crimp tube, then your toggle, ring or lobster clasp. You then will thread it back through the crimp tube and crimp it closed, securing it. Crimp Tubes come in a variety of plates and sizes.
You can use precious metal Crimp Tubes, but to get you started creating, you can explore a less expensive plated option.
3. Crimp Covers
Some designers use crimp covers over the crimped tubed bead. The crimp cover provides a nice round bead like shape, verses the flattened tube bead. Crimp Covers come in a variety of plates and sizes.
4. Tools
I have used needle nose pliers to crimp the crimp tubes flat and flush cutters to cut the wire. Here are the tools recommended by the experts:
5. Toggles Rings, Bars, Lobster Clasps and Jumprings
Nunn Design has you covered when it comes to finishing off your stringing project!
- Nunn Design Toggle Rings, Bars or Lobster Clasps
- Nunn Design Beads & Spacers
- Nunn Design Chain & Jumprings
6. Charms and Focals
Nunn Design charms and bezels make great focal points for your finished strand of stung beads!
Free Tutorial & Videos Online!
I have a couple of favorite teachers that I tend to learn from. To get you started, I’d recommend taking a moment to read this tutorial and watch these videos.
- PDF: Skill Builder: Using Crimps, Guardians and Covers
- Beadaholique’s Learn to Bead Video Series, Video #5: Make a Bracelet
- FB Live beadshop.com Soft Flex 101
I hope this takes away some of the stress of trying a new technique. For those of you experts out there, please leave a comment below and educate us even more!
Stay Inspired
Subscribe to the Nunn Design blog for jewelry inspiration, tutorials, maker features, Becky’s writing, and other creative ideas we’re excited to share
Subscribe to the BlogShop Nunn Design Wholesale
For over 20 years, Nunn Design has been supplying jewelry artists with findings designed to inspire and nurture creativity.
New to Nunn Design? Apply for a wholesale account.Looking to purchase retail? Visit our Where to Buy page.
Shop Nunn Design!
