[everest_gallery alias=”tutorial_organics-with-nunndesign-resin-flattags”]
Use Organics with Nunn Design Resin on Flat Tags
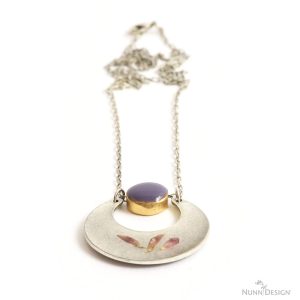
We are mixing up the look with different Nunn Design Flat Tags for this project.
Get Supplies Read Instructions Be InspiredVideo Tutorial
Learn how to do this technique in this video filmed at Beadaholique.com.
Instructions
Supplies Needed:
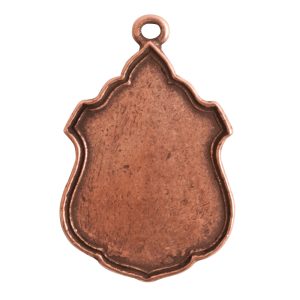
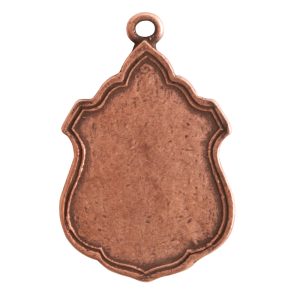
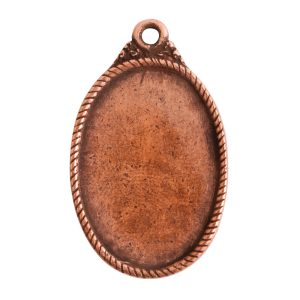
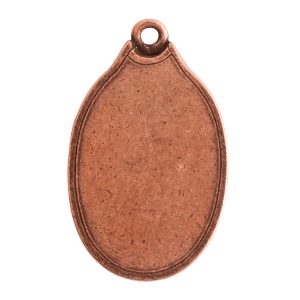
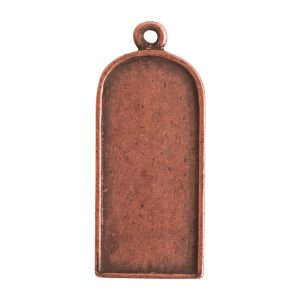
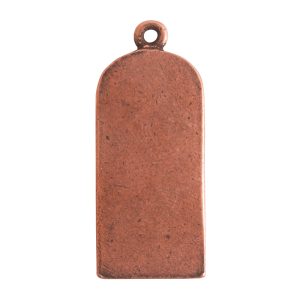
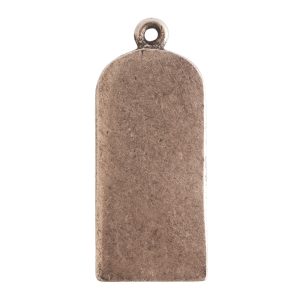
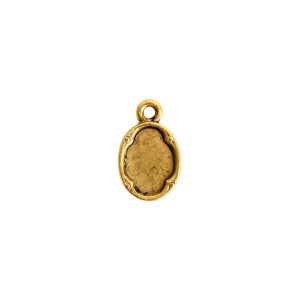
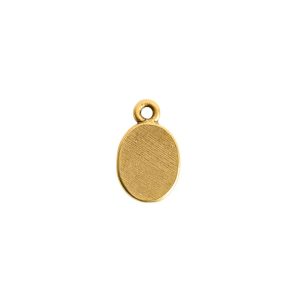
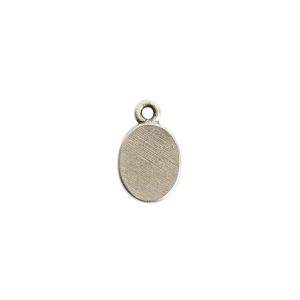
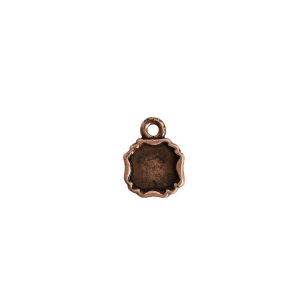
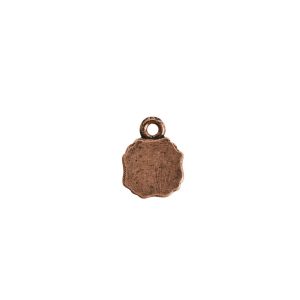
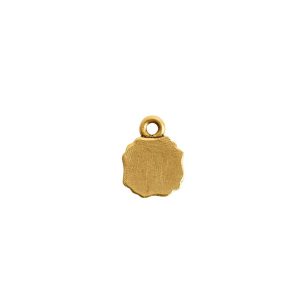
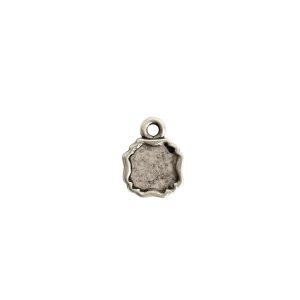
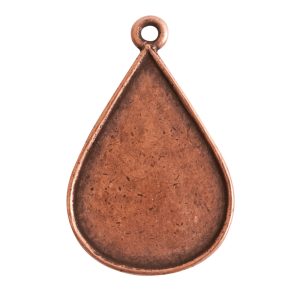
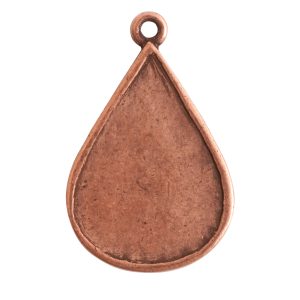
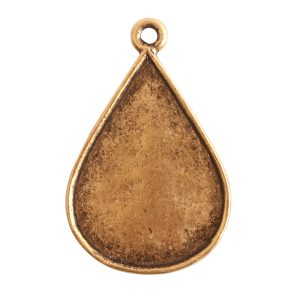
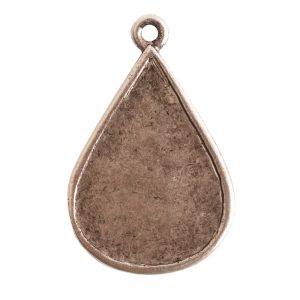
Nunn Design Primitive Tags
Nunn Design Ornate Flat Tags
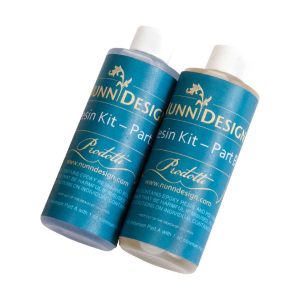
Nunn Design 2-Part Resin Kit
Other Supplies Needed:
Dried and pressed flowers
Resin Spray (for some flowers)
Rubbing Alcohol
Q-Tips
Business Cards or glossy card stock
Wet-wipes
Toothpicks
Stir Sticks
Mixing Cups
Plastic Bags
Goo Be Gone
Finest Grade of Steel Wool (optional)
Tools:
Scissors
Tweezers
Needle Nose Pliers
Read the full instructions.
Learn How!
Preparing Your Organics:
1.To ensure that your dried and pressed flowers are ready for resin, please read A Beginners Guide to Drying and Preparing Organics for Creating Resin Jewelry. The preparation of drying and pressing of your flowers is a critical step for avoiding bubbles in your resin.
2. Some dried and pressed flowers will become totally translucent when exposed to resin. If you want to reduce your risk of this happening, you may want to get in the habit of spraying Castin’ Crafts Resin Spray on all your flowers before embedding them into resin. The resin spray is very fast drying, easy to apply and will seal your dried and pressed flowers nicely.
Place dried and pressed flowers in a cardboard box with high sidewalls and head outside when it is time to spray. Spray the dried and pressed flowers on one side, then turn over and spray the other side.
If you don’t want to go this route of purchasing resin spray (sorry, it is expensive for us to ship this, so we don’t offer it on our site), you can have some extra dried and pressed flowers at the ready in case the flowers that you wanted to use become translucent and aren’t working for you. Because there are gazillions of options of flowers (well, maybe not that many) it is way too hard to know what will work for sure and what won’t. You will have to experiment.
TIP: This vendor has free shipping on Amazon.
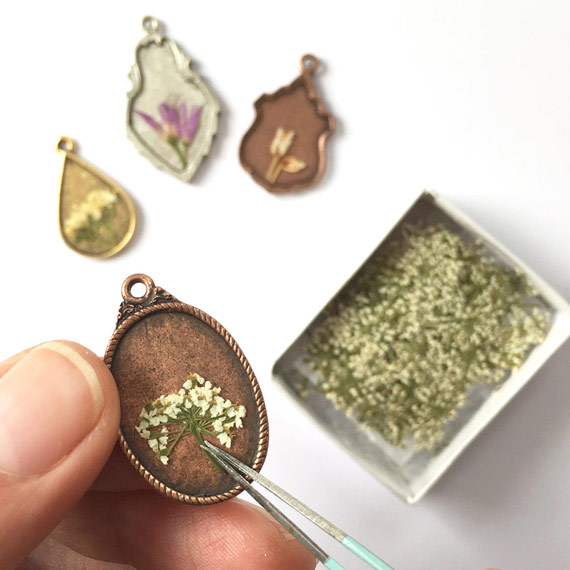
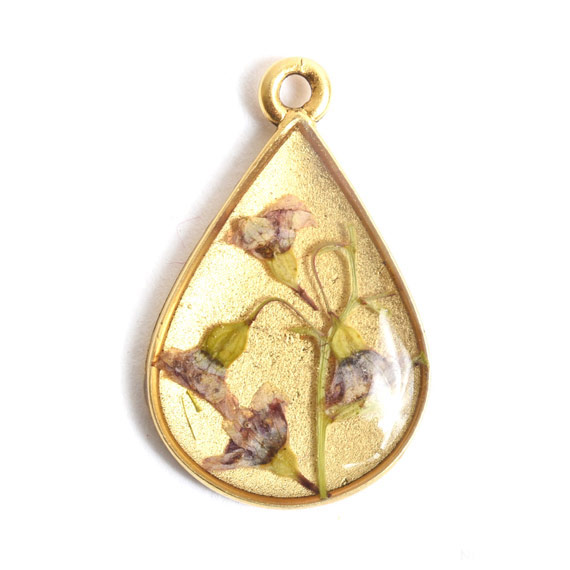
3. Layout the various Nunn Design Flat Tags, and the dried flowers you would like to work with, onto your work surface. Select organics that will work best with the various sizes of the tags.

4. Use a pair of flush cutters or scissors to trim your organics to prevent from any overhang off the sides of the flat tags.
TIP: Work with organics that are pressed flat. If the height of the organics is too high, the resin won’t be able to “dome” over the top of the organics and the organics will protrude out the top.
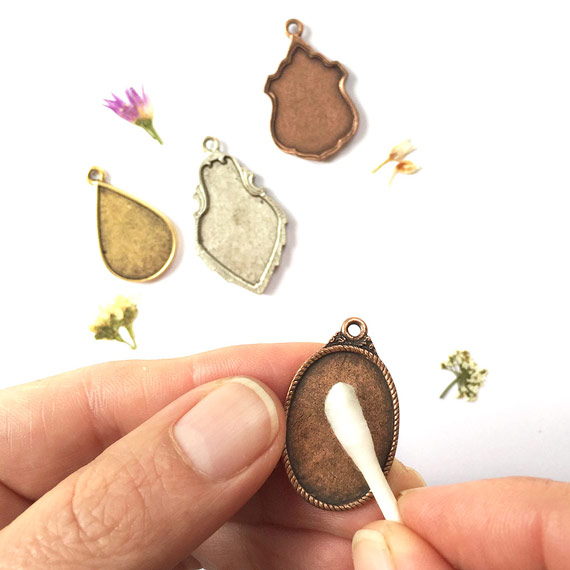
5. The Nunn Design Flat Tags are oxidized to provide the aged look to the precious metal plating. The oxidization, when it comes into contact with the resin, could change the color of the resin. To avoid this, clean the flat tags thoroughly prior to application of the resin.
Dip the tip of a Q-Tip into rubbing alcohol and clean away any of the blackened oxidization from the tags surface. Shoot, I just clean the whole things for kicks.
6. I tend to work in a small area (typically my kitchen table), so I like to work on a surface that projects can be easily moved around and not disturbed. Place some business cards or some heavy card stock onto your work surface, making it easy to move the tags without getting any resin on your fingers.
TIP: I would recommend covering the card with glossy packing tape. This will prevent the resin from sticking to the paper.
Mixing Nunn Design Resin

7. When I work with resin, I always:
- Place a large plastic bag over my work surface and tape it down.
- I make sure I have ventilation in my workroom.
- I wear gloves.
- I wear glasses (readers because I can’t see anymore. Plus it protects my eyes!).
- I have a pile of wet wipes handy.
- This is a great blog post that covers 20 Habits for Successfully Using Nunn Design 2-Part Epoxy Resin. Even if you are a seasoned resin mixer, this might be worth a read.
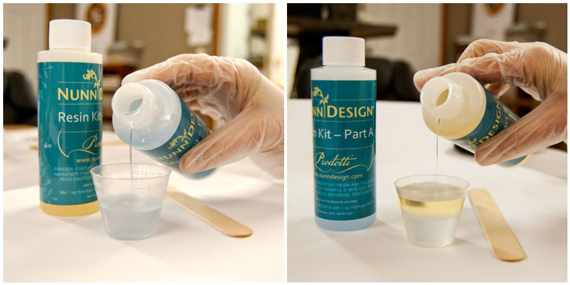
9. Place one cup (included in the Nunn Design Resin Kit) onto your table. For curing purposes, it is very important that the resin be an exact 1 to 1 ratio of Part A and Part B.
I suggest getting your eyes level with the resin so you can see the lines on the measuring cup.
Pour Part A of your resin kit up to the 1 TBS ounce mark on your measuring cup.
Pour Part B of your resin kit into the same cup until it is filled to the 2 TBS mark. It is important to pour Part A first and then Part B. It is some chemical thing about the part A being heavier or something.
9. Set your timer for 2 minutes. Using the stir stick from your kit (a popsicle stick or coffee stir stick will work great too), slowly and carefully stir your resin scraping the sides as you stir. Stir for a minimum of 2 minutes. If your resin is still cloudy continue to mix until clear.
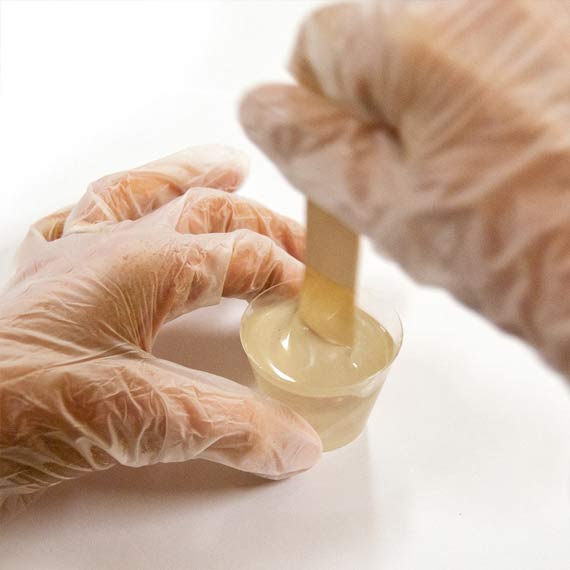
After mixing is complete and your resin is clear, scrape both sides of your stir stick on the edge of your resin filled cup.
10. Once your resin is fully mixed, use your stir stick to drizzle a small amount onto a plastic bag. Use a toothpick or a pair of tweezers to place your dried and pressed flower into the resin, thoroughly coat the flower with resin on both sides. By doing this additional step, it helps eliminate some of the air bubbles that can get trapped in the many crevices of your flower.
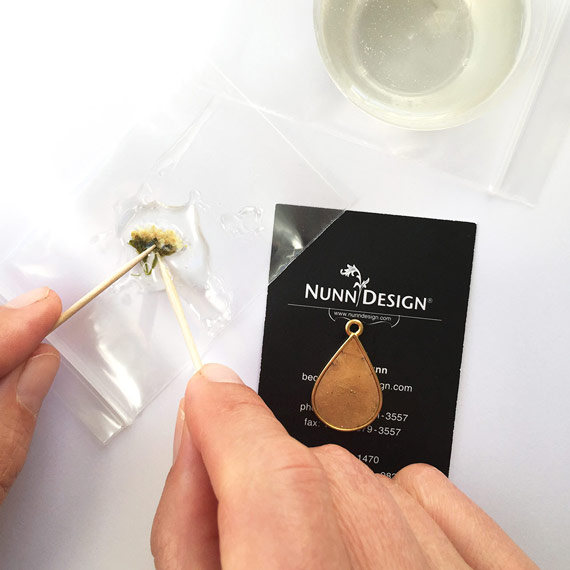
11. Drizzle a small amount of resin over the top of the flat tag prior to placing the dried and pressed flower onto the tag. This will provide a bed of resin for the flower to rest onto. I have found that this also helps with eliminating the chances of air becoming trapped.
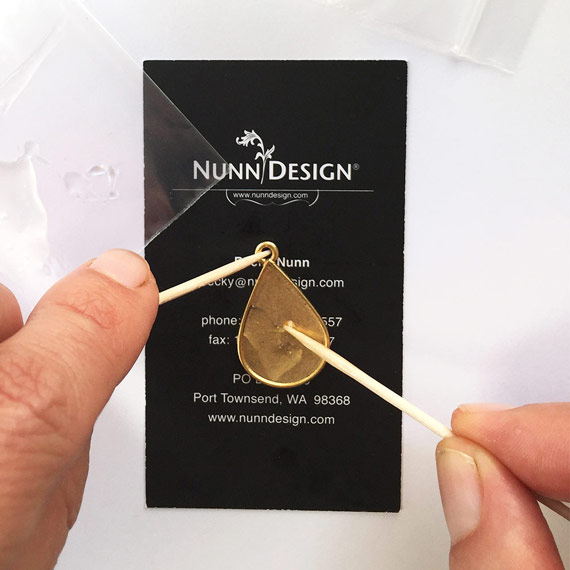
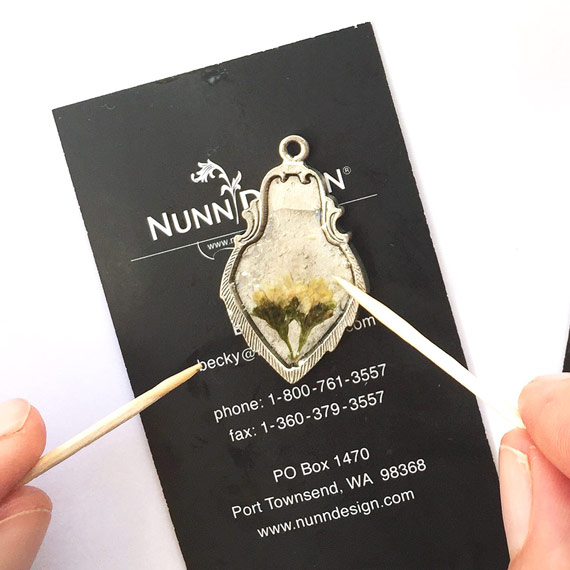
12. Use a toothpick to move the resin around on the flat tag. You are mostly interested in having resin be under the dried and pressed flower position on the flat tag. Place the resin drenched dried and pressed flower onto the flat tag. You can do this with a toothpick or pair of tweezers. Once the flower is on the flat tag, use a toothpick to move the flower around until they are positioned just as you would like them.
Continue to poke and press the flower down into the resin, hopefully dislodging any potential air bubbles.
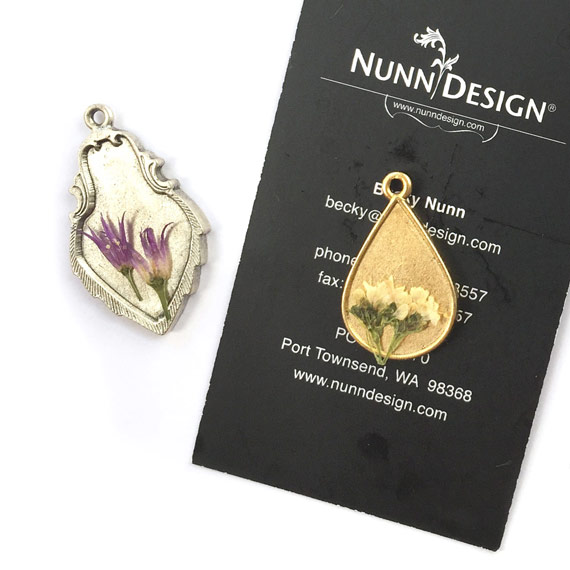
NOTE: I actually didn’t like how this organic flower started to absorb the resin. I tried to move it to another tag, hoping that the silver tag would help the color stand out more in the organic. I decided to pull the flower off of the tag and inserted another organic. I was much happier with my second choice of organics.
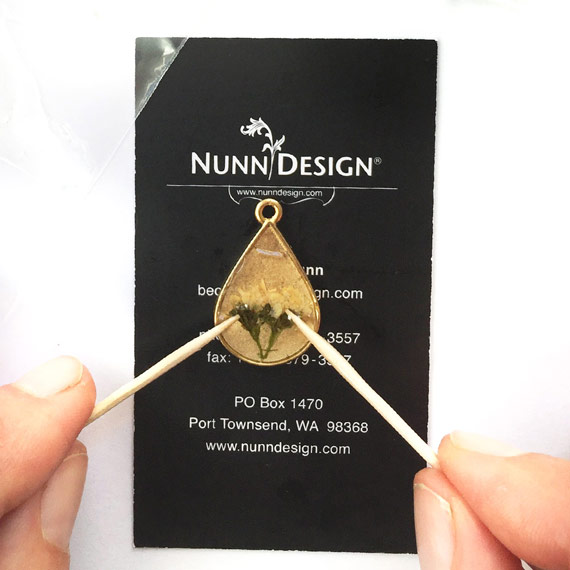
13. Press down gently onto the organics with a toothpick, pressing out any potential air bubbles from underneath. Drag the resin to the edge of the flat tag with a toothpick. The resin is self-doming and wants to know where the edge is. Drizzle onto the tag additional resin using your toothpick to create more of a domed effect.
Curing and Clean Up:
14. You will want to ‘babysit’ your resin for the next 1 – 2 hours. If you see bubbles rising to the surface, using your hot breath – breathe on them. It isn’t a “blow” sort of breath – more of a “huff” sort of a breath. The hot air will make the bubbles expand, rise to the surface and pop. As the resin starts to set-up and become thicker, it will be more difficult for the air to rise to the surface.
15. Let the resin cure. It will start to be hard to the touch as early as 12 hours, but the resin will continue to cure up to 72 hours.
16. If you have resin that has over-poured or seeped under the flat tag and onto the card, wait about 6 hours until the resin is at its “soft cure” phase. Remove the tag from the card and apply a couple drops of Goo Be Gone onto the backside. Let the Goo Be Gone sit for 1 minute, then use the end of a mixing stick to scrape and remove the excess resin.
17. If the organics are protruding out from the resin apply another coat of resin over the top of the dried and pressed flowers to make sure they are protected a wee bit more.
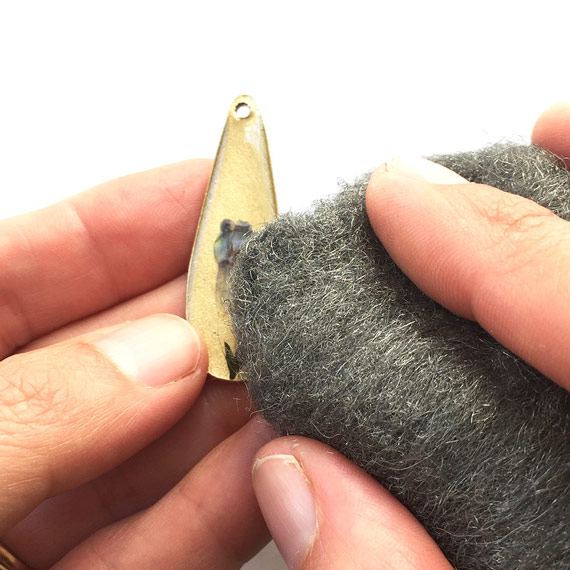
18. As a design option, use a piece of the finest grade of steel wool to gently buff the cured resin. I like how it provides a dull look to the resin.

Shop Wholesale Products for Technique


Closeout!