


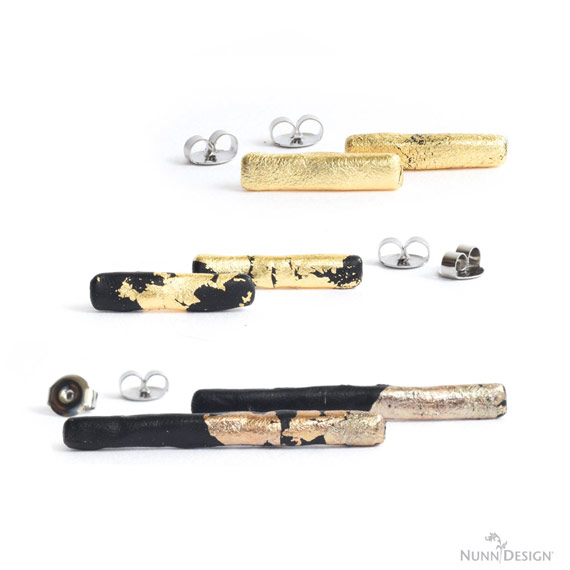
I’m not going to deny my obsession with Gilding Flakes. It has been coming on for some time and I just can’t seem to get enough of them. Gilding Flakes can be super elegant or casual, depending on how you create with them.
These super lightweight gilding flakes are available in three metallic colors, bronze, gold and silver. They are perfect for working with Epoxy Clay! Slightly wet the tip of a toothpick and pick-up the gilding flakes. Tack the gilding flakes onto the Epoxy Clay by gently touching the flakes to the clays wet surface. Gently rub the gilding flakes into the clay with your fingertips.
For this Buy & Try, we are offering the Nuvo Gilding Flakes from Tonic Studio in a very small re-packaged container. Test the gilding flakes out and explore them with this technique prior to purchasing a larger container directly from Tonic Studio.

This tutorial walks you through how to apply Epoxy Clay onto the Earring Post Bar and accent with Gilding Flakes. This is 3 of 6 tutorials featured in our Nunn Design Buy & Try featuring Earring Post Bars in Large and Small as well as our Hammered Bitsy Rings. This Buy & Try is available to registered Nunn Design wholesale customers for a limited amount of time. To jewelry makers that are not purchasing wholesale, this Buy & Try is available retail on our website.
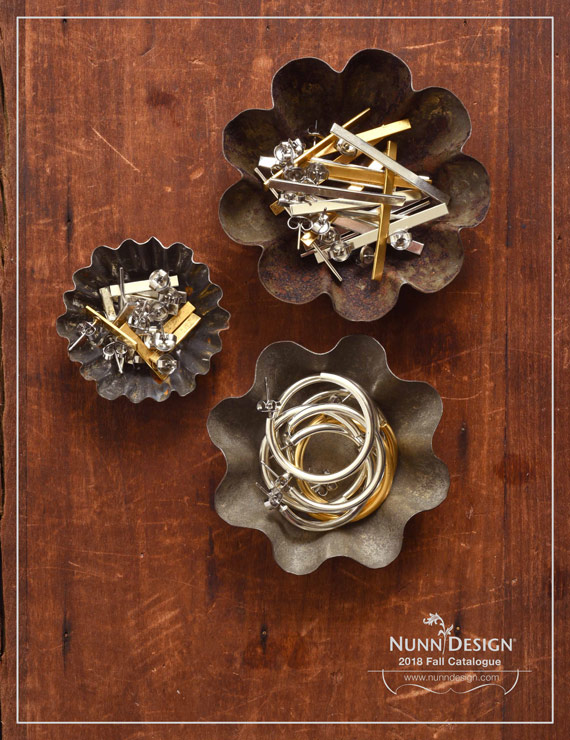
Featuring The 2018 Fall Collection:
The Nunn Design Bar Earrings and Bitsy Rings are all part of the 2018 Fall Collection. To see the full line of products released, download our catalogue.
Download 2018 Fall Catalogue (PDF)
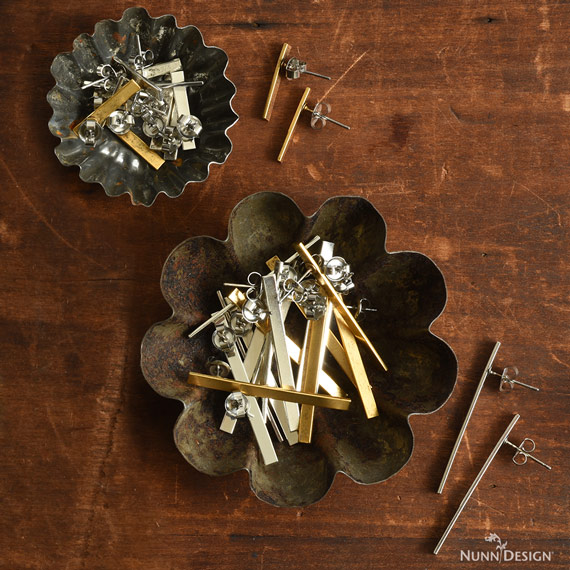
Supplies:
Nunn Design Bar Earrings Small and Large are 20-gauge solid brass. The Small Bar is 3mm wide and 19mm in length and the Large Bar is 3mm wide and 38mm in length. A surgical steel post is soldered onto the back with lead-free solder. A sleeve is applied over the surgical steel post and then plated with nickel-free 24k gold and .999 fine silver. A final phase of oxidization is applied to provide an aged look to the plating. This product is made in the USA.
Here is a tutorial walking you through how to create this look using the bar earrings!
Nunn Design Supplies Needed:
- Nunn Design Earring Posts Large & Small
- Epoxy Clay-Black
- Gilding Flakes
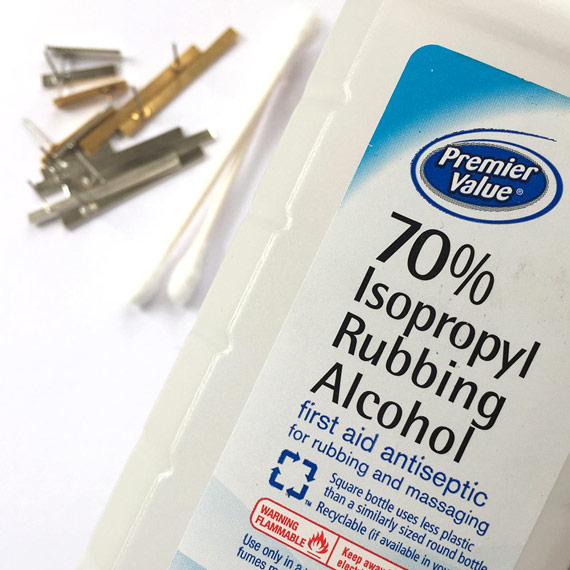
Other Supplies:
- Rubbing Alcohol
- Q-Tips
- Wet-wipes
- Toothpicks
- Business Cards or glossy card stock
Learn How:
Step 1:
The Nunn Design Findings are oxidized to provide the antique look to the precious metal plating. The oxidization, when it comes into contact with the Epoxy Clay could change the color of the clay. To avoid this, clean the findings thoroughly prior to applying the clay. Get the tip of a Q-Tip wet with rubbing alcohol and clean away any of the blackened oxidization on both sizes of the Bar Earring.


Step 2:
Follow the manufacturer’s instructions for the handling and mixing of the black Epoxy Clay. Epoxy Clay is epoxy clay that air-dries. It sets in 2 hours and continues to cure 14-16 hours. There is no baking required, no shrinkage.
Step 3:
While wearing gloves, pinch off two equal sized balls of Part A and Part B and blend together fully until the clay is no longer marbled and uniform in color. You have approximately 90-120 minutes of working time before the clay starts to harden, so take your time. Once the clay is thoroughly mixed, remove your gloves to make it easier to work with the clay. For this tutorial, I mixed a small lentil sized ball of both Part A and B of clay. If the Epoxy Clay is really sticky, let it sit for 15 minutes. This time will allow the freshly mixed clay to have time to set-up a bit, resulting in a much easier clay to manage.


Step 4:
For each pair of earrings pinch off two pea size balls of clay and roll them into smooth balls using the palm of your hand and fingers. It will take time to get just the right amount of clay that you will need to cover the full surface of the Bar Earrings, so be patient if you have to remove excess clay or a need add more.
Step 5:
Press the small smooth round ball of clay into a thin long thin patty with your fingertips. Create the patty to be a little longer in length than the bar earring.


Step 6:
Place the thin long patty of clay onto the surface of the bar earring. Pat the clay down to adhering it to the front of the bar earring. Start pressing down the clay on one side of the earring and move across to the other side. This will help press out any air that might be trapped underneath the clay.

Step 7:
If you have a lot of excess clay, you will want to trim away the excess before wrapping it around the bar earring. Lay the Epoxy Clay covered bar earring face down onto a piece of plastic . The earring post should be sticking straight up. Use a knife to cut away the excess Epoxy Clay. Allow for about 1/8” of clay on all four sides of the bar earring. (If you didn’t let your sticky clay set from Step 3, it could potentially stick to the plastic. If so, let it set-up and then easily remove it from the plastic.)

Step 8:
Now that the clay is adhered to the front of the bar earring and the excess clay is trimmed away you are ready to wrap the clay around to the backside. With the post facing up, use your fingertips to wrap the clay around the two long sides of the bar. The clay should either meet right in the middle or slightly shy of it. Press the clay together with your fingertips, creating a nice smooth jointed edge. The seam will also wrap around the post of the earring.


Step 9:
If you have excess clay on the ends of the bar earring, pinch off the excess and pat the ends smooth.
Step 10:
Wipe your hands thoroughly with a wet-wipe. Wipe away any excess Epoxy Clay from the post of the earring (if any is on it). The Epoxy Clay will harden like cement, so it is best to make sure that any area that you don’t want clay is clean.
Step 11:
If you have fingerprints in your clay, or if you want the surface to be smoother than you have, wet your fingers slightly with water and rub the Epoxy Clay. The water will help smooth the clay.
Step 12:
Repeat Steps 5 through 11 to make the second earring in your pair. While the Epoxy Clay is moist and uncured, lay the pieces onto a glossy surface, such as a piece of plastic. This will prevent the clay from sticking to the surface area.
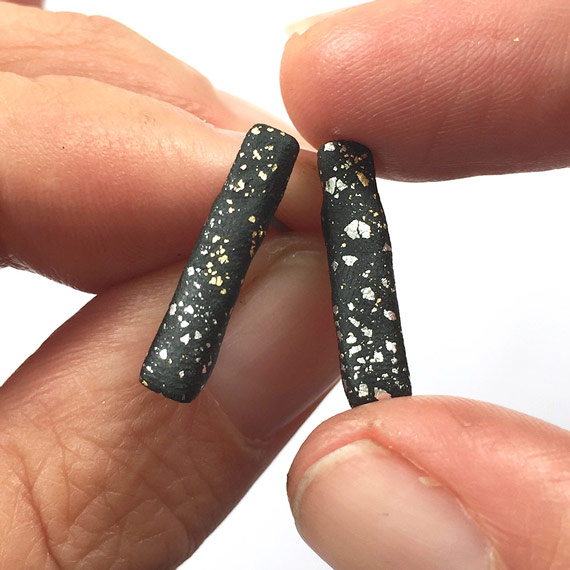
Step 13:
Place some Gilding Flake onto your work surface. Wet the end of a toothpick and gently touch the Gilding Flake to pick it up. Place the flake onto the wet Epoxy Clay and slightly tack into place.


Step 14:
Once the Gilding Flake is released from the toothpick, start to rub the flake into the Epoxy Clay with your fingertips. The Gilding Flakes tear very easily, but don’t worry. Just continue to adhere it onto the clay until you have your desired effect. Gently rub the Gilding Flakes into the Epoxy Clay until it is smooth.


Step 15:
Repeat for the other earring.


Step 16:
Lay both earrings onto a piece of plastic to cure. For the first 90 to 120 minutes while the clay is setting-up, rotate the earring from side to side to avoid having a “flat surface” form on the clay. You could also create a flat surface where the posts of the earrings can poke through and be level (I used a piece of packaging to create a drying surface for other projects).
Step 17:
Earrings will set up in 2 hours and will continue to cure for 14-16 hours after.

Download PDF Tutorial: Make These Earring Post Bar Earrings with Epoxy Clay and Gilding Flakes (PDF)
BONUS IDEA:
After I finished the above tutorial, I had some excess Epoxy Clay. Instead of tossing out the excess, these are the earrings that I created with the extra bits.


Shop Wholesale Nunn Design Findings
Shop Nunn Design Wholesale
Nunn Design has been supplying jewelry artists with findings for over 20 years. Shop wholesale jewelry findings for creative jewelry makers.
Shop Nunn Design!How to Purchase Wholesale?
If you are interested in becoming one of the many designers who trust their jewelry to Nunn Design Findings, please join us by registering to become one of our wholesale customers!
Please visit our Where to Buy Page for a listing of online stores that sell Nunn Design Findings retail.

If you enjoyed reading this post, please subscribe to our blog. Here are 10 Reasons Why to Subscribe and a place to do so!