


ND Product Info
Making Resin Easy! How to Store, Prep, Mix, Pour and Cure Nunn Design Resin!
Resin is one of those techniques that is on many artist’s “oh I want to try that” list. But for many, it seems a little scary. Are you one of those?
If you are, I must admit that I was right in there with you. When I was learning there just wasn’t the information out there that there is now. Including all of the information that isn’t actually useful or conducive to success.
Our goal at Nunn Design is to make the resin process easier. Below are several points on how to store, prep, mix, pour and cure your Nunn Design Resin. We believe that good information will help ensure your success.
What is Nunn Design Resin?
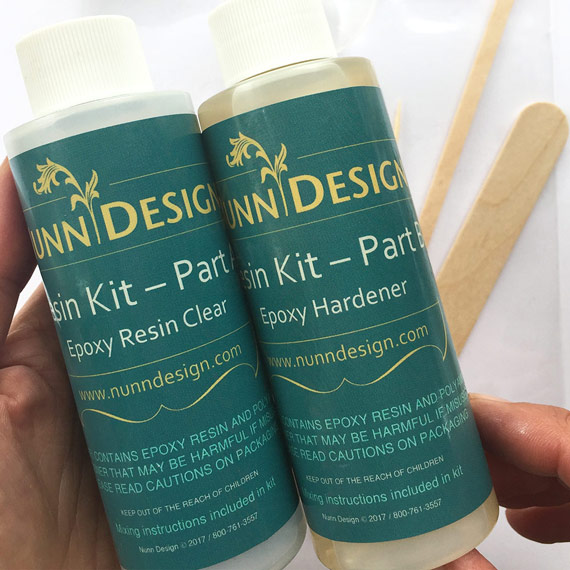
Nunn Design Resin is an easy to use 2-part epoxy resin. When the 2 parts, an epoxy resin and a hardener, are mixed together a chemical reaction occurs which starts the curing process of changing the resin from a liquid into solid. Curing time is the amount of time needed for the epoxy resin to become hard, this can very with climate conditions/temperature.
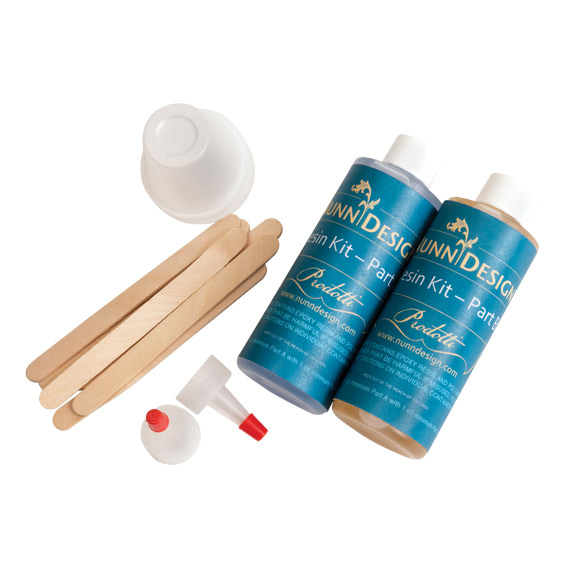
Included in the Nunn Design Resin Kit: one 4 ounce bottle of clear epoxy resin, one 4 ounce bottle of epoxy hardener, two precision tips to screw onto the bottles, five mixing cups, five mixing sticks, and printed resin instructions.
This is an economical jewelry finish that works well for production. Embed an image, an object or anything you can imagine for a very unique, one-of-a-kind finished jewelry piece. Nunn Design resin is Jeweler’s Grade, Clear, and Self-Doming. Made in the USA.
PREPARATION:
- For best results, resin should be used in a warm environment (70° F)
- Resin should be at room temperature in a warm environment before mixing. If unmixed resin is less than 70° F, place the bottles in a pan of hot tap water for 30 – 40 minutes to raise the temperature of the resin.
- Properly prepare your resin work surface and work environment.
To learn all the steps for doing this, visit our blog at: 20 Habits For Successfully Using Nunn Design 2-Part Resin - We also have a great video on How to Prepare and Mix Nunn Design Resin!
- If pouring resin over porous materials such as paper, fabric etc. – it is critical
that the artwork is sealed and completely dry before pouring resin. Please use the Nunn Design Sealant.
MIXING
- For curing purposes, it is very important that the resin be an exact 1 to 1 ratio of Part A and Part B. We suggest getting eye level with the resin so you can see the lines on the measuring cup.
- Pour Part A of your resin kit into the mixing cup up to the 1 TBS mark (or ½ fluid ounce mark). Pour Part B of your resin kit into the same mixing cup until it is filled to the 2 TBS mark (or 1 fluid ounce mark). It is important to pour Part A first and then Part B.
- Set a timer for 2 minutes. Using the stir stick from your kit, slowly and carefully stir your resin scraping the sides of the mixing cup and the sides of the stir stick on the edge of the mixing cup occasionally. Stir for the full 2 minutes. The resin should be clear with a lot of little bubbles. If it is not clear and has a slight marbling, continue to stir until it is clear.
- To decrease bubbles in the resin, place the mixed resin under a warm lamp for 5 minutes. The heat of the lamp will help the bubbles to pop.
POURING & CURING THE RESIN
- The usage time of the resin can vary, but 30 – 45 minutes is typical.
- Carefully and slowly drizzle the resin from the mixing cup onto your desired surface with a stir stick or a toothpick. Go slowly. It is easier to add more than to have to clean up an overflow.
- Use a toothpick to move the resin around and agitate the resin – causing air that might be trapped in the resin to dislodge and rise to the surface.
- As the resin is curing, air bubbles will rise to the surface. Use your breath to exhale in a “huff” on the resin. This will cause the air in the bubbles to expand and pop.
- During the curing process, continue to “babysit” your resin for the next couple hours in a warm environment (70–75° F). Place a bowl or glass over the resin to prevent dust and other household particles from embedding in the resin.
Resin Cure Stages:
- 1-2 hours: As resin cures you will want to “babysit” the resin for first couple hours to remove bubbles.
- 6 hours: After 6 hours you are in the soft-cure stage. This is the best time to clean up resin that has leaked from bezels with scissors or flush cutters. Be sure to clean resin bits from scissors of flush cutters afterwards.
- 12 hours: After 12 hours, the resin will be firm – we do not recommend touching your piece until it is completely set to avoid fingerprints
- 72 hours: Total cure time takes approximately 72 hours (3 days).
STORAGE:
- The Nunn Design Resin Kit should be stored in sealed containers in a cool dry environment between 60-70° F.
- The resin kit should be stored out of direct sunlight to avoid discoloring the hardener.
- With proper storage, Nunn Design 2-Part Resin has a shelf life of up to 1 year. We recommend you only purchase resin that will be used in a 6-month time frame, as the hardener may yellow.
- When either bottle of Part A or Part B of the resin kit is empty, we recommend that you properly dispose of both bottles and start a fresh kit of resin.
Resin Resources:
Now that you’ve read all the basics for Nunn Design Resin, here are some more resources and ideas for what to do with it!
- 20 Habits For Successfully Using Nunn Design 2-Part Resin
- 5 Tips to Prevent & Clean-Up Spilled Resin
- A Beginners Guide to Drying and Preparing Organics for Creating Resin Jewelry
- Tutorials on How to Dry & Press Flowers to Embed into Resin
- 20 Formulas for Colorizing Nunn Design Resin
Shop Nunn Design Wholesale
Nunn Design has been supplying jewelry artists with findings for over 20 years. Shop wholesale jewelry findings for creative jewelry makers.
Shop Nunn Design!How to Purchase Wholesale?
If you are interested in becoming one of the many designers who trust their jewelry to Nunn Design Findings, please join us by registering to become one of our wholesale customers!
Please visit our Where to Buy Page for a listing of online stores that sell Nunn Design Findings retail.

If you enjoyed reading this post, please subscribe to our blog. Here are 10 Reasons Why to Subscribe and a place to do so!
This has been great as I am just beginning to learn how to do jewelry using resin. Thank you very much
I’m glad it was helpful. Resin is such a fun medium once you’ve learned the basics.